You walk out to your car and there it is: a dent, a crease, or worse, a panel that doesn’t quite line up anymore. Knowing how to assess auto body damage accurately, before you ever call a repair shop, puts you in a far stronger position when it comes to getting fair estimates and making smart repair decisions. The industry term for what you’re doing is a pre-repair damage assessment, and doing it yourself doesn’t require a body shop background. It requires the right approach. This guide walks you through exactly that.
Table of Contents
- Key Takeaways
- How to assess auto body damage: tools and preparation
- Inspecting the exterior: what to look for and how
- Interior and under-hood signals you shouldn’t ignore
- Technology options for a more accurate evaluation
- Translating your findings into repair conversations
- What I’ve learned from years of real-world assessments
- See the difference expert repair makes
- FAQ
Guide to Navigating Our Auto Body Damage Assessment
| Point | Details |
|---|---|
| Preparation matters | Good lighting, a clean vehicle, and documentation tools dramatically improve assessment accuracy. |
| Visual inspection has limits | Hidden damage can account for up to 30% of total damage, so tactile and under-hood checks are non-negotiable. |
| Technology fills the gap | AI photo tools and 3D measuring help identify damage that eyes alone consistently miss. |
| Cosmetic vs. structural matters | Distinguishing surface damage from structural issues determines whether PDR or full restoration is the right path. |
| Documentation drives estimates | Written and photographic records help shops provide accurate quotes that align with OEM repair standards. |
How to assess auto body damage: tools and preparation
Before you touch anything, set yourself up for success. A rushed inspection in a dark driveway will miss more than it catches.
Here’s what to gather before starting:
- A bright LED flashlight or work light (angled light reveals low spots and ripples that flat overhead light hides)
- A clean microfiber cloth to wipe down panels before inspecting paint
- A smartphone or camera for close-up documentation photos
- A measuring tape to note dent dimensions
- Painter’s tape or sticky notes to flag damage areas without scratching the paint
- A copy of prior photos or insurance documentation if available
Lighting is the single biggest factor in catching subtle damage. Park the vehicle in open shade or use a portable work light held at a low angle across each panel. This technique, sometimes called the “raking light” method, throws shallow dents and surface waves into sharp relief that you simply wouldn’t see otherwise.
Pro Tip: Before you begin, run the car through a basic wash. Dirt and grime mask scratches, conceal panel gaps, and make paint condition much harder to read accurately.

Inspecting the exterior: what to look for and how
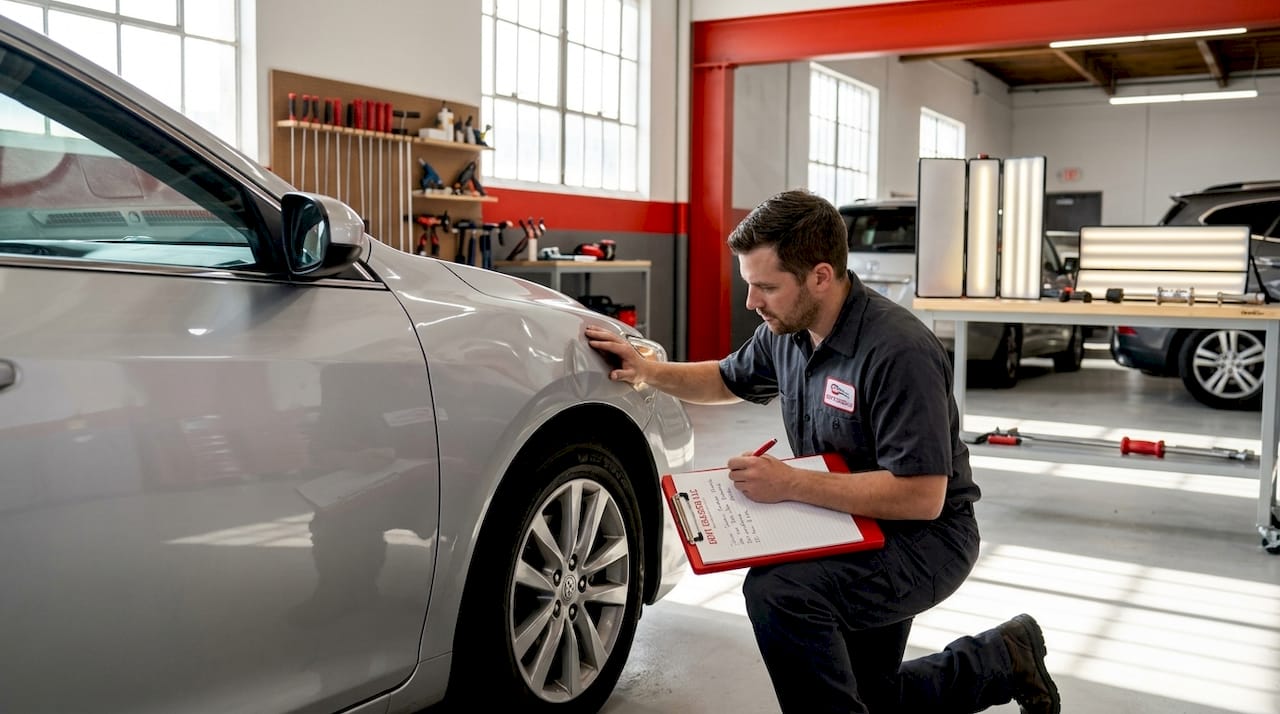
A structured walk-around is the backbone of any auto body inspection guide. Work methodically around the vehicle rather than jumping between panels.
- Start at the front bumper. Look for cracks, deep scratches, and color mismatches. Run your fingers along the surface to feel for ripples or filler (bondo has a slightly different texture than bare metal).
- Move to the hood and fenders. Open the hood and check for gaps between the hood edges and fender tops. Uneven gaps often signal that something moved during an impact.
- Check each door panel. Crouch low and look down the length of the door with raking light. Any waves or flat spots indicate a dent was repaired previously or still needs attention.
- Inspect the rockers and sills. These low panels take a beating from road debris and are often overlooked. Rust starting here can signal deeper structural concerns.
- Examine the rear quarter panels and trunk lid. Rear impacts often push energy into the quarter panels and trunk floor. Feel for stiffness or cracking around the trunk seal.
- Check all glass, lights, and mirrors. Cracked lenses and chipped glass are safety issues that must be documented separately from body damage.
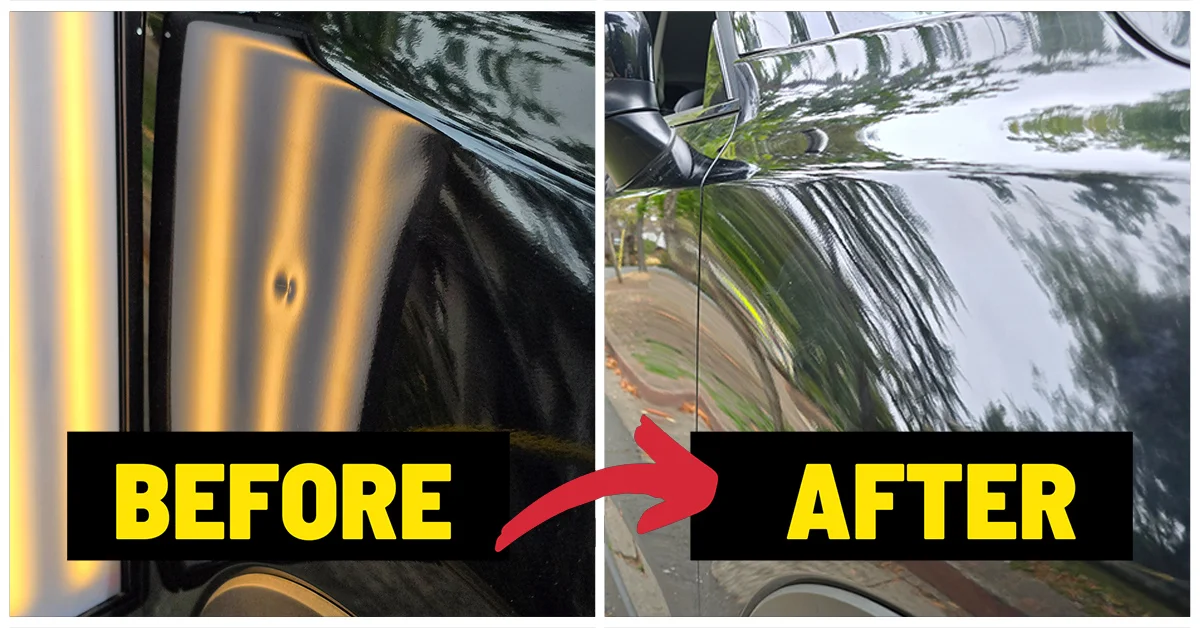
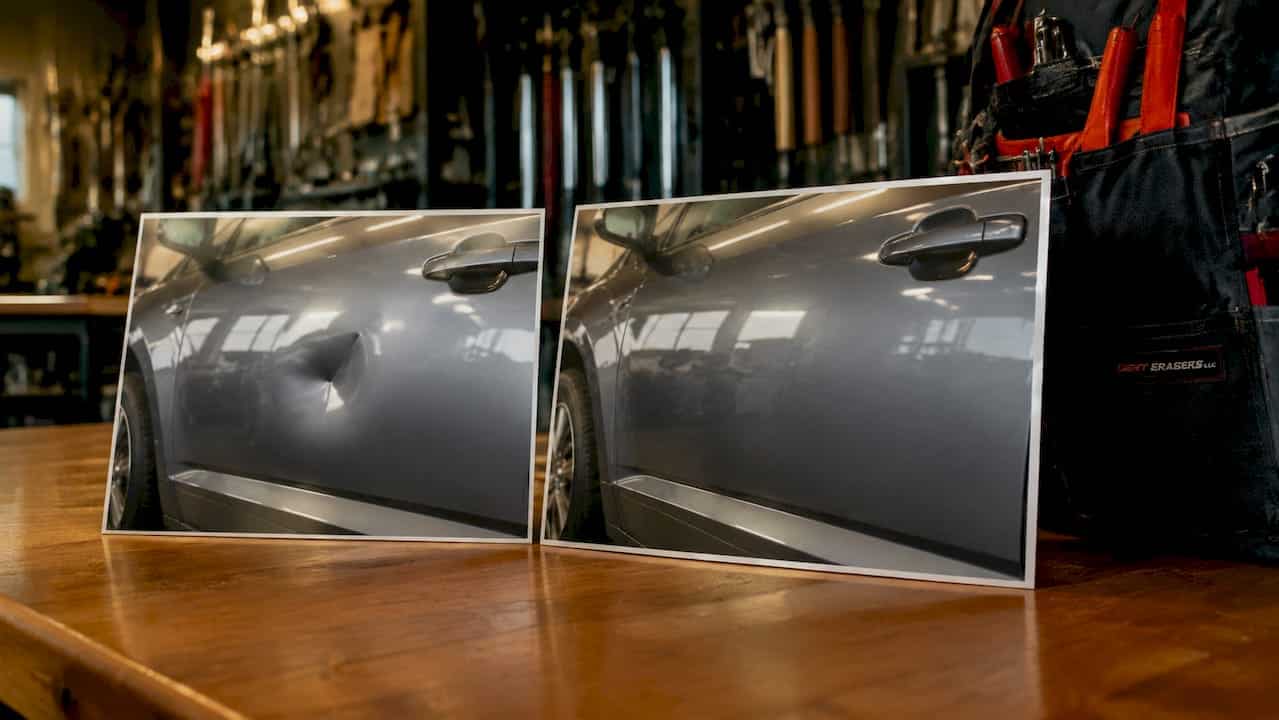
When you find a dent, evaluate three things: its depth, its shape, and whether the paint is still intact. A shallow, round dent with no paint damage is the classic candidate for paintless dent repair (PDR), a technique where a technician massages the metal back to its original position without filler or repainting. Roughly 80% to 90% of typical dents qualify for PDR when the paint is intact and the metal hasn’t been significantly stretched.
Pro Tip: Use painter’s tape to frame each damaged area and number them. When you talk to a shop, you can reference “dent number 3 on the driver door” instead of describing it vaguely. Clear communication saves everyone time.

Interior and under-hood signals you shouldn’t ignore
The exterior tells part of the story. What’s inside the cabin and under the hood fills in the rest.
Check these areas after completing your exterior walk-around:
- Interior door panels and trim: Warping or cracking near the door edges can indicate impact energy transferred inward.
- Airbag and dashboard warning lights: If any airbag light is on, the system needs professional diagnosis before the vehicle is driven further.
- Under-hood inspection: Look for cracked plastic shrouding, bent brackets, fluid leaks near hoses or the radiator, and any component that sits at an odd angle compared to its mount.
- Frame rails and engine bay geometry: If the engine bay looks lopsided or if bolt holes are misaligned, suspect structural movement.
- Tire wear and driving behavior: Abnormal wear on the inner or outer tire edge, pulling to one side while driving, or vibrations at highway speed can all point to suspension or frame issues after a collision. A post-collision alignment check is worth scheduling even after minor impacts.
Checking frame integrity, suspension, and fluid levels during a thorough assessment helps skilled evaluators spot restoration and safety concerns that a surface look would never reveal.
Safety note: Never assume a vehicle is safe to drive because it “feels fine.” A car that drives normally after an accident can still have hidden frame or unibody damage that only computerized measuring will detect.
Technology options for a more accurate evaluation
Your eyes and hands get you far. Technology takes you the rest of the way.
| Tool | What It Does | Best For |
|---|---|---|
| AI photo analysis apps | Identifies dent type, scratch depth, and estimated repair complexity from photos | Initial damage triage, insurance documentation |
| Computerized 3D measuring | Maps vehicle dimensions against factory specs to detect frame deviation | Structural assessments after moderate to severe collisions |
| Thermal imaging cameras | Detects hidden moisture, filler, and prior repairs beneath paint | Buying used vehicles, verifying prior repair quality |
| OBD-II diagnostic scanner | Reads fault codes related to airbag, sensors, and safety systems | Identifying electronic damage after impact |
AI vision tools detect dents, scratches, and cracks with confidence scores and can flag potential safety hazards, making them a solid starting point. That said, they work from surface photos only. They won’t catch a tweaked frame rail or a cracked subframe mount. Computerized 3D measuring is the authoritative method for structural accuracy, restoring vehicle dimensions to factory specifications in ways that directly affect post-repair crash performance and wheel alignment.
Use technology to supplement your inspection, document your findings, and walk into any repair shop with evidence rather than impressions.
Translating your findings into repair conversations
Once you’ve completed your damaged vehicle inspection, the next step is making that information work for you.
Start by separating what you found into two buckets:
- Cosmetic damage: Dents with intact paint, minor scratches, scuffs, and small chips. These are strong candidates for PDR or spot repair and are generally the more affordable fixes.
- Structural or mechanical damage: Panel misalignment, frame concerns, airbag deployment, fluid leaks, or anything affecting driveability. These require a thorough shop assessment that may include controlled disassembly before repair decisions can be made.
When you talk to a technician, bring your numbered photos, your notes, and any measurements you took. Documented observations help shops provide estimates that align with OEM repair specifications, which matters for both safety and insurance compliance.
Ask these questions directly: Does this need measuring before you can quote it? Will you use OEM procedures? Is PDR an option for any of this damage? A shop that can answer those questions confidently is one worth trusting. For more help selecting the right provider, this guide on choosing a PDR service and this breakdown of quality auto body shop criteria are worth reading before you commit.
What I’ve learned from years of real-world assessments
In my experience, the single most common mistake car owners make is trusting their eyes too much and stopping there. I’ve seen vehicles come in after minor parking lot hits where the owner was convinced it was “just a small dent.” Once we got under the panel, the story changed completely.
The second mistake is underestimating how much proper communication matters. When a customer comes in with numbered photos, notes on panel gaps, and a clear description of the impact, we can quote accurately the first time. When someone points vaguely at a door and says “fix that,” the repair process starts on shaky ground. Repair method choice should rely on structured inspection details, not just surface appearance, and that starts with you doing the groundwork.
Take the time to do this right. The 30 minutes you spend on a thorough self-assessment can save you hundreds in misdiagnosed repairs and prevent the frustration of going back to a shop because something was missed the first time.
— Brian
See the difference expert repair makes

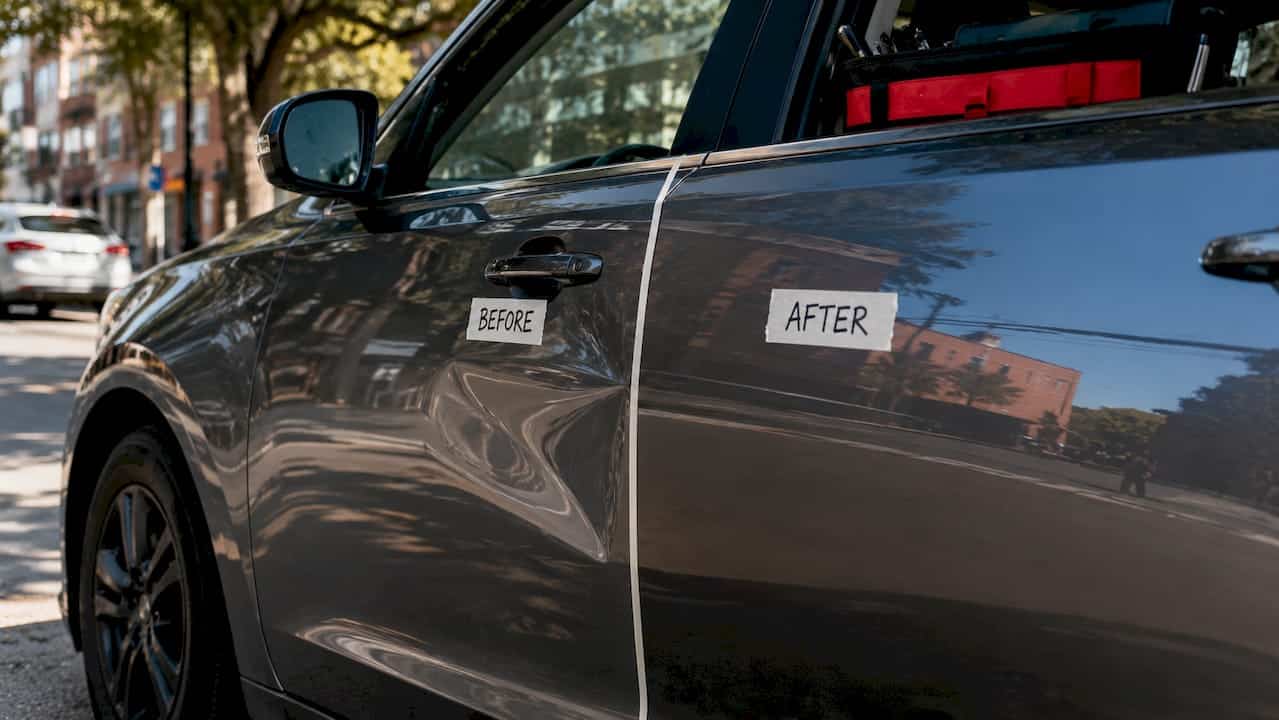
At Denterasersllc, we work with car owners all across Contra Costa County who come in knowing exactly what they have, and that makes every repair go smoother. Whether you’ve found a clean dent that’s a perfect candidate for paintless dent repair or a fender that took a real hit, our mobile service brings the expertise to you. Check out this seamless fender repair we completed for a new driver, or see how we handled a precision fender restoration on a new truck. Both cases started with a clear assessment and ended with the factory finish preserved. Reach out for a professional evaluation whenever you’re ready.
FAQ
What does auto body damage assessment mean?
Auto body damage assessment, also called a pre-repair inspection, is the process of evaluating the type, location, and severity of vehicle damage before selecting a repair method or getting an estimate.
Can I assess car body damage myself accurately?
You can identify and document most visible damage yourself, but visual inspection can miss up to 30% of total damage. A professional inspection with computerized measuring is needed for structural assessments.
How do I know if my car needs PDR or full body repair?
If the dent is shallow, the paint is intact, and the metal isn’t stretched or work-hardened, PDR is likely suitable. Most typical dents qualify for PDR when these conditions are met. Cracked paint or deep creases usually require traditional repair.
What is the most important thing to check after a collision?
Beyond visible dents and scratches, checking for frame alignment, airbag warning lights, and fluid leaks is critical. Driving a vehicle with frame damage poses real safety risks even when the car seems to drive fine.
Why should I document damage before visiting a repair shop?
Documented photos and written notes help shops provide accurate estimates aligned with OEM repair procedures, reducing the chance of surprises mid-repair and protecting you during insurance claims.