An auto repair checklist is a structured tool car owners use to systematically assess vehicle damage, track repairs, and verify the quality of work after service. Without one, it is easy to miss a cracked sensor bracket, a misaligned door panel, or a missing insurance authorization that delays your entire claim. This guide walks you through every stage of the repair process, from the first inspection after a minor collision to the final post-repair test drive, so nothing slips through the cracks.
Essential Auto Repair Checklist After a Minor Collision
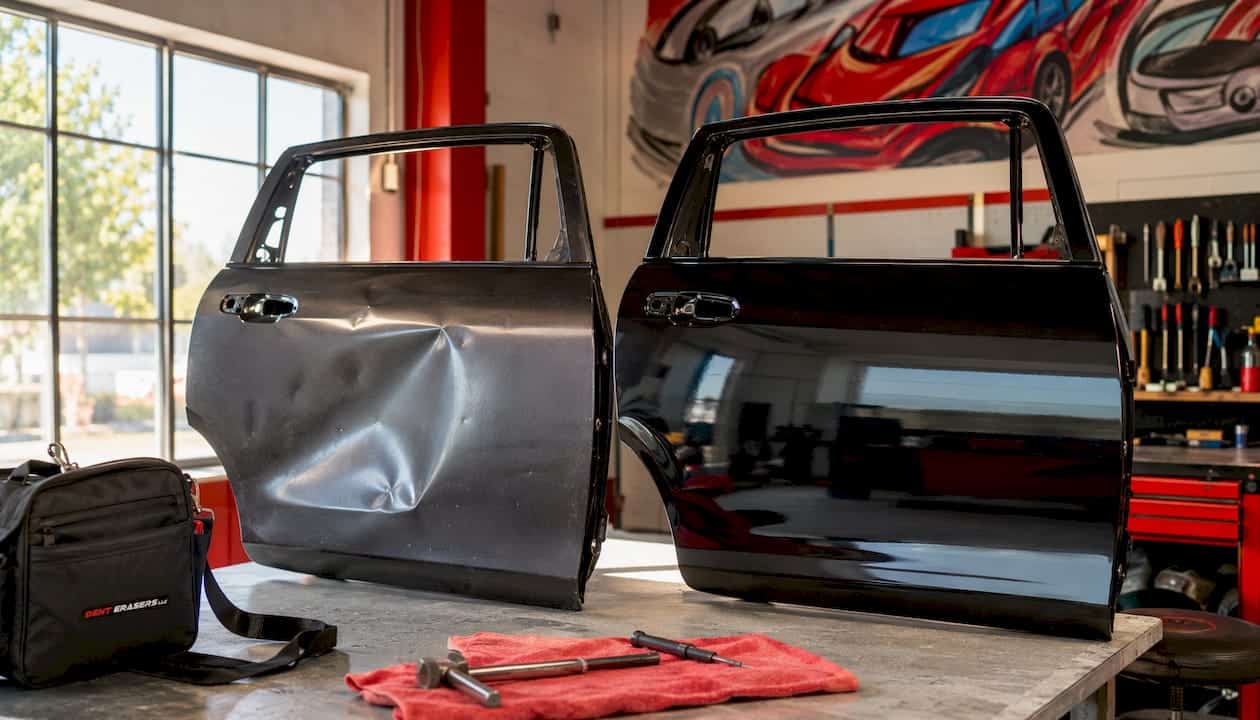
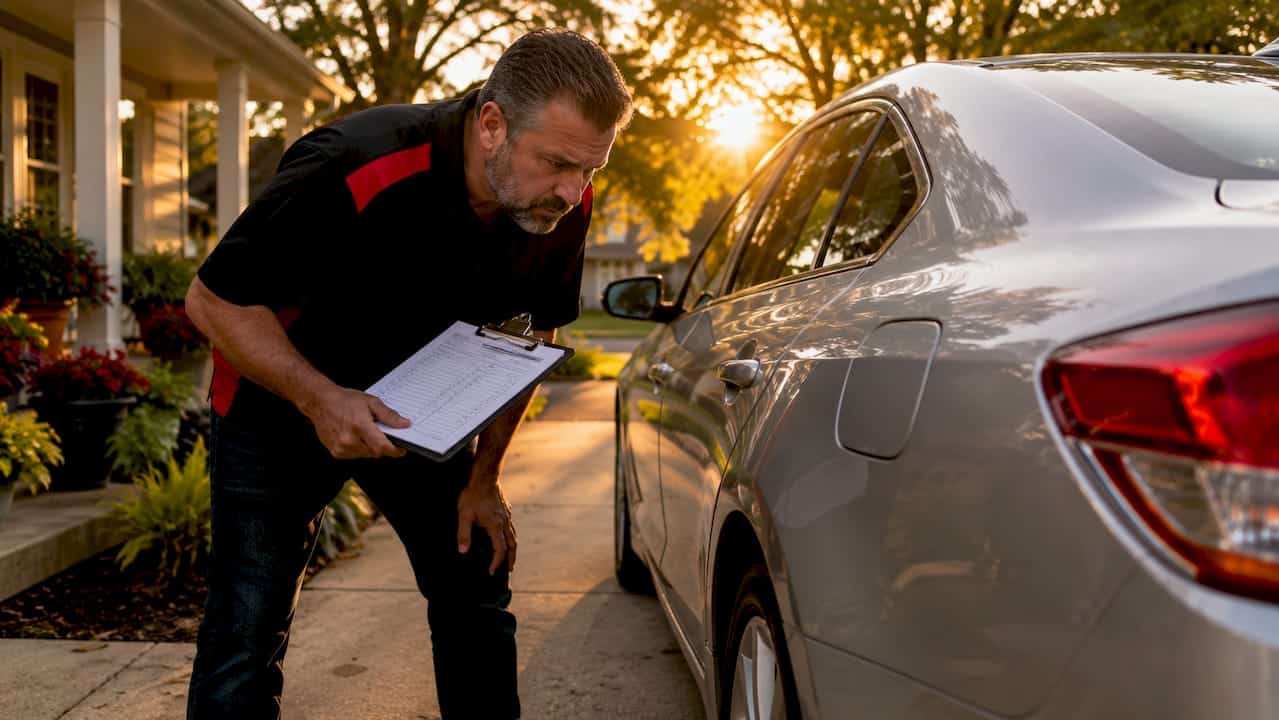
A thorough auto repair checklist starts with a careful physical inspection of the entire vehicle, not just the obvious damage. Walk the full perimeter in natural daylight. Sunlight reveals panel misalignment and paint mismatches that artificial lighting hides completely.
- Body panels: Check for dents, scratches, and gaps between panels. Gaps wider than a pencil width signal misalignment.
- Doors, windows, trunk, and hood: Open and close each one. They should move smoothly with no grinding or resistance.
- Underhood components: Look for loose brackets, cracked hoses, or displaced wiring. Even a low-speed impact can shift components.
- Lights and sensors: Test every exterior light, including turn signals and reverse lights. Check that parking sensors and cameras respond correctly.
- Dashboard warning lights: Note any active warning lights before you hand the car over. This creates a clear baseline for the shop.
- Tire pressure: Underinflated tires reduce fuel economy by 0.2% per PSI below specification. A tire pressure gauge check takes under two minutes.
Pro Tip: Photograph every angle of the damage in natural light before the car enters the shop. These images become your legal record if a dispute arises later.
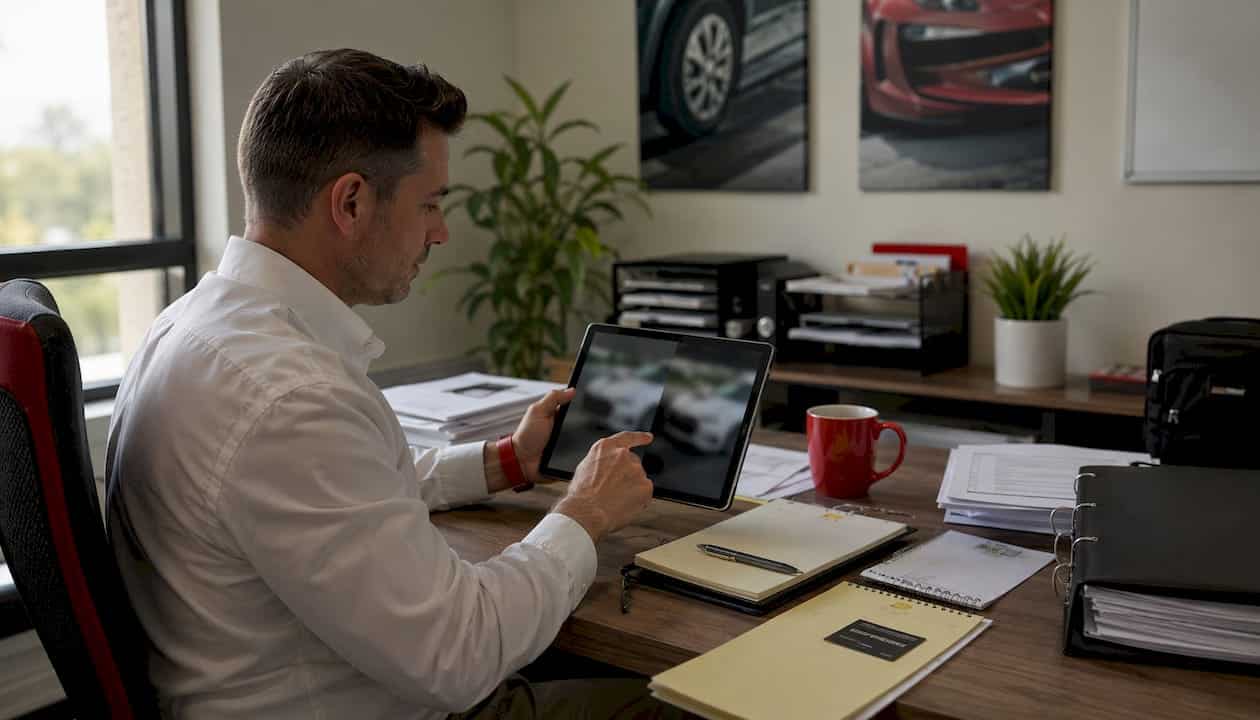
2. How to document damage and communicate with insurers and repair shops
Documentation is the part most car owners skip, and it is the part that causes the most problems. Confirm your insurance coverage specifics before any work begins. Know whether you have collision or comprehensive coverage, and confirm your deductible amount in writing.
Follow these steps to protect yourself throughout the repair process:
- Get a written work authorization. Never allow repairs to start without a signed document listing all approved work and costs.
- Record your claim number and adjuster contact. Keep these in a dedicated folder, physical or digital.
- Request an itemized estimate. Line items should specify parts by name, including whether they are OEM or aftermarket.
- Photograph the damage yourself. Your photos and the shop’s photos should match. Discrepancies are a red flag.
- Compare the final invoice to the estimate. Verify that every billed part was actually installed. OEM parts and aftermarket parts carry different warranty terms.
Pro Tip: Ask the shop to save any removed parts for your inspection. Seeing the old parts confirms the work was done and the right components were used.
Skipping written authorization is the most common mistake owners make. It leaves you with no recourse if the final bill exceeds the estimate or if work quality falls short. The insurance documentation process is more manageable when you treat every step as a paper trail.

3. What post-repair inspection steps verify quality and safety?
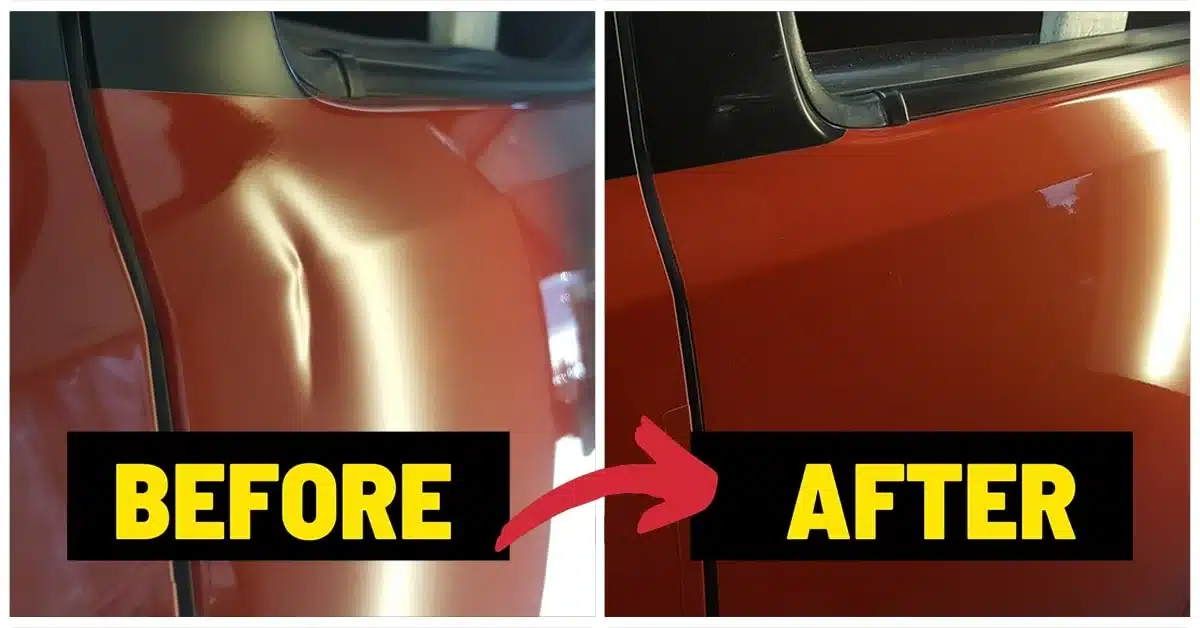
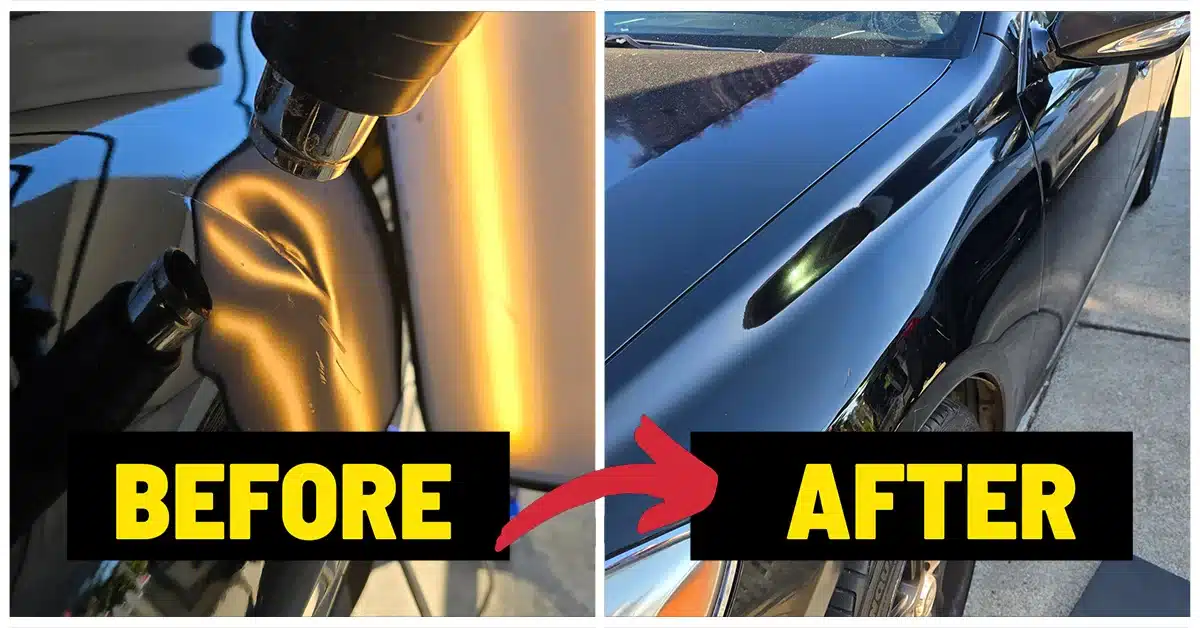
A post-repair inspection is your final quality check before you drive away. Visual inspection in natural sunlight is the most reliable way to detect panel alignment problems and paint mismatches after collision repair.
- Paint finish: Look for orange peel texture, runs, or color variation under both sunlight and a shop light.
- Panel gaps: All gaps should be consistent and match the factory specification on the opposite side of the car.
- Door and trunk alignment: Open and close each panel. Resistance or a hollow sound indicates improper alignment.
- ADAS sensor recalibration: Missed ADAS calibration is the top hidden defect found during post-repair audits. Features like lane assist and adaptive cruise control depend on precise sensor positioning.
- Under-hood assembly: Check for loose clips, missing covers, and disconnected hoses.
- Test drive: Drive on smooth pavement at 30–60 mph and listen for wind noise, vibrations, or pulling to one side.
| Inspection Area | What to Check | Pass Condition |
|---|---|---|
| Paint finish | Color match, texture, runs | Uniform color, smooth surface |
| Panel gaps | Width consistency | Matches factory spec on opposite side |
| ADAS sensors | Calibration status | Confirmed recalibrated by shop |
| Structural integrity | Frame or unibody alignment | Within ±3mm tolerance |
| Dashboard lights | Warning indicators | No active warning lights |
Independent post-repair inspections verify structural integrity within ±3mm tolerances using laser measuring systems. When the repair was extensive, a Post-Repair Inspection (PRI) from an independent shop is worth the cost. It gives you an unbiased confirmation that the work meets safety standards.
4. How does a maintenance checklist differ from a repair checklist?
Maintenance checklists are proactive tools designed to prevent failures, while repair checklists are reactive documents focused on restoring the vehicle after damage. Mixing the two leads to confusion and unnecessary spending.
A vehicle maintenance list covers routine tasks performed on a schedule:
- Oil and filter changes
- Tire rotation and pressure checks
- Coolant, brake fluid, and transmission fluid levels
- Air filter replacement
- Wiper blade condition
A repair shop checklist covers damage-specific tasks:
- Damage assessment and documentation
- Parts authorization and sourcing
- Structural and cosmetic repair verification
- Sensor recalibration confirmation
- Post-repair test drive results
Monthly DIY vehicle checks take about 10 minutes and cover tire pressure, engine oil, coolant levels, and lights. That 10-minute habit prevents the kind of neglect that turns a minor issue into a repair job. The best approach is to keep both checklists in your glove box and use each one at the right time. A mobile mechanic service can handle both routine maintenance and minor repairs, giving you a second set of eyes on your vehicle’s overall health.
Consumer Reports advises always consulting your owner’s manual before agreeing to any service. Shops sometimes recommend more frequent maintenance than manufacturers require. That adds cost without adding safety or performance benefit.
Key takeaways
A complete auto repair checklist covers damage inspection, written documentation, and post-repair verification to protect your safety and your wallet.
| Point | Details |
|---|---|
| Inspect in natural light | Sunlight reveals panel misalignment and paint mismatches that shop lighting hides. |
| Get everything in writing | Written work authorizations and itemized estimates prevent billing disputes. |
| Verify ADAS recalibration | Missed sensor calibration is the top hidden defect after collision repairs. |
| Separate maintenance from repair | Use a vehicle maintenance list for routine care and a repair checklist for damage assessment. |
| Consider a PRI | An independent post-repair inspection confirms structural integrity within ±3mm tolerances. |
What I have learned from years of watching owners skip the checklist
The owners who have the worst repair experiences share one trait: they hand over the keys and trust everything will work out. That trust is not wrong, but it is incomplete. A checklist is not about distrust. It is about clarity.
I have seen cars leave shops with uncalibrated backup cameras, mismatched paint that only shows up in afternoon sun, and panel gaps that were never corrected because no one checked. The shop was not always at fault. Sometimes the owner approved work without reading the estimate. Sometimes the insurer authorized aftermarket parts and nobody told the owner.
The most common repair mistakes I see come down to a lack of documentation at the start and a lack of inspection at the end. Both are fixable with a simple checklist and 20 minutes of your time.
Post-repair inspections changed how I think about quality assurance. An independent PRI is not an insult to the shop. It is the same logic as a home inspection after a renovation. You paid for the work. You have every right to confirm it was done correctly.
My advice: print this checklist, keep it in your glove box, and use it every time. The car owners who do this walk away from repairs with confidence. The ones who skip it often come back with problems that cost more to fix the second time.
— Brian Blanc
Get expert dent and body repair you can trust

When your car needs more than a checklist, Denterasersllc delivers mobile paintless dent repair and auto body collision services across Contra Costa County and surrounding areas. Every repair includes a thorough quality check so you know the work meets factory standards before we leave your driveway. From minor dings to fender repairs on new vehicles, the team at Denterasersllc preserves your original paint finish and gets you back on the road fast. Explore our quality auto body repair standards or contact us today for a free consultation.
FAQ
What is an auto repair checklist used for?
An auto repair checklist is a structured tool for assessing vehicle damage, managing repair documentation, and verifying work quality after service. It helps car owners avoid overlooked issues and billing disputes.
What should I check after a minor collision?
Inspect body panels, door and trunk alignment, all lights, dashboard warning lights, and underhood components. Then take a short test drive on smooth pavement at 30–60 mph to detect vibrations or pulling.
Why does ADAS recalibration matter after a collision repair?
Missed ADAS calibration is the most common hidden defect found in post-repair inspections. Without recalibration, safety features like lane assist and adaptive cruise control may not function correctly.
What is the difference between a maintenance checklist and a repair checklist?
A maintenance checklist covers routine preventive tasks like oil changes and tire rotation. A repair checklist focuses on damage assessment, parts authorization, and post-repair verification after an incident.
Do I need an independent post-repair inspection?
An independent PRI is worth requesting after any significant collision repair. It verifies structural integrity within ±3mm tolerances and confirms that sensors and safety systems were properly recalibrated.