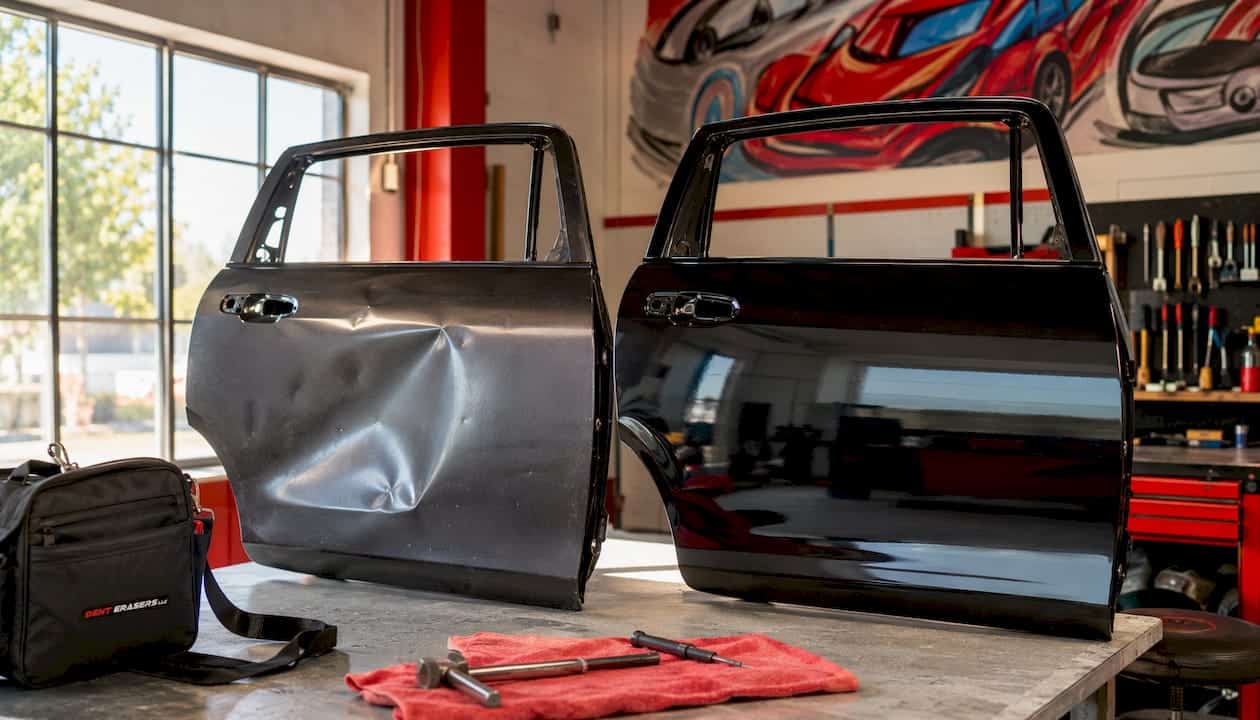
Use this car panel alignment checklist to decide in minutes whether a DIY adjustment is safe or whether you need a mobile body tech onsite. The doors-first rule is your starting point: if your doors close cleanly and gaps measure evenly and consistently around the perimeter, minor fastener or hinge work may be all you need. Three situations mean you should call a pro right now.
- Pass check 1: Gaps look visually even on both sides of the vehicle (left vs. right symmetry).
- Pass check 2: Every door opens, closes, and latches without binding, scraping, or extra force.
- Pass check 3: Only one panel is affected, not multiple adjacent panels.
Fail any of these and you are likely looking at a structural or multi-panel issue that goes beyond a DIY hinge tightening.
Call a mobile pro immediately if: a door won’t latch, you can see a visible kink or crease in the frame, multiple panels are misaligned at once, or your vehicle pulls to one side while driving. These are safety concerns, not cosmetic ones. Denterasersllc offers onsite inspection and repair, so you don’t have to tow the car anywhere.
Table of Contents
- What can you spot in a five-minute walk-around?
- How do you measure panel gaps and flushness accurately?
- What actually causes panels to go out of alignment?
- Which symptoms mean you need a pro right now?
- What will a mobile body tech actually do during an inspection?
- How should you document the problem before calling for an estimate?
- Key Takeaways
- Why the doors-first rule matters more than most owners realize
- Onsite panel alignment help from Denterasersllc
- FAQ
What can you spot in a five-minute walk-around?
A quick visual pass catches the most obvious problems before you reach for any tools. Work around the vehicle in one direction so that you don’t skip a seam.
- Door-to-fender and door-to-quarter gaps: Stand back and compare the gap width on the driver’s side to the passenger’s side. They should look identical.
- Hood-to-fender reveals: Crouch at the front corner and sight down the gap. A tapered gap that widens toward one end points to a shifted mounting point or a bent fender flange.
- Trunk or liftgate edges: Check that the trunk lid sits flush with the quarter panels on both sides. A lid that sits proud on one corner often means a hinge or a rear-impact issue.
- Doors-first check: Open and close every door slowly. Feel for resistance, listen for scraping, and notice whether the latch catches on the first push or needs a firm slam.
- Shadow and light test: Hold a flashlight parallel to a panel seam at night or in a shaded garage. A shadow line that steps up or dips down reveals a proud or recessed edge invisible in daylight.
- Weatherseal gaps: Run your finger along door seals. Uneven compression or visible daylight around a closed door means the panel is out of position and water will eventually get in. Misaligned gaps after a collision can cause water leaks, rust, and decreased resale value if left alone.
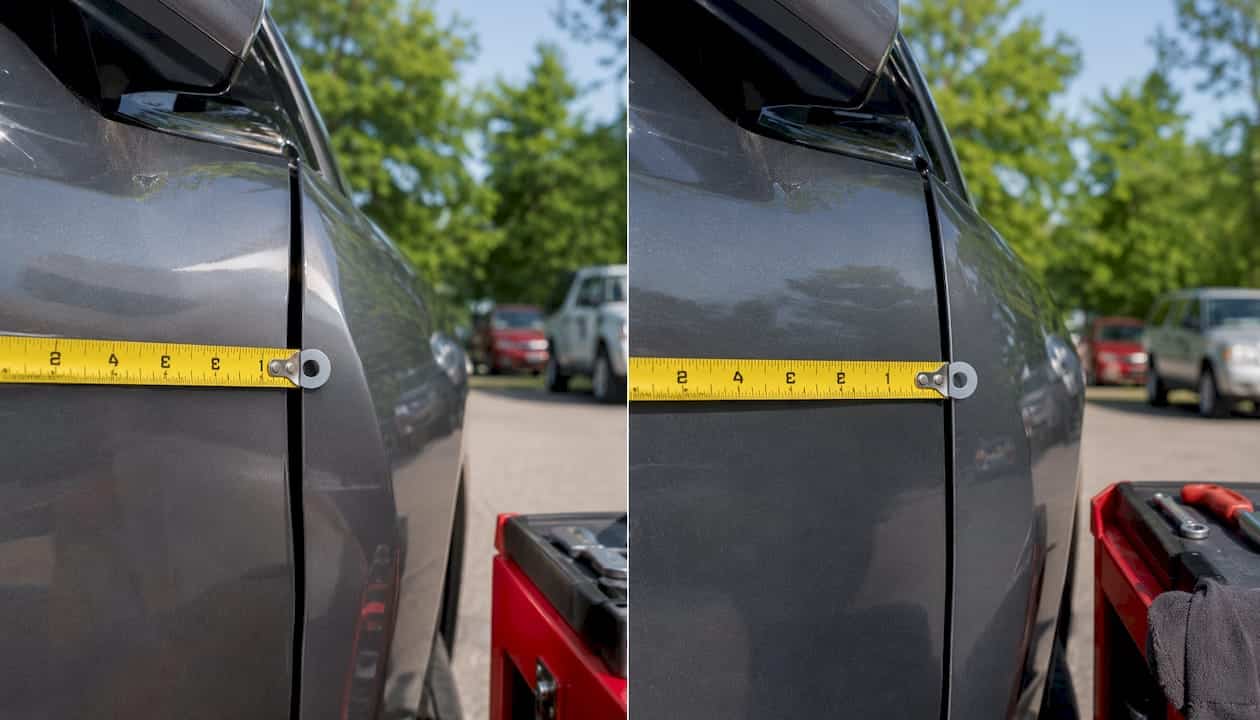
Pro Tip: Before touching anything, photograph every gap with a coin or a ruler in the frame for scale. That photo record becomes your baseline and speeds up any mobile estimate you request later.
How do you measure panel gaps and flushness accurately?
Visual checks tell you something is off. Measurements tell you how bad it is and whether a DIY fix is realistic.
Tools you need
A panel gap gauge or a set of feeler gauges, digital calipers, a metal straightedge at least 18 inches long, a tape measure, and a flashlight cover every check described here.
Step-by-step measurement routine
- Mark measurement points with a paint pen or masking tape at the top, middle, and bottom of each seam.
- Measure gap width at every marked point with your feeler gauge or calipers. Record each number.
- Repeat on the mirror-image seam on the opposite side of the vehicle.
- Compare left-side readings to right-side readings. Differences at the same point on opposite sides that are clearly noticeable indicate a fitment problem worth investigating further.
- Lay your straightedge across adjacent panels to check flushness. Any step you can feel with a fingernail is worth noting; a step you can see clearly in raking light is a red flag.
Common seam reference table
| Seam | Measurement points | Typical target range | Red-flag threshold |
|---|---|---|---|
| Door to fender | Top, middle, bottom | 3–5mm | Variance >2mm side-to-side |
| Hood to fender | Front corner, rear corner | 3–5mm | Tapered or stepped gap |
| Trunk lid to quarter | Left edge, right edge | 3–5mm | One side proud or recessed |
| Bumper to fender | Top, bottom | 3–6mm | Gap widens or closes unevenly |
Small, consistent gaps are often just manufacturing tolerances; uneven or excessive gaps after a repair usually indicate prior damage or poor fitment of aftermarket parts.
What actually causes panels to go out of alignment?
Knowing the root cause tells you whether a wrench or a frame rack is the right answer.
- Bent frame or shifted mounting points: The most serious cause. Panels can’t align properly when the structure underneath them has moved. This requires professional measurement and straightening, not a DIY fix.
- Loose or rusted fasteners: Bolts that have backed out over time let panels drift. Tightening them incrementally (never all at once) and rechecking at multiple points often restores alignment. Over-tightening thin panels pulls them out of shape.
- Worn hinges: A door that sags at the rear and drags on the striker is the classic sign. Lift the rear edge of an open door; noticeable vertical play means the hinge pins or bushings are worn. Hinge replacement is a straightforward repair for a mobile tech.
- Thermal expansion: Gaps that look fine in the morning and tight by afternoon are reacting to heat. This is usually a factory-tolerance issue, not structural damage.
- Aftermarket part tolerances: Aftermarket replacement panels often lack OEM precision and are a common cause of persistent gap problems even after structural repairs are complete. An OEM replacement or careful re-fitting is the fix.
- Factory assembly inconsistencies: Some vehicles left the factory with uneven bolt torque or minor misalignment. These gaps are stable and consistent; they don’t change over time and don’t indicate damage.
The doors-first workflow is the standard pros use: hang and align doors first because door fit sets the reference points for adjacent fenders, which in turn frame the hood and nose pieces. Skipping that sequence makes every subsequent adjustment harder.
Which symptoms mean you need a pro right now?
Some alignment problems are cosmetic. These are not.
- Doors that won’t latch or require a hard slam: Latch failure is a safety issue. A door that opens in a collision because the latch was stressed is a serious risk.
- Multi-panel misalignment: When the door gap, fender gap, and hood gap are all off simultaneously, the problem is almost always structural, not a loose bolt.
- Visible frame kinks or creases: Any buckle or crease in the rocker panel, A-pillar, or firewall area means the unibody has absorbed an impact. Do not attempt DIY adjustments.
- Wheels not tracking straight or vehicle pulling: Handling changes after a collision mean the frame or subframe geometry has shifted. Drive to a safe location and call a tech.
- Diagonal triangulation discrepancy: Measure diagonally from one front mounting bolt to the opposite rear mounting bolt, then compare to the other diagonal. A difference greater than roughly 6mm is a conservative threshold that points to structural asymmetry.
Uneven panel gaps, misaligned doors, or visible chassis deformation are reliable signs that the frame may be bent. Triangulation measurements help detect asymmetry that a visual check alone will miss. When these signs appear, schedule an onsite inspection with Denterasersllc before driving the vehicle further.
What will a mobile body tech actually do during an inspection?
A professional onsite inspection begins with a thorough frame measurement using precision tools, not just a visual pass. Here is the typical sequence and what to expect.
- Doors-first reference setup: The tech checks door fit against the quarters and rockers before touching any bolt-on panels.
- Full-body gap survey: Every major seam is measured and documented with photos and notes.
- Frame and subframe check: Tape triangulation or a laser measuring system confirms whether mounting points are within spec.
- Repair path decision: Fastener or hinge adjustment, striker repositioning, paintless dent repair for minor dents, panel re-fit with OEM parts, or frame straightening if required.
Typical timelines:
- Minor fastener or hinge adjustment: same day.
- Panel re-fit or part replacement: 1–3 days.
- Structural or frame work: several days, depending on severity.
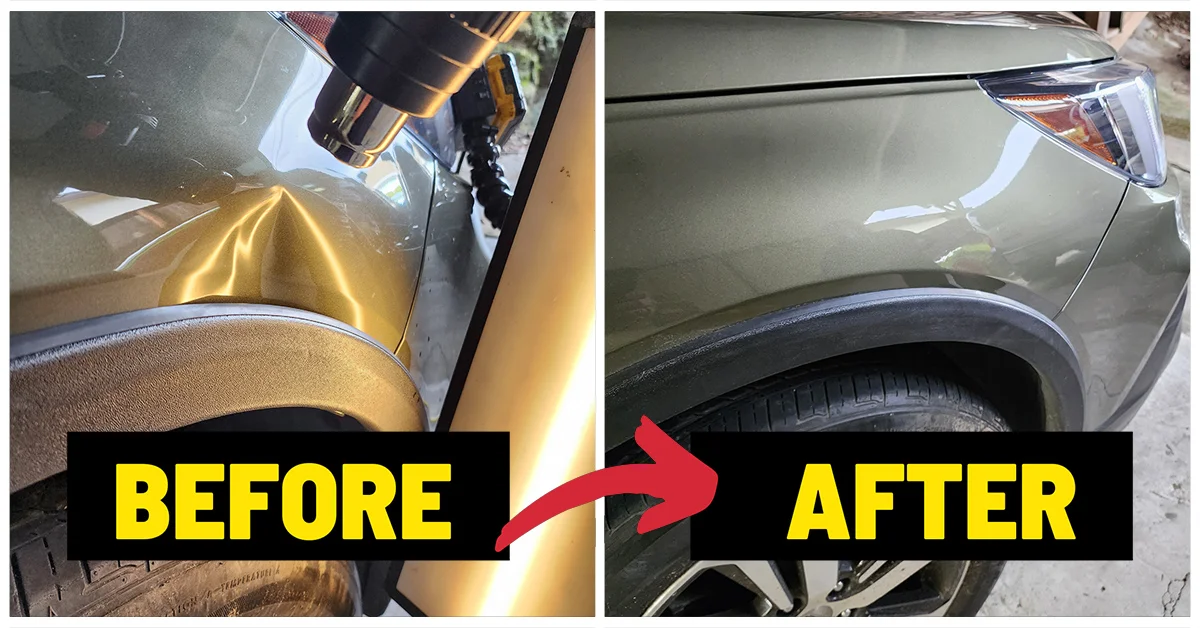
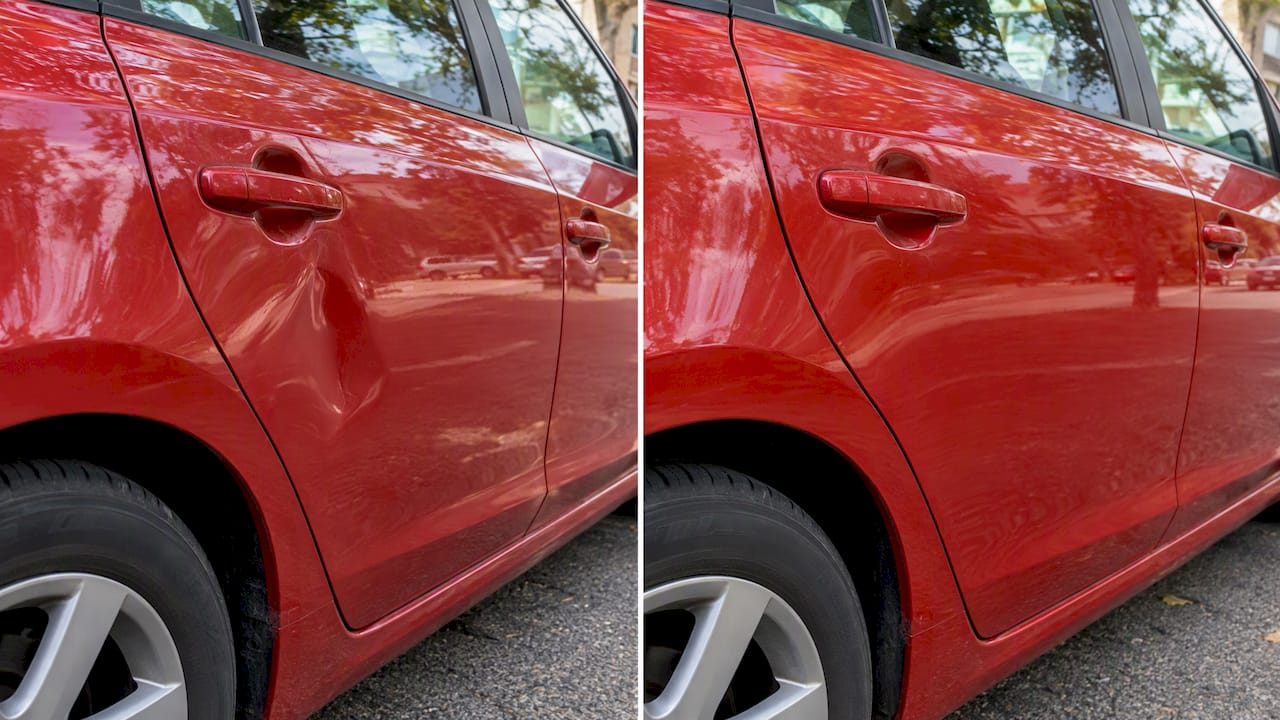
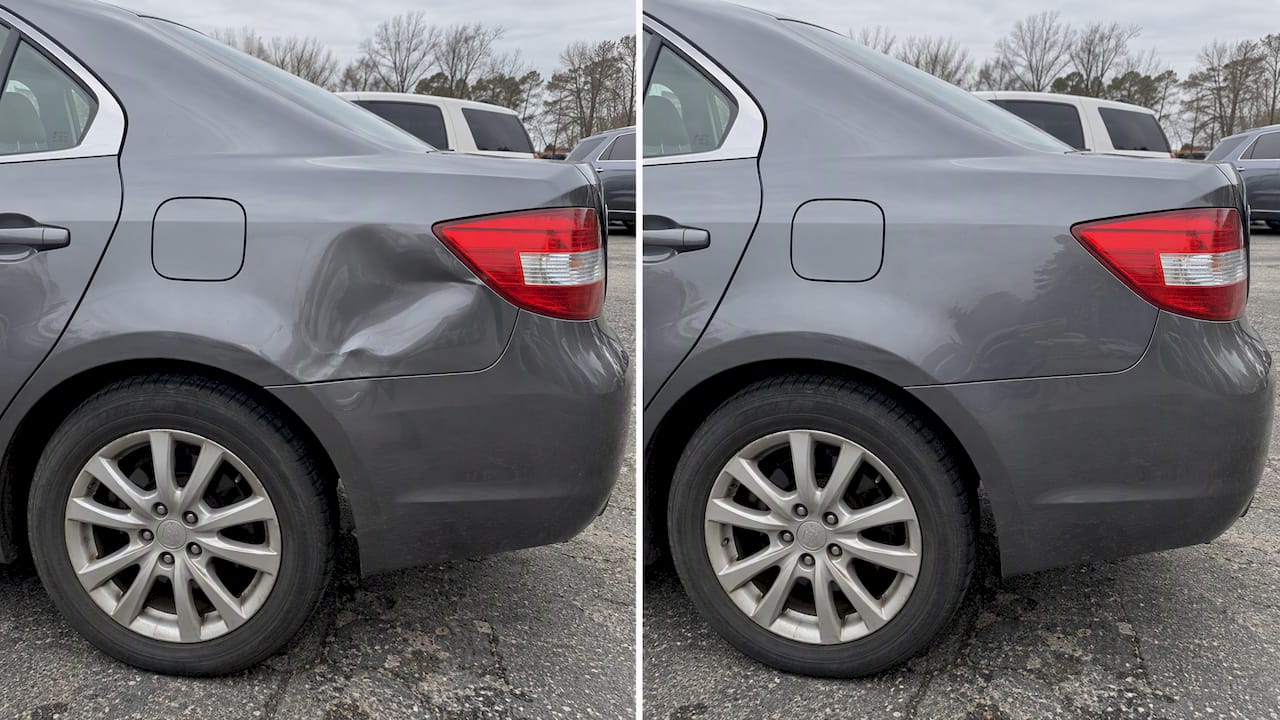
Denterasersllc handles mobile paintless dent repair, plastic bumper repair, and onsite collision services, coming to your location so you skip the tow and the shop waiting room. PDR preserves your factory finish entirely when the metal is accessible and undamaged. When the damage goes beyond PDR limits, the tech will tell you plainly and outline the conventional repair path.
How should you document the problem before calling for an estimate?
Good documentation cuts the back-and-forth and gets you an accurate quote faster.
Photo checklist:
- Wide-angle shot of the full vehicle from each corner.
- Close-up of every affected seam with a coin or ruler in frame for scale.
- Door-closed and door-open shots showing the gap and the hinge area.
- Underside or rocker panel shots if you can safely get a phone under the car.
Measurements to record:
- Gap width at top, middle, and bottom of each affected seam.
- Notes on any binding, scraping, or resistance when opening or closing.
- Whether every door, hood, and trunk latches on the first close.
- Any handling symptoms: pulling, vibration, or unusual tire wear.
Questions to ask the tech:
- Is this damage eligible for paintless dent repair, or will conventional repair be needed?
- Do you recommend OEM or aftermarket replacement parts for this panel?
- What is the estimated timeline, and is the vehicle safe to drive in the meantime?
- Does the repair carry a warranty?
Include your VIN, year, make, and model in every message or email. If you are considering selling the vehicle as-is, a step-by-step selling guide can help you understand how documented damage affects your asking price. Denterasersllc’s door ding repair checklist covers additional documentation tips that apply directly to mobile estimates.
Key Takeaways
A complete car panel alignment checklist covers visual symmetry, measured gap tolerances, root-cause identification, and clear red-flag thresholds that separate a DIY hinge tighten from a structural repair requiring a mobile pro.
| Point | Details |
|---|---|
| Start with doors | Doors set the reference for every adjacent panel; check them first before measuring anything else. |
| Target gap range | Aim for even gaps at each seam; a side-to-side variance noticeably different warrants closer inspection. |
| Red-flag threshold | A diagonal triangulation discrepancy greater than roughly 6mm points to structural asymmetry. |
| Document before calling | Photos with a ruler and recorded gap measurements speed up an accurate mobile estimate significantly. |
| Denterasersllc | Offers mobile PDR, plastic bumper repair, and onsite collision services for owners who need professional alignment work without a tow. |
Why the doors-first rule matters more than most owners realize
Most alignment guides hand you a list of measurements and leave it there. What they skip is the sequence, and sequence is everything. Panels are interdependent: a fender gap that looks wrong is often a symptom of a door that was never set correctly in the first place. Chasing the fender without fixing the door first is how you end up making three adjustments and landing back where you started.
The other thing worth saying plainly: PDR has real limits. It works beautifully on accessible dents where the paint is intact and the metal hasn’t been work-hardened by a hard impact. When a panel has been pushed far enough to shift a mounting point, no amount of careful metal massage will hold the alignment. The honest answer in that situation is conventional repair or frame work, and a good mobile tech will tell you that upfront rather than take your money for a fix that won’t last.
What I’ve seen repeatedly is that owners who document well, photos, measurements, and a clear description of any handling changes, get faster estimates and fewer surprises on the final bill. That preparation is worth ten minutes of your time before any tech arrives.
Onsite panel alignment help from Denterasersllc
Skipping the shop drop-off is the single biggest time saver for most vehicle owners dealing with panel misalignment. Denterasersllc comes to your location in Contra Costa County and surrounding areas, inspects the damage onsite, and handles everything from a minor hinge adjustment to plastic bumper repair and collision work, all while preserving your factory finish wherever PDR applies.
To get an accurate mobile estimate, have your photos, gap measurements, VIN, and preferred availability ready before you reach out. The more detail you provide upfront, the faster the tech can confirm scope and schedule. Visit Denterasersllc to request your onsite estimate today.
FAQ
What is a normal panel gap measurement on most cars?
Most manufacturers target a gap of roughly 3–5mm at major seams like door-to-fender and hood-to-fender. A side-to-side variance greater than about 2mm at the same point is worth investigating.
Can I adjust door alignment myself at home?
Minor hinge bolt tightening is a safe DIY task if the hinges are not worn. Tighten bolts incrementally and recheck at multiple points; if the door still binds or won’t latch after adjustment, the problem is likely structural and needs a pro.
How do I know if my car frame is bent after a collision?
Visible chassis deformation, multi-panel misalignment, and a diagonal triangulation discrepancy greater than roughly 6mm are reliable indicators. Handling changes like pulling or drifting confirm the concern.
Does paintless dent repair fix panel misalignment?
PDR addresses accessible dents where the paint is intact, but it does not correct shifted mounting points or structural misalignment. A mobile tech will assess whether PDR applies or whether conventional repair is needed.
What information should I have ready when requesting a mobile estimate?
Bring photos of every affected seam with a ruler for scale, recorded gap measurements, notes on any binding or latch issues, your VIN, and the vehicle’s year, make, and model.