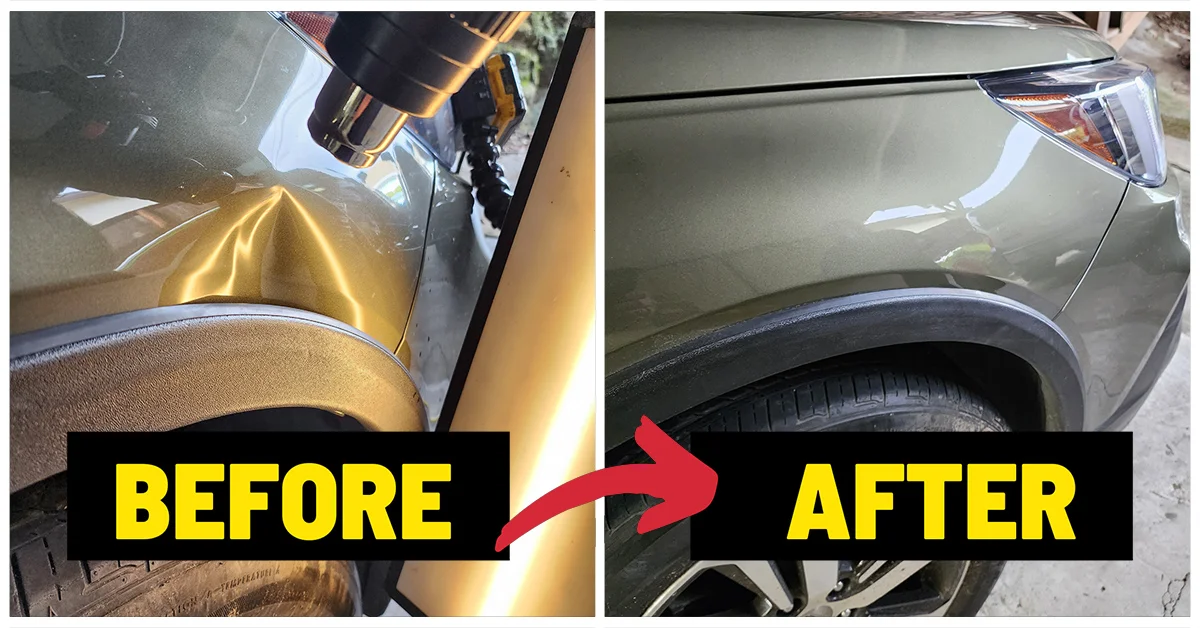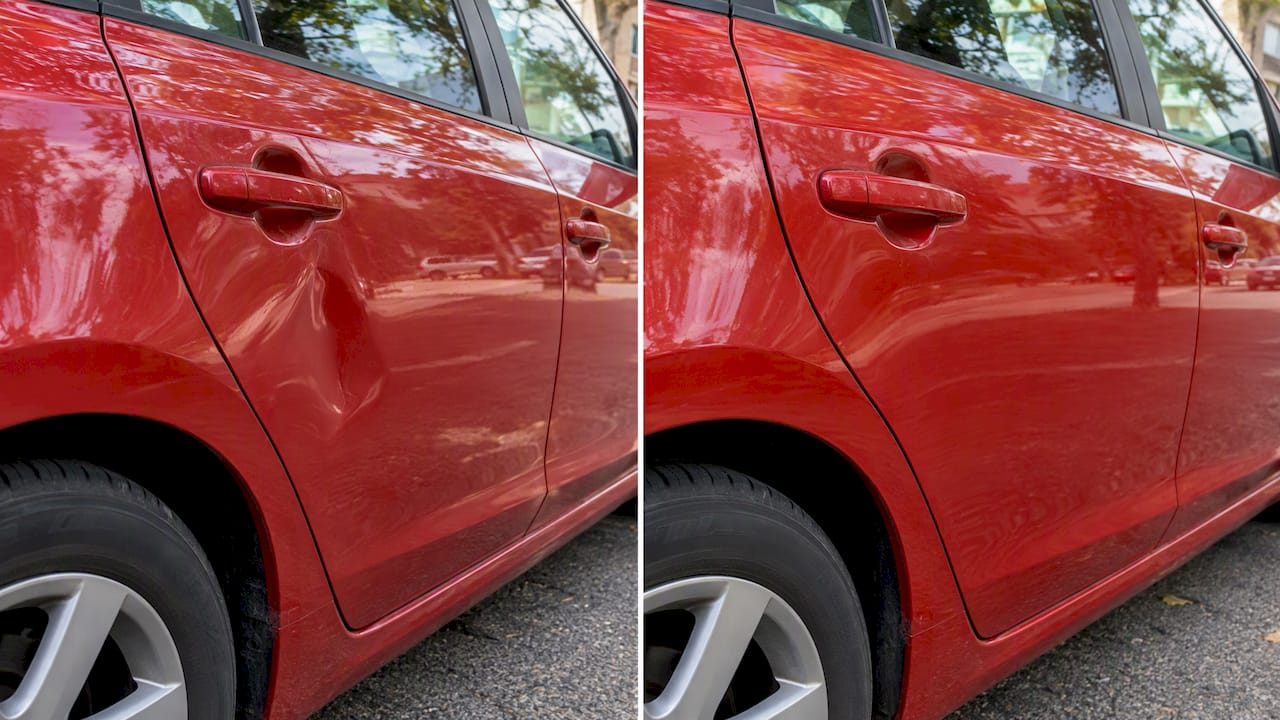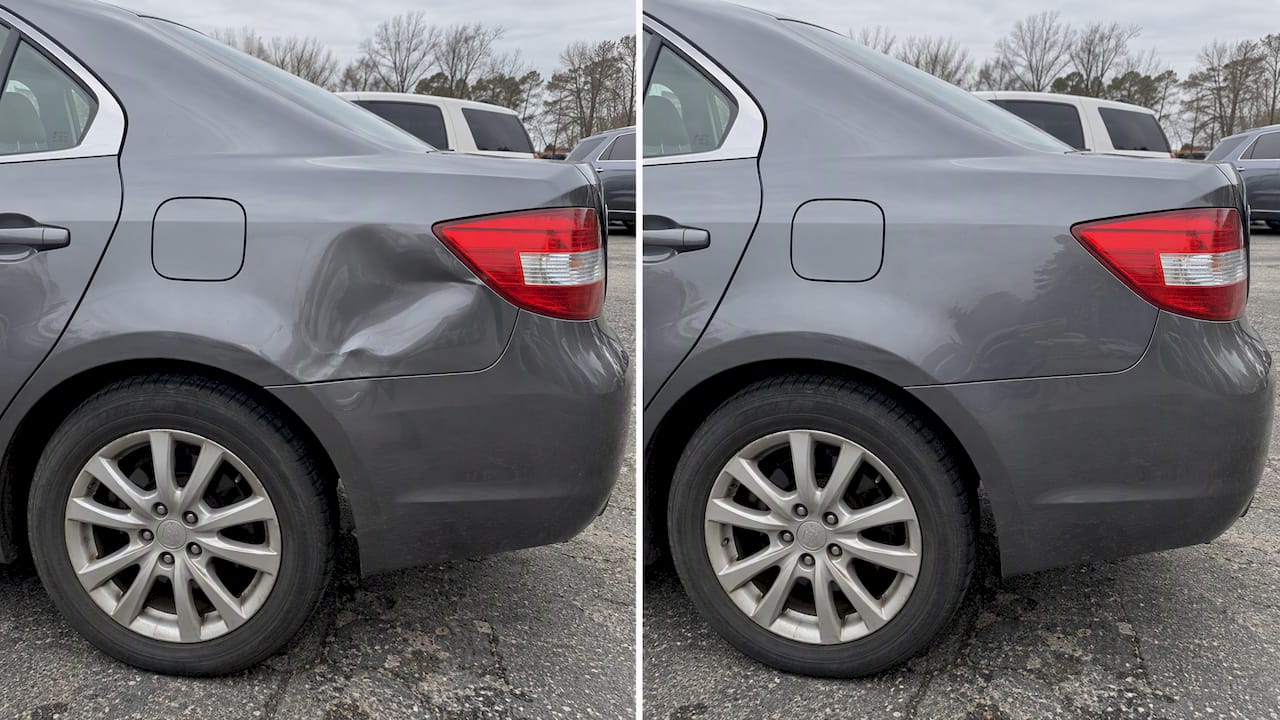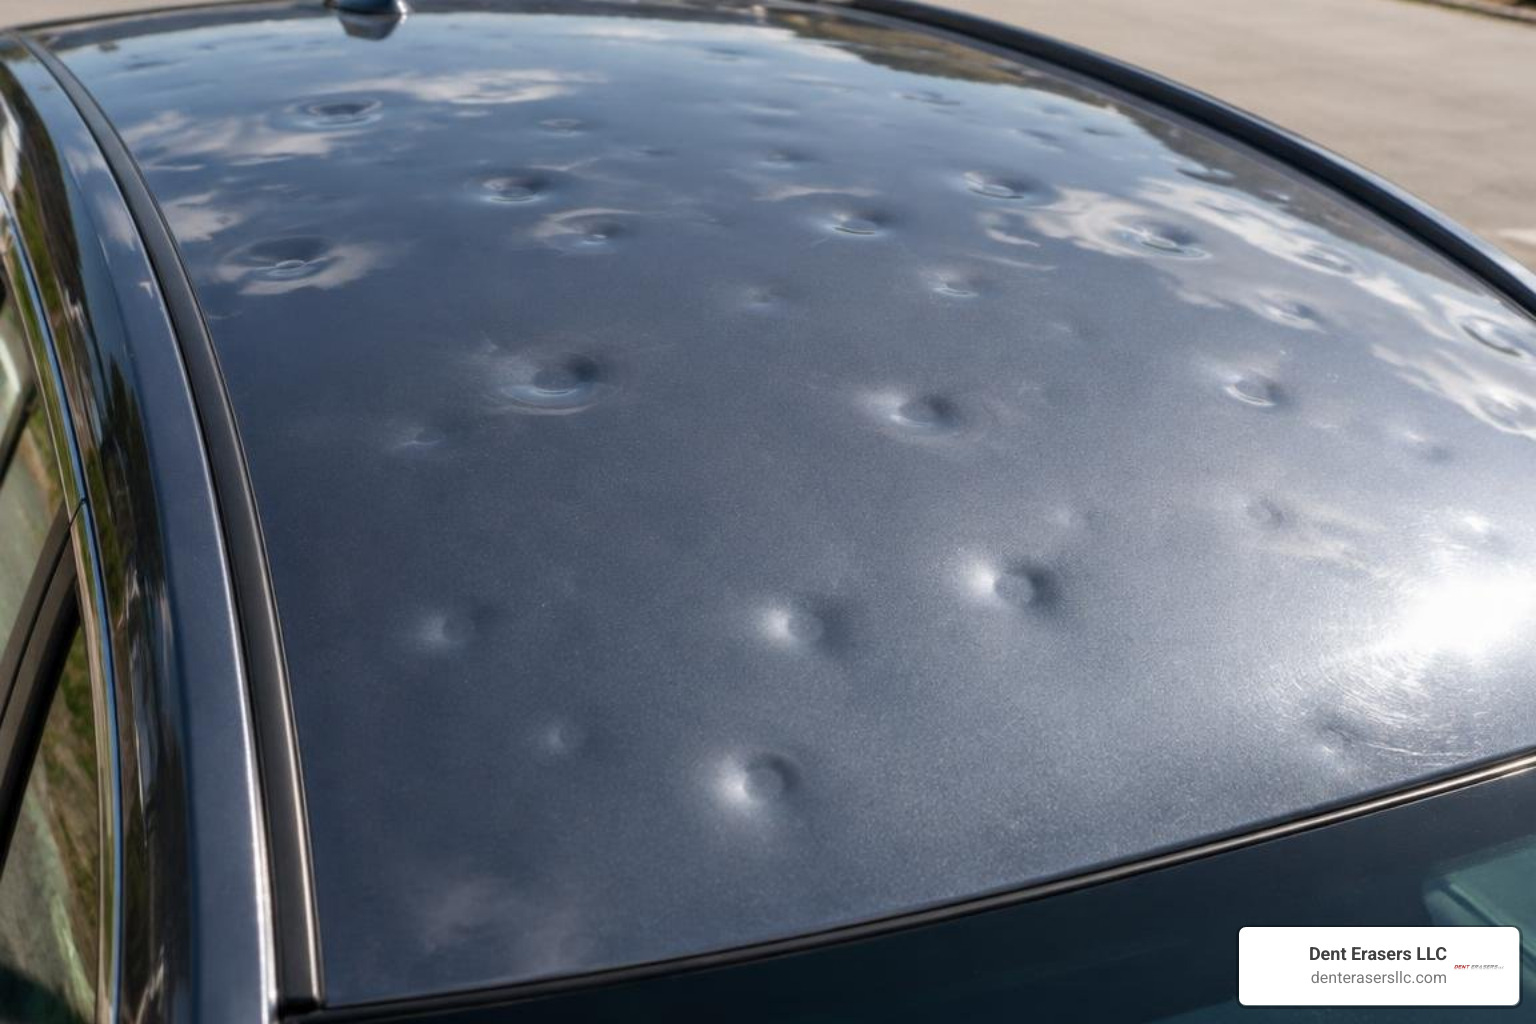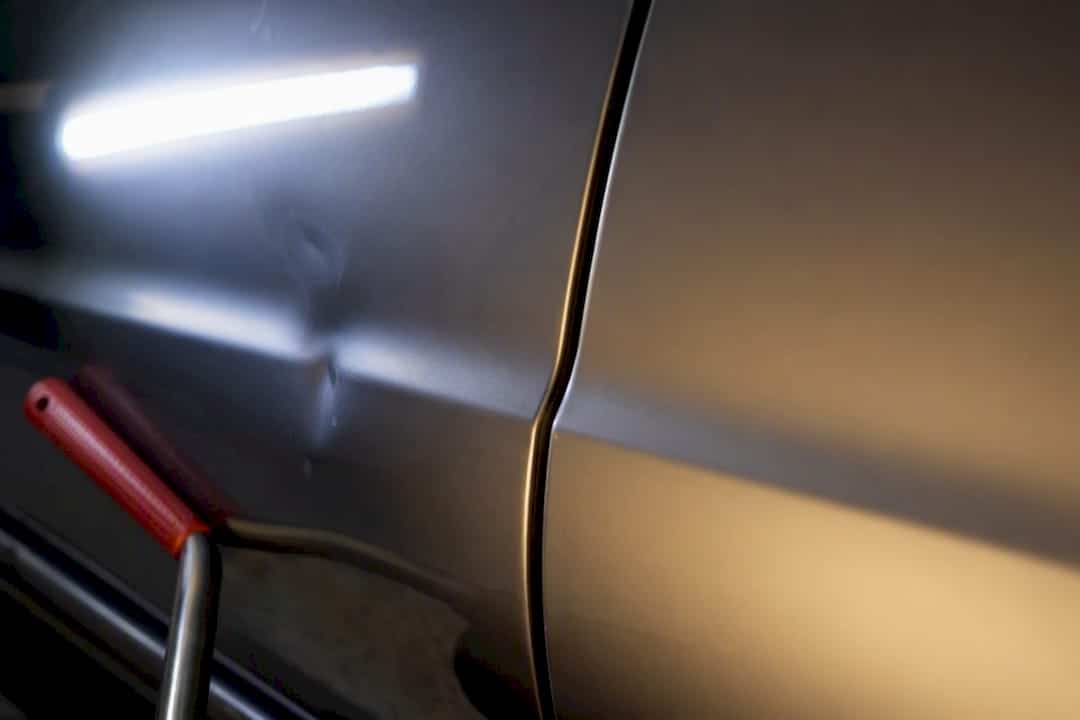
A dent that spans two panels can almost always be improved with paintless dent repair when the paint is intact, the metal isn’t stretched, and you can get a rod behind at least one side. When rear access is blocked on both panels, glue-pull is the realistic path. When paint is cracked, metal is torn, or the damage sits within roughly an inch of a hem flange, you’re looking at conventional bodywork instead.
TL;DR:
- Effective paintless dent repair requires the paint to be intact, non-cracked, and within about 1 inch of a hem flange or structural area.
- Access for tools must come from factory openings, with drilling or creating new holes strongly discouraged to avoid damaging weatherproofing or sensors.
- Double-panel dents benefit from careful, incremental pushes starting near the perimeter, with attention to body lines and proper reflection checks.
- Glue-pull can be used when backside access is blocked, but it may necessitate minor repainting if near edges or damaged paint.
- Smaller, shallow dents usually cost less and are quicker to fix, while multi-panel or structural damage often requires extensive, time-consuming repairs.
Table of Contents
- What Double-Panel Dent Repair Actually Requires
- Planning Access Across Two Panels
- Fixing Double-Panel Dents with Rod-Based PDR
- Glue-Pull Technique When Access Is Blocked
- Finishing, Verification, and Knowing When to Stop
- Why Denterasers LLC Trusts Access-First Repair
- A Technician’s Honest Take on Double-Panel Repairs
- Book a Mobile PDR Visit with Denterasers LLC
- Sources
- FAQ
What Double-Panel Dent Repair Actually Requires
Before you touch a tool, the panel itself tells you what’s possible. Paintless dent repair depends on the factory finish staying flexible enough to move without cracking, and that’s the first thing worth checking with a bright, low-angle light.
Run your palm over the dent, then look at it under reflected light from a fluorescent tube or a PDR light board. If the paint shows spidering, flaking, or a chip at the deepest point, PDR is off the table. Factory paint has a small amount of elasticity built in; aftermarket respray or heavily aged clear coat often doesn’t move the same way, and it can crack even when the metal underneath would have taken the correction just fine.
The hem-flange rule matters even more on double-panel damage, because these dents frequently creep toward the seam where two panels meet. Dents within about 1 inch (25 mm) of a hem flange or on structural areas like pillars and rocker reinforcements generally aren’t good PDR candidates. That edge zone is where metal is folded and welded, so it resists the kind of gradual push PDR relies on.
Here’s what to check, in order:
- Paint condition: any cracking, chipping, or touch-up work over the dent
- Distance from the hem flange or a body line, measured by eye against a tape or your finger width
- Whether the dent has a sharp crease or a soft, broad “oil-can” flex when you press it
- Backside access: can you see or feel an opening large enough for a rod or blade tool
- Whether the low point crosses onto the second panel or just approaches it
Pro Tip: Press the center of the dent with your thumb. A dent that pops back with a soft, springy feel is usually a good PDR candidate. One that stays sunken or feels stiff and creased is telling you the metal has stretched.
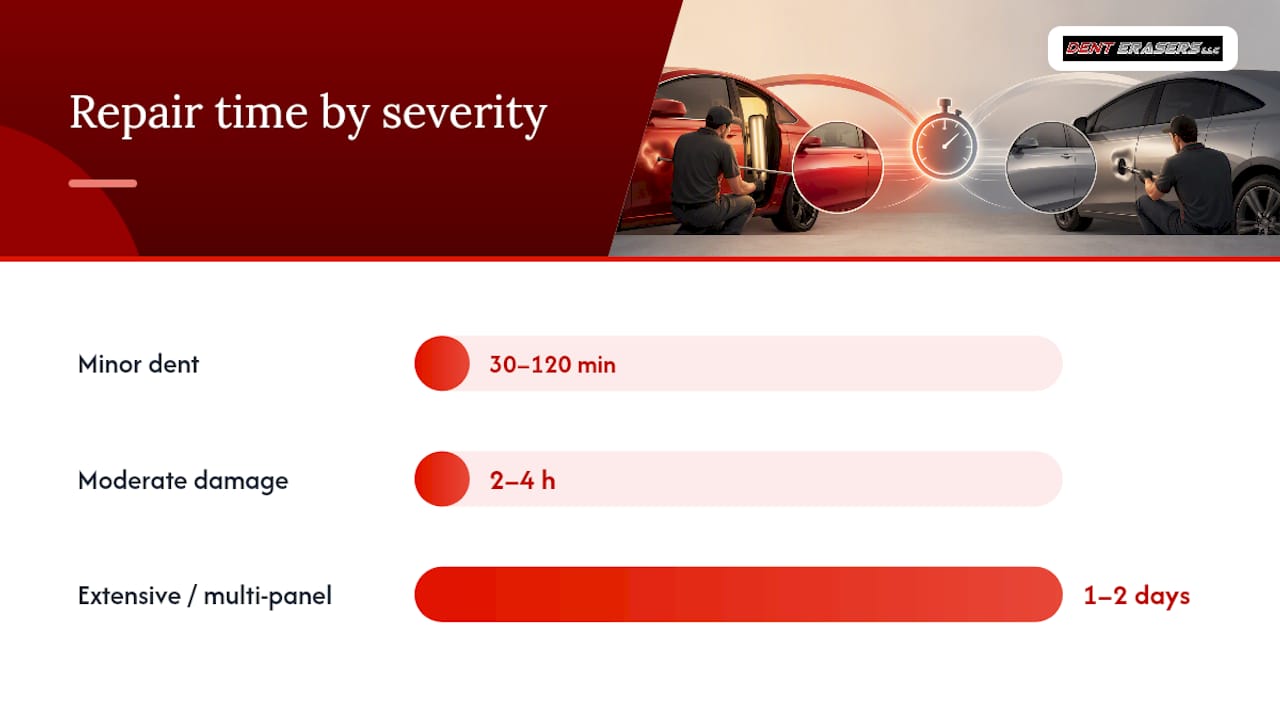
Time and cost scale with all of this. Minor dents typically run 30 to 120 minutes, moderate damage 2 to 4 hours, and extensive multi-panel jobs can stretch to a day or two once access is tight or a body line runs through the repair. A double-panel dent rarely lands in the “minor” bucket, mostly because of the extra time spent getting access, not the metal work itself.
Planning Access Across Two Panels
Access is the entire game in double-panel work. The angle and leverage you get from behind the panel decides whether you can push smoothly and predictably or whether you’ll be fighting the metal the whole way. Panel access is the foundation of successful paintless dent repair precisely because it controls tool angle, visibility, and how much force you can apply without guessing.
Start with the factory openings before considering anything more invasive:
- Check trim panels, wheel liners, and taillight housings for existing service ports.
- Remove interior door panels or trunk liners carefully, keeping clips and fasteners organized by location.
- Look for factory drain holes or foam-block gaps that a whale-tail or rod tool can slip through.
- If access still isn’t workable, consider whether the panel needs partial removal, which is a job for a trained technician rather than a driveway attempt.
- If none of that opens a path, plan for glue-pull instead of forcing an access hole that doesn’t exist.
Never drill a new access hole to reach a dent. Factory guidance and PDR best practice call for preserving existing grommets and seals rather than creating new openings, because a drilled hole can compromise weatherproofing, wiring routes, or airbag sensor housings you can’t see from the outside. On newer vehicles, adjacent panels often carry blind-spot sensors, parking sonar, or ADAS camera brackets tucked behind trim you’d otherwise remove without a second thought. Check your owner’s manual or a wiring diagram before pulling anything near a bumper corner or quarter panel.
Pro Tip: If you can slide two fingers behind the panel edge and feel the backside of the dent, you likely have workable access. If you can only feel a brace or seam, that’s your cue to move toward glue-pull.
Fixing Double-Panel Dents with Rod-Based PDR
Once access is confirmed, setup matters almost as much as technique. Position a reflection board or a length of fluorescent light so it reflects across both panels at once. You need to see the dent’s low points and the body line simultaneously, because on a double-panel repair, the line is your reference for whether you’re overcorrecting one side.
Choose tools based on the tightest access point, not the easiest one. A shorter rod with more bend gives you control in cramped quarters near a wheel well or rocker, even though a longer straight rod would be faster if the space allowed it. Large, broad, shallow dents on accessible panels are often the best PDR candidates, while sharp creases and edge damage push toward conventional repair regardless of overall size.
Work from the perimeter of the dent toward the center in small, incremental pushes. Pushing the deepest point first tends to create a high spot ringed by lower metal, forcing you to chase highs and lows around the whole repair. Move in a spiral or grid pattern instead, checking your reflection after every few pushes rather than after every single one.
Body lines that run across both panels need special handling. The ridge itself is work-hardened metal, stiffer than the surrounding sheet, so technicians address the stress pattern around the ridge rather than pushing directly on the line. Push the metal on either side of the line first, letting the ridge settle back into alignment as tension around it releases, then use light tap-downs directly on the line only if a small high spot remains.
Common mistakes on double-panel jobs:
- Over-torquing the rod, which creates a new high spot instead of releasing the original low
- Working one panel to completion before touching the second, which leaves a visible step at the seam
- Skipping tap-downs on shallow highs because “it looks close enough” under bad lighting
- Ignoring the body line’s continuity and leaving a slight waviness where it crosses from one panel to the next
Verify your work by checking the reflection at three or four angles, not just the one you’ve been staring at for twenty minutes. Run your hand flat across the repair, including a few inches past the original dent boundary on both panels. If the body line reads straight in reflection and feels continuous under your palm, you’re done. If you still catch a shadow line or a faint wave, go back to tap-downs before calling it finished.
Glue-Pull Technique When Access Is Blocked
Glue-pull earns its place when rear access simply isn’t there, whether that’s a fully boxed panel, a structural brace in the way, or a repair location where removing enough trim isn’t practical. It’s a legitimate technique, not a fallback of last resort, but it comes with different trade-offs than rod work.
The sequence looks like this:
- Clean the paint surface thoroughly with isopropyl alcohol so the glue bonds properly on older paint surfaces.
- Select a pad sized to the dent’s shape. Smaller pads suit sharper low points; wider pads spread pull force across a broad, shallow dent.
- Apply hot glue evenly to the pad, and consider mild surface warming beforehand since glue bonds more reliably above roughly 65 to 70 degrees.
- Let the glue set fully before pulling. Pulling early risks a pad that releases mid-pull and wastes the setup.
- Pull in stages, checking progress after each pull rather than trying to remove the whole dent in one motion.
- For wide dents spanning both panels, use multiple pads simultaneously or a strap-and-bridge setup to distribute the pull evenly across the seam.
- Cool the glue with an aerosol chiller before popping the pad free, which keeps you from tearing paint.
- Follow with careful tap-downs to knock down any remaining high spots the pull created.
Double-panel spreads often need two or three pad placements worked in sequence, moving outward from the deepest point rather than pulling everything at once. Glue pulling is a planned alternative when backside access is blocked, and it works best when you treat it as a staged process instead of a single dramatic yank.
Be honest about the finish outcome. Glue-pull can move locked-in low points that rod tools can’t reach, but it also raises the odds of needing minor paint blending or a small respray, especially near an edge or a hem flange where the paint has less give to begin with. If you’re pulling close to that flange zone, plan for the possibility that a body shop finishes the job.
Finishing, Verification, and Knowing When to Stop
The last stretch of any double-panel repair is about confirming the fix holds up under real light, not just workshop light. Check the panel outdoors in daylight and again under a streetlight or garage fluorescent, since different light sources reveal different waviness.
Run your hand across the repair and a few inches beyond it on both panels. Continuity is the test: a body line should feel unbroken as it crosses the seam, and the surface shouldn’t dip or crown where the two panels meet.
Some conditions mean you stop and hand the job to a body shop, regardless of how far you’ve gotten:
- Paint that cracks or chips during the repair, even a small flake
- Metal that’s torn, folded, or shows a sharp crease that won’t soften with tap-downs
- Damage within about an inch of a hem flange or on a structural component like a pillar or rocker
- Any repair area on ultra-high-strength steel, which won’t respond to standard PDR leverage the way mild steel does
Minor single-panel dents usually require under a couple of hours, while multi-panel jobs involving body lines can take a day or more, and cost typically scales with that time plus the number of access points needed. Ask a technician to walk you around the vehicle in daylight before you sign off, and request a look at the panel from a low, raking angle where any remaining imperfection is easiest to spot.
Why Denterasers LLC Trusts Access-First Repair
The company was founded around a simple rule: assess access before you touch metal. That discipline shows up in cases like a Navy veteran’s quarter panel repair, where the deciding factor wasn’t the size of the dent but whether a rod could reach it without disturbing the trunk seal or wiring harness nearby.
On double-panel jobs, a documented approach matters. Technicians who track paint condition, hem-flange proximity, and access points before starting avoid the guesswork that turns a two-hour repair into a half-finished mess. That’s the standard worth expecting from anyone working on your vehicle, mobile or otherwise.
A Technician’s Honest Take on Double-Panel Repairs
The biggest DIY mistake I see is skipping the inspection and going straight for the push. Take clear photos in daylight from three angles, note where you think the access points are, and measure the dent’s distance from any edge before calling a technician. Reflection is your best diagnostic tool.
Pro Tip: Watch how the reflection line moves as you correct the dent. When it stops wobbling and reads straight across both panels, you’re finished; chasing it further usually creates new problems.
— Brian Blanc
Book a Mobile PDR Visit with Denterasers LLC
Double-panel dents are exactly the kind of job mobile paintless dent repair handles well: no shop drop-off, no repaint unless the damage genuinely demands it, and a technician who assesses access before quoting a price. Some mobile paintless dent repair providers bring the rods, glue-pull rig, and reflection boards to your driveway or office lot, which matters most on jobs that need patience and repeat checking, not a rushed single visit.

Before your visit, send a few daylight photos of the dent from straight on and from a low angle, note roughly where it sits relative to any body line or panel seam, and mention if you’ve noticed any paint cracking. That lets the technician plan the access route before arriving instead of guessing on-site. If you’re still deciding whether to attempt any of this yourself, our checklist for choosing the right PDR provider walks through what to ask. When you’re ready, request a mobile estimate and get a real assessment instead of a guess over the phone.
Sources
- PDR Limitations: Technical Analysis of When Paintless Dent Repair Won’t Work | DentAdvisor
- Why Panel Access Is the Foundation of Successful Paintless Dent Repair – Dent Repair School
FAQ
What Dents Cannot Be Fixed with PDR?
Dents with cracked or chipped paint, torn or severely stretched metal, or damage within about an inch of a hem flange or structural component generally can’t be repaired with paintless dent repair and need conventional bodywork instead.
How Do You Pop a Dent Out of a Side Panel?
With safe backside access, a rod tool applies gradual pressure from behind while you work from the perimeter inward in small pushes, checking the reflection frequently to avoid creating a new high spot.
How Much Will a Dent Cost to Fix?
Cost tracks with repair time: minor dents that take 30 minutes to 2 hours cost the least, while multi-panel repairs involving body lines and extra access work can take a full day or two and cost accordingly more.
Are Really Small Dents in Car Panels Worth Fixing?
Yes, in most cases. Small dents with intact paint are usually quick, affordable PDR jobs, and fixing them early prevents the paint from work-hardening further or cracking if the dent worsens over time.