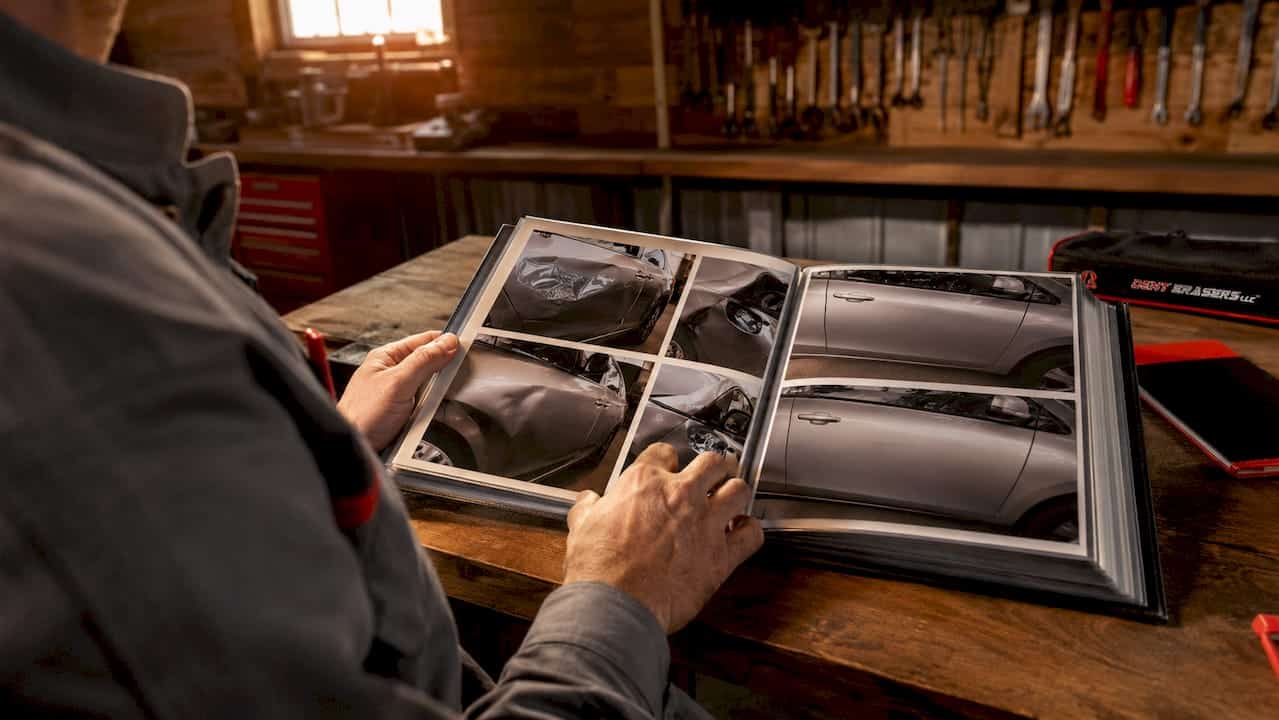
Requesting dent repair before and after photos is the most reliable way to assess a technician’s actual skill before you hand over your keys. Visual evidence cuts through vague promises and star ratings. Paintless Dent Repair (PDR), the industry’s preferred technique for preserving factory paint, produces results that are best judged under the right lighting conditions. Knowing how to request dent repair before and after documentation, and how to read what you see, protects you from rushed work and costly do-overs.
What to expect from dent repair before and after photos
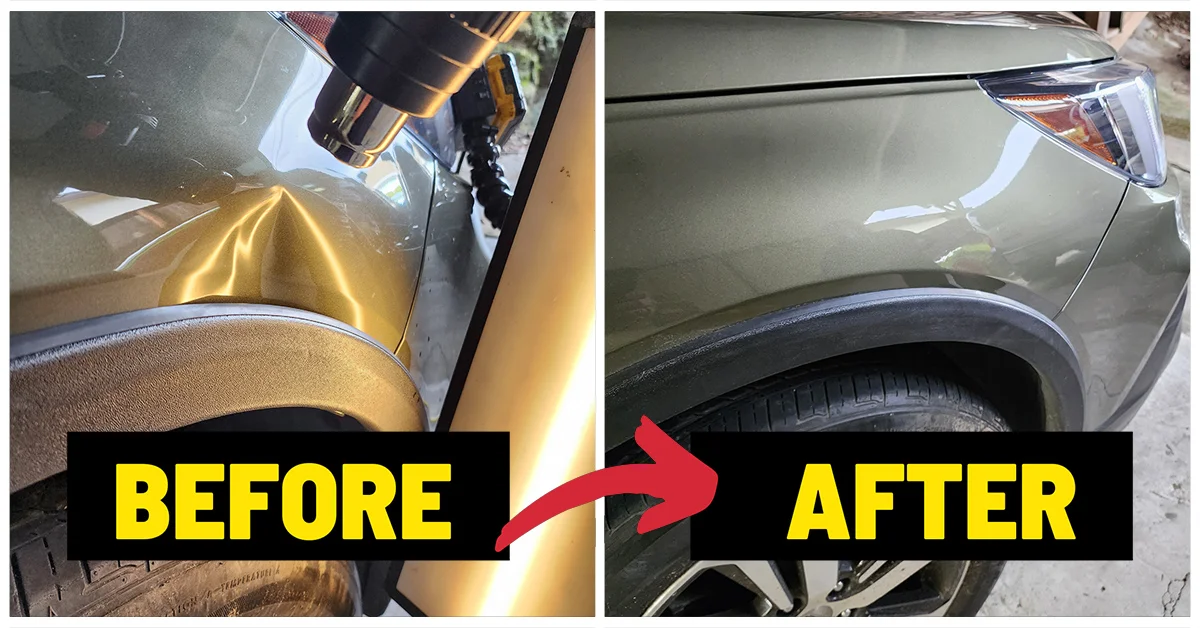
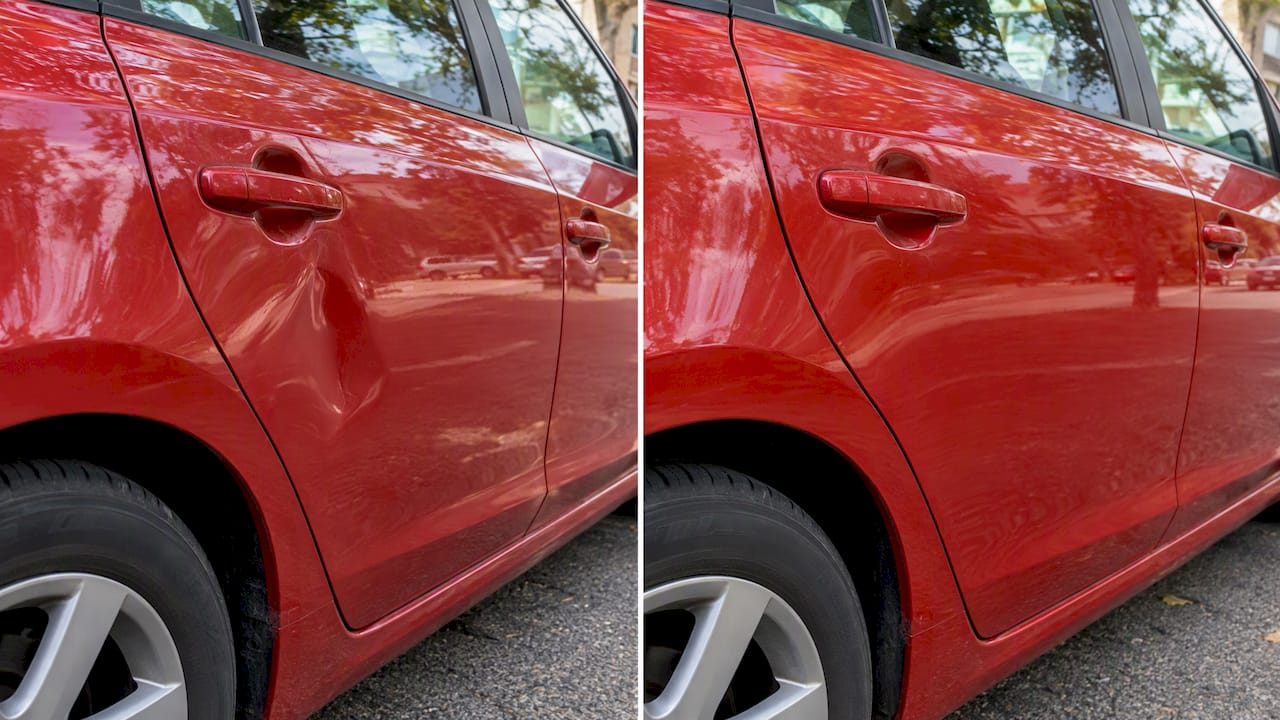
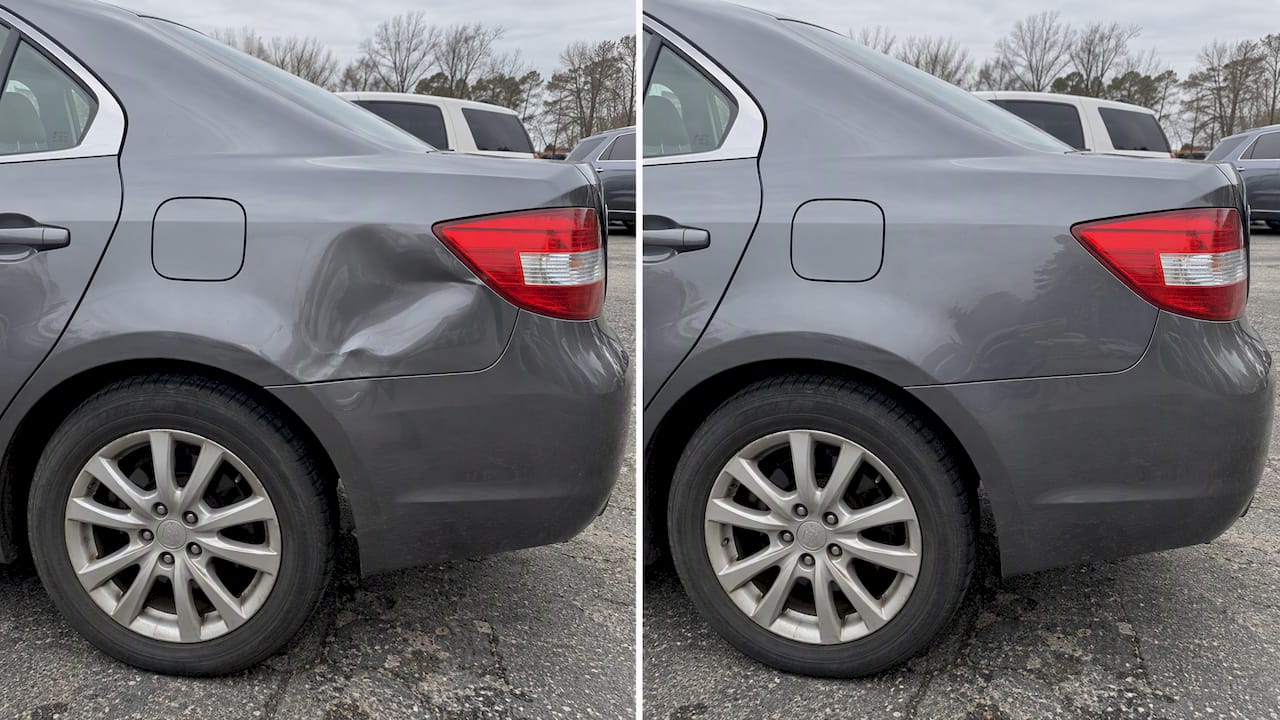
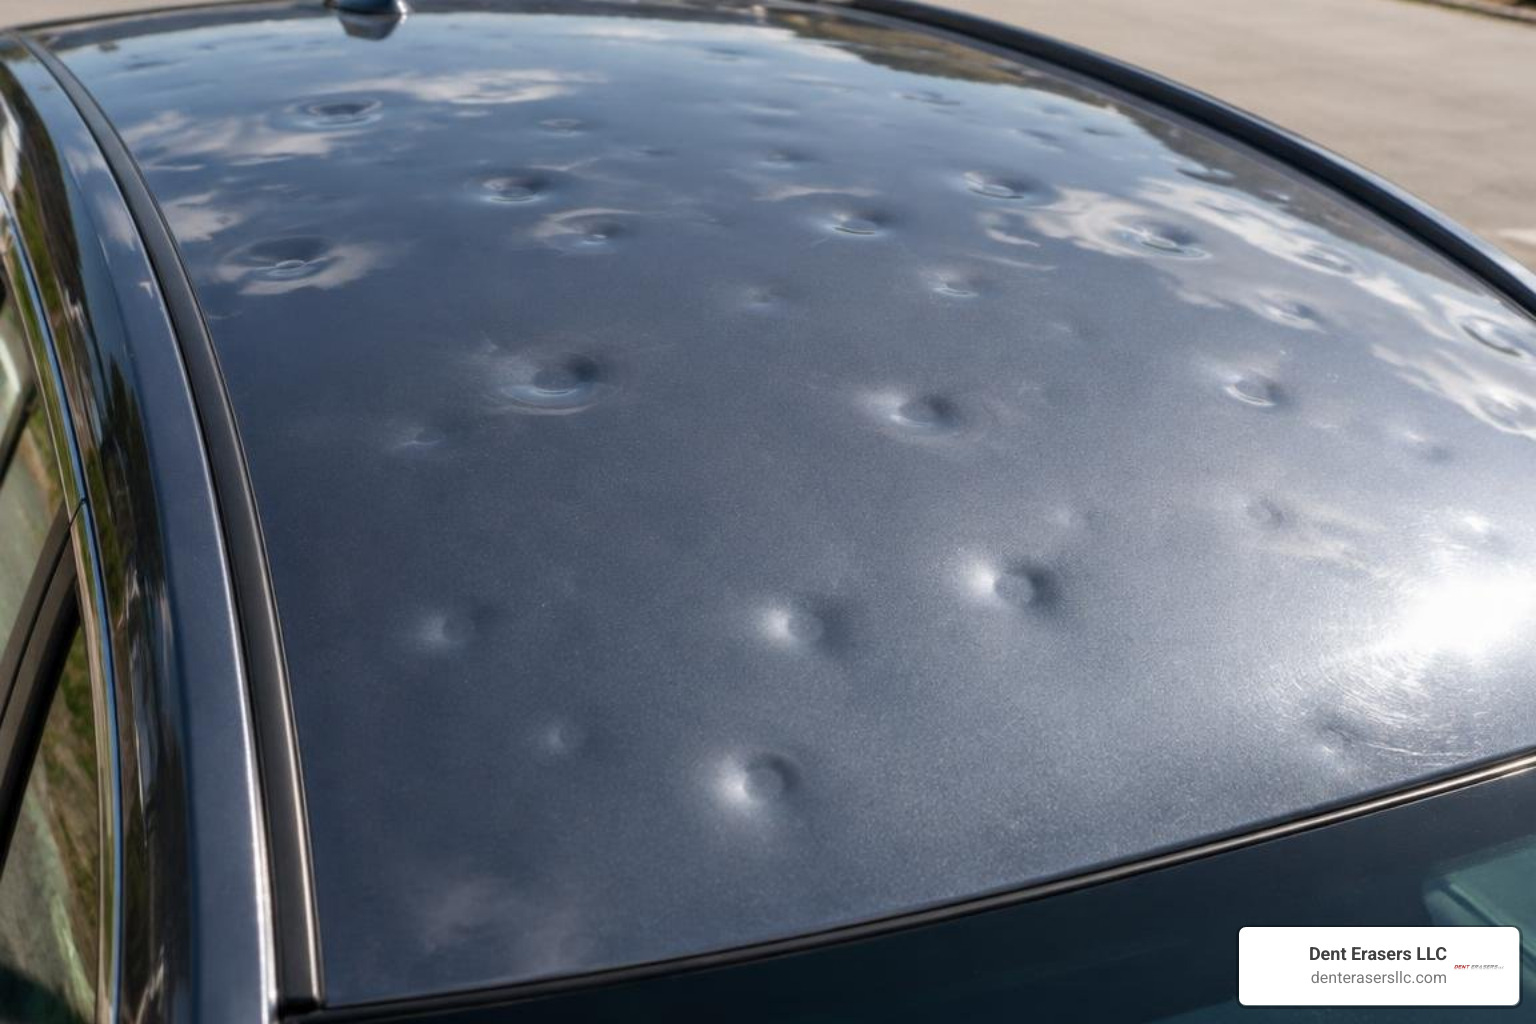
Strong before and after dent repair photos tell a clear story. The before image should show the dent’s location, depth, and the condition of the surrounding paint. The after image should show a surface so smooth that you cannot tell a dent was ever there.
Quality signals to look for in any photo set:
- Consistent lighting and angle. Both photos should be taken from the same position. Changing the angle between shots is the oldest trick for hiding a mediocre result.
- Direct or high-contrast light. Flat, shaded lighting hides waviness. Reflections under direct light reveal whether the metal surface is truly smooth or just looks smooth in dim conditions.
- No high spots or ripples. A finished PDR repair shows a continuous, undistorted reflection. Any waviness in the reflection means the metal memory was not fully restored.
- Paint intact. PDR works only when the paint is undamaged. The after photo should show zero cracking, peeling, or color mismatch.
- Multiple angles. One photo from one angle is not enough. Reputable technicians shoot from at least two or three positions to show the full repair area.
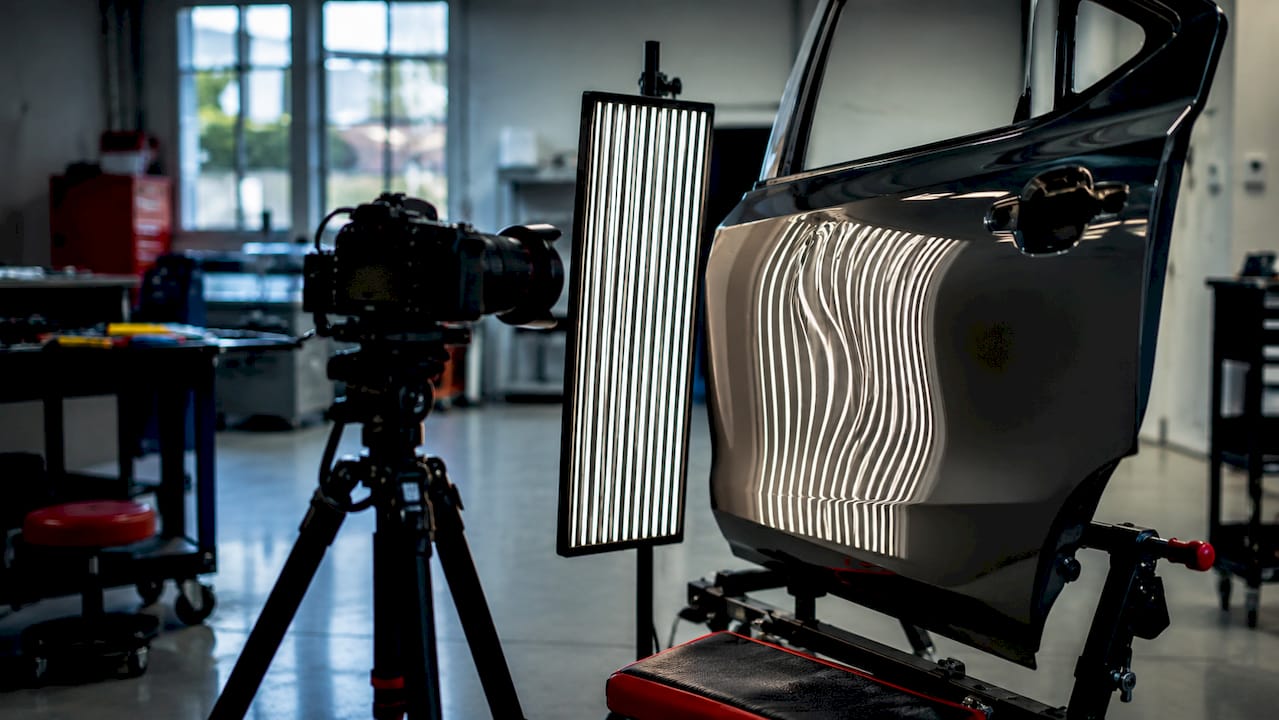
The light board is the gold standard inspection tool in the PDR industry. It casts a grid of straight lines across the panel, and any distortion in those lines reveals imperfections that flat photography hides entirely.
How to request dent repair before and after photos
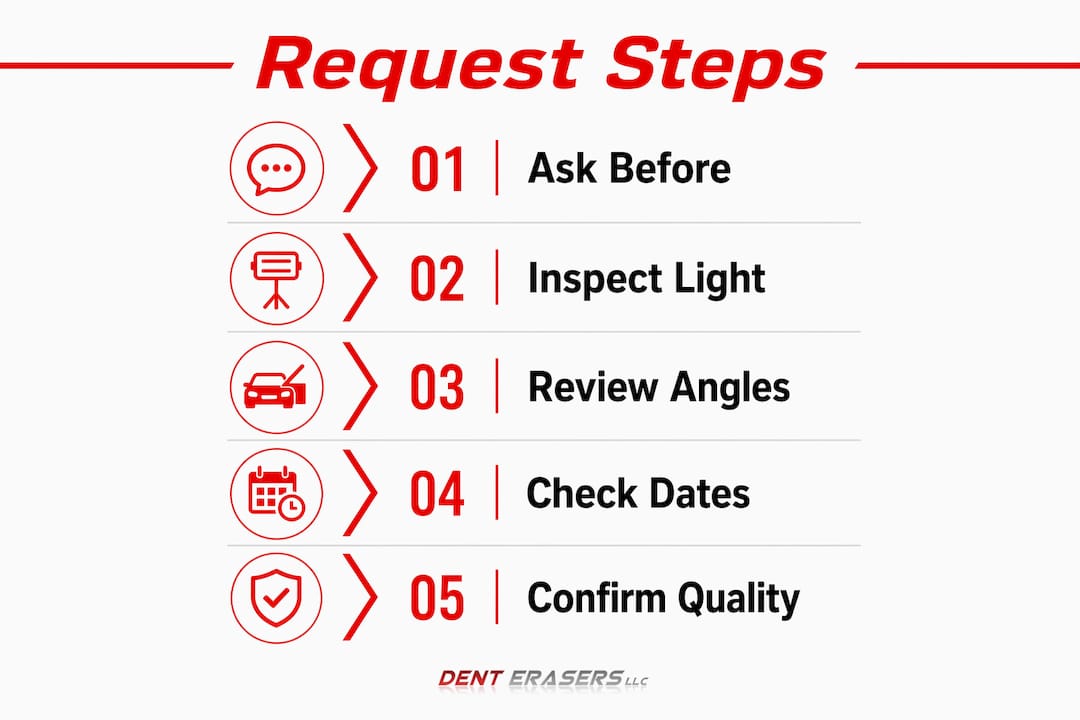
Ask for photos before you commit to any service. This single step filters out technicians who do rushed work and do not want a record of it.
- Ask during the estimate call. Say directly: “Do you document repairs with before and after photos?” A confident technician answers yes without hesitation.
- Request specific lighting conditions. Ask whether photos are taken under a light board or in direct sunlight. Inspecting repairs under varied lighting is the only way to confirm true repair quality.
- Ask for date stamps. Photos with timestamps confirm they are from the actual job, not pulled from a stock gallery.
- Request multiple angles. Specify that you want shots from the front, side, and at a raking angle to the panel surface.
- Ask to see a gallery of past work. A technician with a strong track record keeps a library of dent repair comparison photos from real jobs.
Pro Tip: Ask to inspect the finished repair yourself under the technician’s light board or in direct sunlight before you pay. A skilled technician welcomes this. One who refuses is telling you something important.
Reviewing a PDR photo gallery from past jobs gives you a realistic benchmark for what a quality result actually looks like on a panel similar to yours.
Understanding dent repair results: what the before and after photos reveal
Before and after photos are only useful if you know what you are looking at. Good repairs look smooth with no distortion. Bad repairs can hide in poor lighting or low-contrast photos.
Signs of a high-quality repair
- The panel surface is smooth and continuous, with no visible ridges or low spots.
- Reflections of straight lines (like a light board grid or a window frame) run straight across the repaired area.
- The factory paint shows no cracking, dulling, or texture change.
- The repair area blends perfectly with the surrounding panel.
Red flags in after photos
- Waviness or rippling in the reflection, which signals incomplete metal memory restoration.
- A high spot, meaning a bump where the technician pushed too hard from behind.
- Stretched or over-pushed metal that cannot be corrected without repainting.
- Any sign of filler (bondo) under the paint, which indicates the technician abandoned PDR and used body filler without telling you.
- Drilled access holes that were not properly sealed, which can cause rust over time.
PDR works only when the paint is intact and the metal has not been overstretched. When those conditions are not met, traditional body shop repairs with sanding, filler, and paint become necessary. The before and after photos from a traditional repair will look different: you may see primer or fresh paint in the after shot, which is normal for that method but not for PDR.
Common mistakes when evaluating before and after dent repair photos
The biggest mistake car owners make is trusting photos without a physical inspection. Photos are a starting point, not a final verdict.
- Relying on shaded or low-contrast photos. A repair that looks perfect in a shaded garage can show clear waviness the moment you pull into sunlight. Customers often only see repairs in the shade, missing imperfections that only appear in direct light.
- Ignoring multi-panel damage. A dent near a panel edge may involve adjacent panels. Photos that only show the primary dent miss damage that will show up later.
- Skipping the follow-up check. Rushed repairs can look good initially but degrade over months as metal memory issues become visible. Schedule a follow-up inspection 60–90 days after the repair.
- Trusting star ratings over visual proof. Online reviews reflect customer satisfaction, not technical quality. A five-star review from someone who never looked at their car under a light board tells you very little.
- Accepting a single photo. One well-lit after photo is easy to fake or cherry-pick. Always ask for a full set showing multiple angles and lighting conditions.
Pro Tip: Walk around your vehicle in direct sunlight after any dent repair. Crouch down and look along the panel at a low angle. This raking view reveals surface imperfections that a straight-on look completely misses.
Knowing the benefits of PDR over traditional methods helps you set the right expectations for what your before and after photos should show, depending on the repair method your technician recommends.
Key takeaways
Requesting before and after dent repair photos, combined with a physical inspection under direct light, is the most reliable way to verify repair quality and protect your investment.
| Point | Details |
|---|---|
| Ask before you commit | Request photo documentation during the estimate call, before agreeing to any service. |
| Lighting determines accuracy | Photos taken under a light board or direct sunlight reveal surface flaws that shaded images hide. |
| Know the red flags | Waviness, high spots, stretched metal, or filler in after photos signal a poor PDR result. |
| PDR has clear limits | PDR only works when paint is intact and metal is not overstretched; photos should reflect the correct method used. |
| Follow up after repair | Inspect the panel in direct sunlight 60–90 days later to catch any metal memory issues that develop over time. |
What I’ve learned from years of showing my work
Transparency is the one thing that separates a technician who is proud of their craft from one who is just moving cars. I have been doing mobile PDR in Contra Costa County long enough to know that the customers who ask the hardest questions get the best results. Not because asking forces me to do better work, but because it tells me they will actually look at what I did.
The car owners who skip the before and after comparison are also the ones who end up back at a shop six months later, paying to fix a repair that was never right. A photo set taken under a light board does not lie. The metal does not lie. If a technician cannot show you straight reflections on a finished panel, that is your answer.
My honest advice: do not let anyone talk you out of requesting visual evidence. A quality PDR repair holds up under any light, from any angle, on day one and day 365.
— Brian Blanc
See Denterasersllc’s repair results for yourself
Denterasersllc documents every job with before and after photos taken under proper lighting conditions, so you always know exactly what was done to your vehicle.
The plastic bumper repair service at Denterasersllc includes full photo documentation showing the panel before work begins and after the repair is complete. You can review the results under direct light before you pay. Denterasersllc serves Contra Costa County and surrounding areas with mobile service that comes to you, so there is no need to drop your car at a shop and wait. Request a quote and ask to see the photo gallery from past jobs.
FAQ
What should before and after dent repair photos include?
Before photos should show the dent’s location, depth, and paint condition. After photos should show a smooth, undistorted surface with factory paint fully intact, photographed from multiple angles under direct or high-contrast light.
How do I know if a PDR before and after photo is authentic?
Ask for date-stamped images taken from multiple angles, including under a light board or in direct sunlight. A single well-lit photo from one angle is not sufficient proof of a quality repair.
Can PDR always produce a perfect before and after result?
PDR produces clean results only when the paint is intact and the metal has not been overstretched. Dents with paint damage or severe creasing require traditional body shop methods, which produce different photo characteristics.
Why does lighting matter so much in dent repair photos?
Light board and direct sunlight reveal surface distortions that flat or shaded lighting completely hides. A repair that looks flawless in a dim garage can show clear waviness under the sun.
How long after a repair should I do a follow-up inspection?
Inspect the repaired panel in direct sunlight at 60–90 days after the job. Metal memory issues and surface waviness from rushed repairs often become visible within that window.