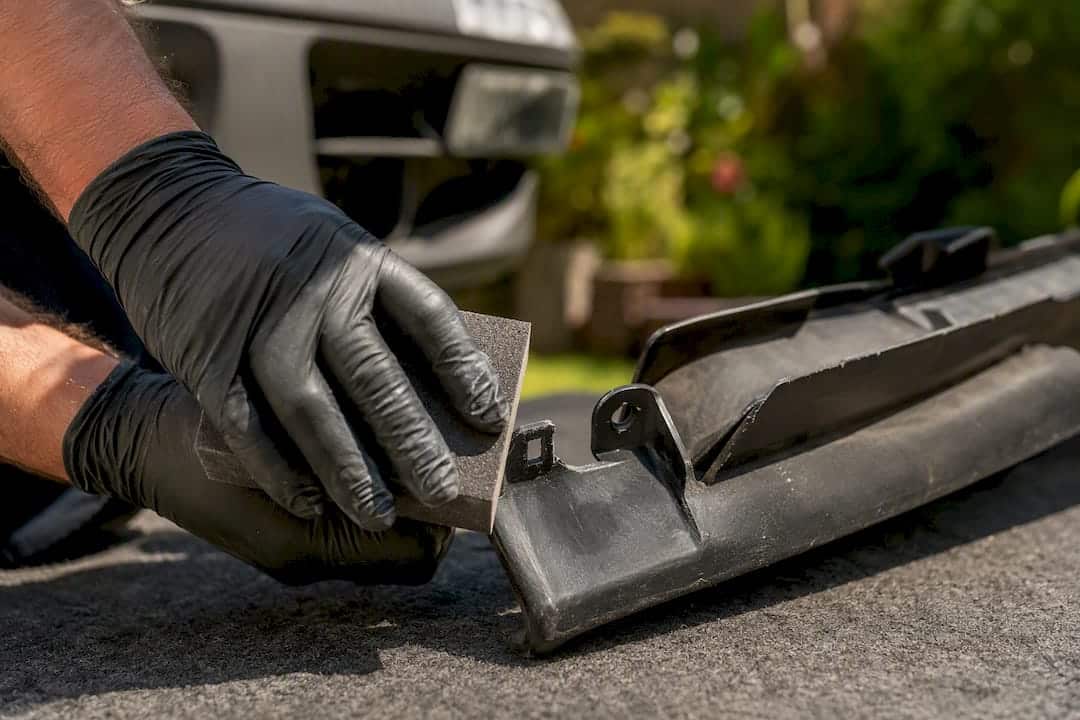
Yes, most broken bumper tabs can be fixed without buying a new bumper cover. The two shop-tested routes are a flexible adhesive rebuild for clip and mounting tabs under light stress, or plastic welding when a slot tab is missing material or carries real structural load. A quick pull test after either repair tells you whether it will hold.
- Adhesive rebuild: best for cracked or snapped clip tabs with the plastic still intact
- Plastic welding: necessary when a tab is missing, or it’s a narrow slot tab that mounts to a fender liner or headlight bracket
- Replace instead: when three or more tabs on one bumper have failed, or the plastic itself is brittle and cracking nearby
Pro Tip: A properly rebuilt tab should flex slightly before it lets go. If it snaps clean with no give, the repair material was too rigid for the job.
Key Takeaways
Most broken bumper tabs are repairable with a flexible adhesive rebuild for clean breaks or plastic welding for missing or high-stress slot tabs, provided the surface prep and material match the job.
| Point | Details |
|---|---|
| Diagnose before you buy anything | Clip tabs favor adhesive rebuilds; missing or slot-style tabs usually need welding. |
| Prep drives success | Sanding to a fuzzy texture and applying adhesion promoter prevents most repair failures. |
| Pin holes add strength | Drilling 1/8 inch pinning holes creates a mechanical lock that boosts shear strength. |
| Avoid rigid materials | Skip standard epoxy and body filler since they crack under normal bumper flex. |
| Denterasers LLC offers a mobile option | The company performs onsite adhesive rebuilds and welding with a fit check before completion. |
Table of Contents
- Diagnosing Your Bumper Tab Repair: Clip, Slot, or Bolt-Through
- How to Rebuild a Broken Bumper Tab With Adhesive
- When to Weld Instead: Missing Tabs and High-Stress Slots
- Bumper Tab Repair Kits: What Actually Belongs in Your Toolbox
- DIY or Call a Mobile Repair Pro?
- How Denterasers LLC Handles Bumper Tab Damage
- Book a Mobile Bumper Tab Repair With Denterasers LLC
- Sources
- FAQ
Diagnosing Your Bumper Tab Repair: Clip, Slot, or Bolt-Through
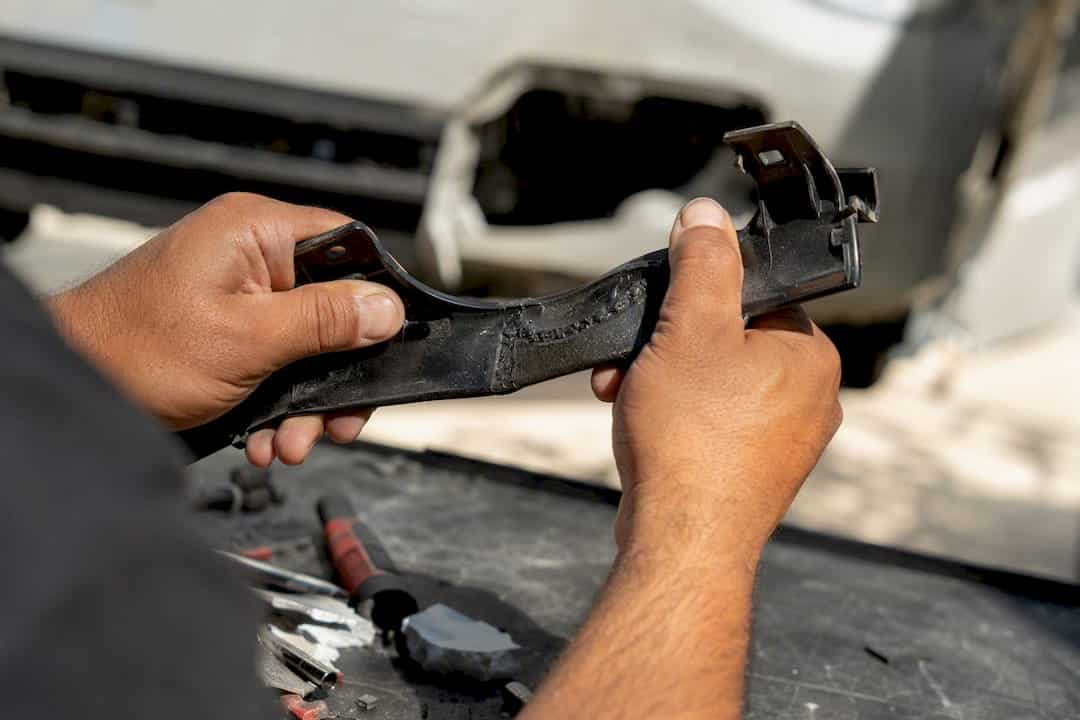
Before you buy anything, figure out which of the three tab styles you’re dealing with, because that decision drives everything downstream. Clip tabs are the small plastic fingers that snap into a corresponding hole on the fender or bracket. Slot tabs are flatter and wider, often carrying more load where they anchor to structural points like headlight housings. Bolt-through tabs have a reinforced hole for a screw or push pin and tend to fail at the base where stress concentrates.
Clip tabs usually snap clean, and you’ll see a sheared edge with the broken piece still nearby. Slot tabs often shred or split along the grain of the plastic under repeated flex, sometimes leaving a jagged gap rather than a clean break. Bolt-through tabs crack in a starburst pattern around the hole itself.
- Check if the broken piece is still attached by a thread of plastic (a candidate for gentler reassembly)
- Look behind the bumper for the mating bracket. If it’s bent or missing, the tab isn’t your only problem
- Count how many tabs have failed on the same bumper section. Multiple failures near each other usually point to a fitment or vibration issue, not bad luck
Clean breaks on lightly loaded clip tabs respond well to adhesive rebuilds. Missing chunks, slot tabs, or anything that’s failed more than once needs plastic welding for a repair that actually lasts.
How to Rebuild a Broken Bumper Tab With Adhesive
This process mirrors the 3M plastic tab repair SOP and a comparable SEM techsheet that body shops rely on daily. Skipping steps here is the number one reason DIY tab repairs fail within a season, and shop technicians point to poor surface prep as the top culprit.
Prep the surface:
- Wash the area with soap and water, then wipe it down following safe steps to remove water spots from your car with plastic and vinyl prep to strip mold-release residue and road grime.
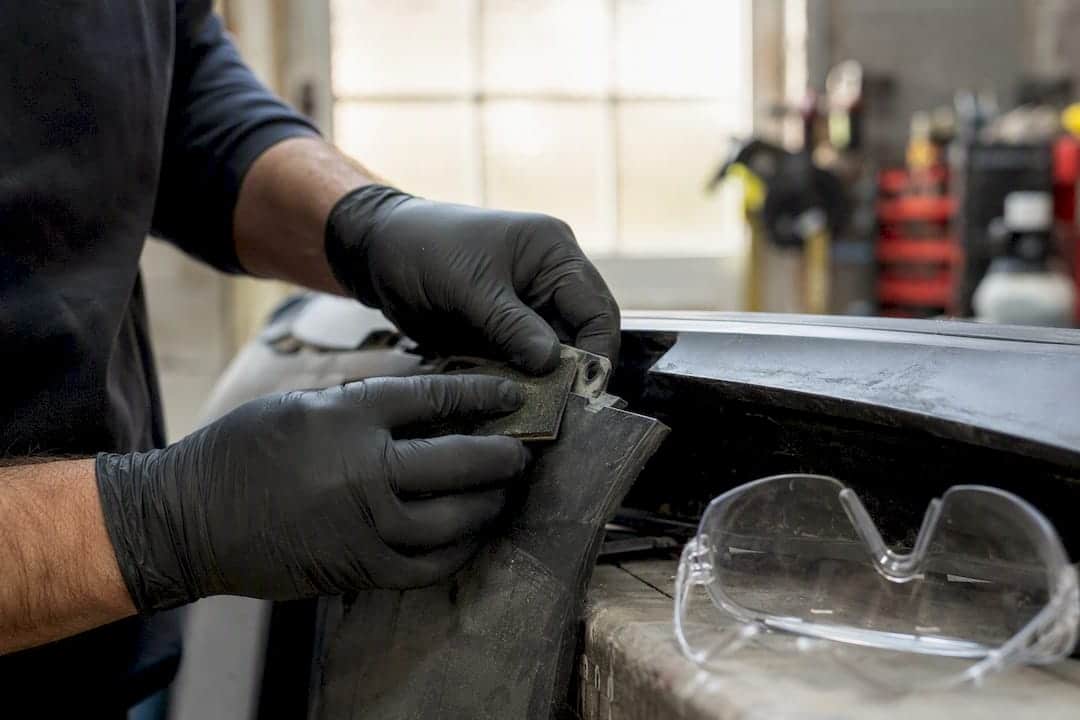
- DA-sand the repair zone until the plastic looks matte and “fuzzy,” not shiny. This gives the adhesive something to actually grab.
- Drill 1/8 inch pinning holes through the tapered repair area. This creates a rivet-like mechanical lock that meaningfully boosts shear strength once the adhesive cures.
- Blow off all dust, then apply an adhesion promoter formulated for the plastic type (usually PP or TPO on modern bumpers).
Rebuild the tab:
5. Cut contour film or repair mesh slightly larger than the damaged area.
6. Mix and apply a flexible plastic repair adhesive, working it into the pinning holes and across the break.
7. Fold and shape the contour film over the repair, pressing out air pockets, then let it cure for the manufacturer’s recommended time (often 15 to 30 minutes depending on the product and shop temperature).
8. Peel the film, sand the rebuilt tab to match the original profile, and re-drill the mounting hole cleanly.
Finish and test:
9. Test-fit the tab against its mating bracket before you commit to reassembly.
10. Perform a pull test by hand, applying steady pressure in the direction the tab would experience on the road. It should hold firm with a little flex, not crack.
11. Paint only if the repair sits somewhere visible, and follow the paint manufacturer’s own prep and recoat windows.
Wear nitrile gloves and eye protection when sanding and mixing adhesive, and work in a ventilated space since some adhesion promoters carry strong solvent fumes.
When to Weld Instead: Missing Tabs and High-Stress Slots
Adhesive rebuilds work when there’s plastic left to bond to. Welding becomes the right call when a chunk of the tab is completely missing, when you’re dealing with a narrow slot tab that anchors a headlight or fender liner, or when the same spot has already failed once with adhesive. Polyvance’s welding process creates a continuous material bond that flexes closer to the original plastic than any epoxy can manage.
- Identify the plastic type stamped on the back of the bumper (commonly PP, TPO, or ABS) and match your welding rod to it. A mismatched rod won’t fuse properly no matter how much heat you apply.
- Taper the damaged edges into a V-groove so the new material has surface area to bond against, rather than butting flat edges together.
- Support the back of the repair with aluminum body tape to prevent the thin plastic from collapsing under welding heat.
- Preheat the repair area, then feed the rod in slow, overlapping passes, focusing the heat gun on the rod itself rather than the bumper substrate to avoid scorching thin plastic.
- Flatten and smooth the weld with a hand seamer while the material is still warm and pliable.
- Shape and sand the rebuilt tab to its final profile, then re-drill the mounting hole.
Pro Tip: Weld both the front and back face of a high-stress slot tab when you can access it. That second pass roughly doubles the material holding the mount together at the exact point that takes the most flex.
Finish with the same pull and fit test used on adhesive repairs. A welded tab that flexes without cracking is ready to go back into service.
Bumper Tab Repair Kits: What Actually Belongs in Your Toolbox
You don’t need a full body shop to do this correctly, but you do need materials matched to flexible plastic, not general-purpose hardware store epoxy.
- Scuff pad, plastic and vinyl prep wipes, and a dedicated adhesion promoter
- Contour film or repair mesh for building the tab shape
- A flexible plastic repair adhesive rated for PP or TPO bumpers, not a rigid two-part epoxy
- 60, 80, and 180 grit sanding discs for shaping and final finish
- A drill with a 1/8 inch bit for pinning holes
- Aluminum body tape for backing support during welding
For welding, you’re looking at an entry-level or professional nitrogen/hot-air plastic welder, matched rods for your plastic type, a hand seamer, and backing supports. Polyvance’s Tab Saver kit bundles reinforcement dies specifically for rebuilding rectangular slot tabs, which is worth buying as a kit rather than piecing together individually. Whatever you choose, avoid rigid epoxies and standard body filler. They bond fine on the first day and shatter the first time the tab flexes on a pothole.
DIY or Call a Mobile Repair Pro?
A single cracked clip tab with an intact bumper structure and basic tools on hand is a reasonable weekend DIY project. Material costs for an adhesive rebuild typically run far less than a mobile service visit, which makes sense for one clean break.
Call a professional when multiple mounting points have failed on the same bumper, when the repair sits somewhere the paint finish has to match perfectly, or when a load-bearing slot tab is missing material entirely. AutoZone’s bumper reattachment guide also flags checking the underlying brackets and fasteners before any reinstallation, since a bent bracket will defeat even a perfect tab repair.
- One clean clip-tab break: DIY adhesive rebuild is usually enough
- Missing plastic on a slot tab, or repeat failures at the same spot: welding, ideally by someone with the right equipment
- Bumper hanging loose or misaligned after the tab fix: have a pro check the bracket and fitment before you drive it
A mobile repair visit typically runs a couple of hours on-site and comes with a fitment check the DIY route can’t replicate on your driveway.
How Denterasers LLC Handles Bumper Tab Damage
We build our plastic bumper repairs around the same flexible-material philosophy covered above: no rigid fillers, no shortcuts on prep, and a fit check before we call the job done. Because the work happens at your location, you skip the drop-off and the rental car juggling that a shop visit usually demands.
- Mobile visits scheduled around your location, not a shop’s open hours
- Adhesive rebuild and welding techniques matched to your bumper’s plastic type
- Finish and fitment checked against the original mounting points before we leave
- Photo galleries and customer feedback on our site show the kind of results you can expect on similar tab and panel repairs
A Mobile Repair Pro’s Two Rules for Bumper Tabs
Skip rigid fillers, and never glue a tab back without sanding and priming it first, that’s how a repair fails in a month instead of lasting years. Always do a pull test before you button the bumper back up. If it doesn’t feel right, call a mobile pro before you drive on it.
— Brian Blanc
Book a Mobile Bumper Tab Repair With Denterasers LLC
Denterasers LLC brings the shop-grade process outlined above directly to your driveway or office parking lot, no dropping the car off and waiting days for a bay to open up. Our technicians handle the surface prep, adhesive rebuild, or welding work onsite, then run the same pull and fit test we just walked you through before calling the job finished.
A typical visit covers an inspection of every damaged tab and bracket, the repair itself using flexible materials matched to your bumper’s plastic, and a finish check so the panel sits flush and clean. Booking takes a few minutes: request a time through our plastic bumper repair service page, and we’ll confirm a mobile visit that fits your schedule instead of the other way around. If you’re weighing your options after reading through the DIY steps above, that page is the fastest way to get a repair estimate without lifting a sanding block yourself.
Sources
- Polyvance: Bumper cover repair — slot tabs (welding)
- SEM: Plastic tab repair SOP (techsheet)
- AutobodyToolMart: Polyvance Tab Saver kit product page
FAQ
Can Bumper Tabs Be Repaired?
Yes. Most broken bumper tabs can be rebuilt with a flexible plastic adhesive and reinforcing film, or repaired through plastic welding when material is missing or the tab carries heavy structural load.
How Do I Fix a Broken Plastic Tab on My Car Bumper?
Clean and sand the area to a fuzzy texture, drill 1/8 inch pinning holes, apply adhesion promoter, then rebuild the tab with contour film and flexible adhesive before sanding it to shape and re-drilling the mounting hole.
How Do I Fix a Plastic Tab That Broke Off Completely?
When the piece is gone entirely, plastic welding is the more reliable route. It lets you build new material into a V-groove prep rather than trying to bond adhesive to a gap with nothing left to grab onto.
How Do I Fix a Broken Bumper Clip?
Small clip tabs with a clean break usually respond well to the same adhesive rebuild process: sand, prime with adhesion promoter, rebuild with contour film and flexible adhesive, then pull-test before reinstalling. If the clip housing itself is cracked or missing, welding or a professional visit from a service like Denterasers LLC gets better long-term results.