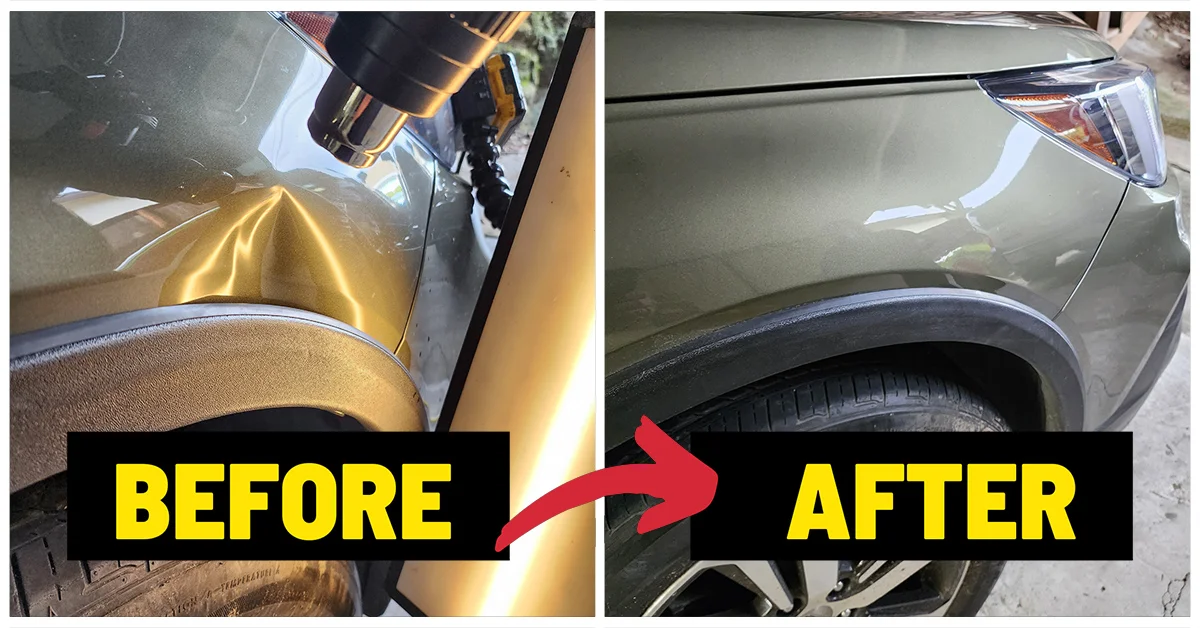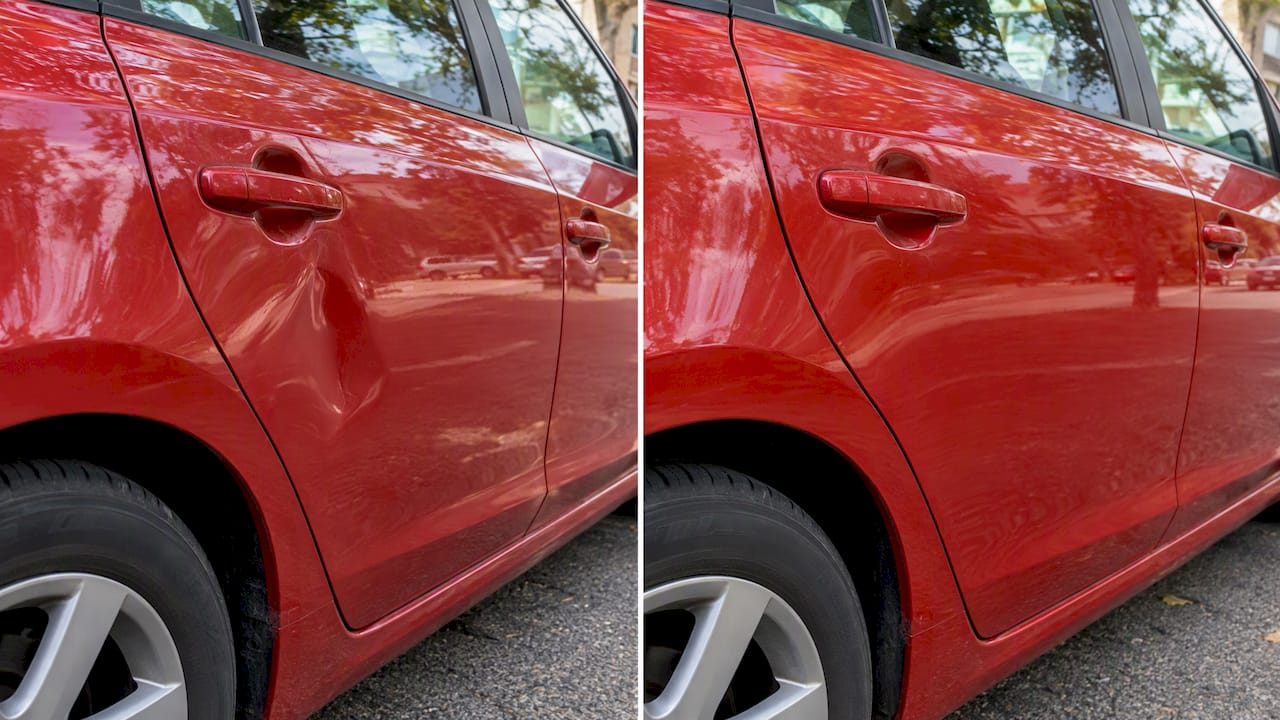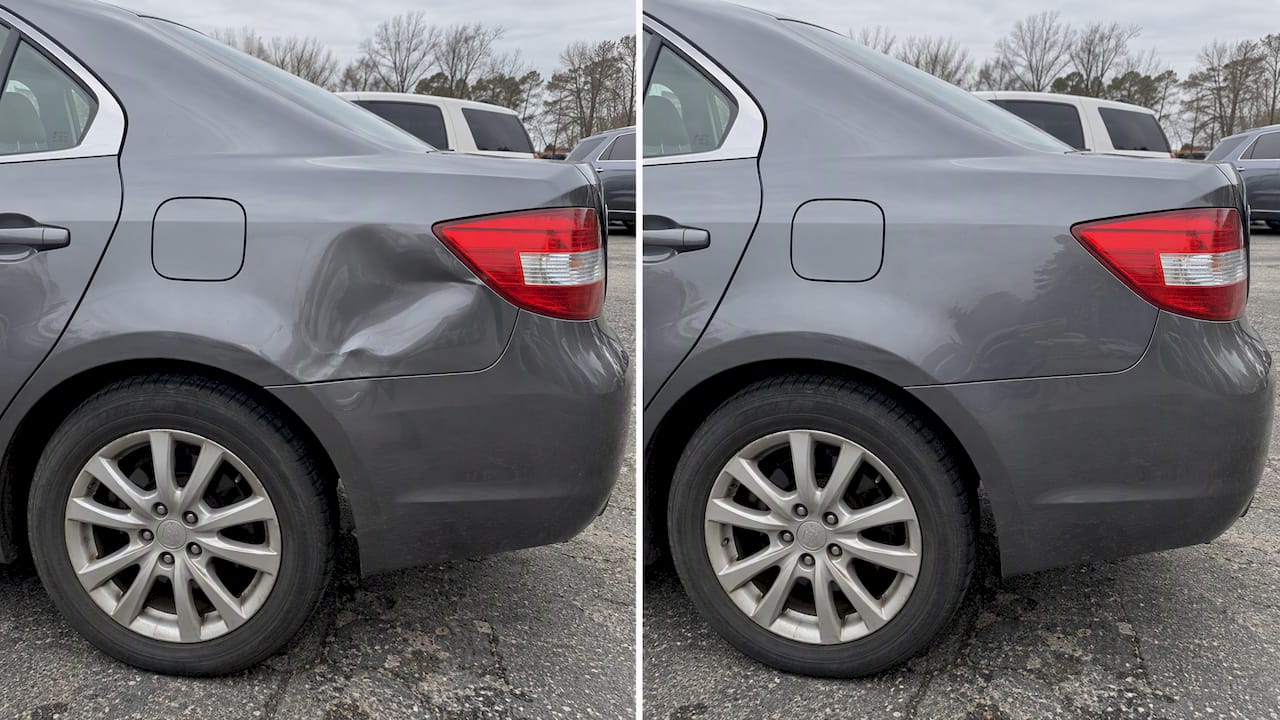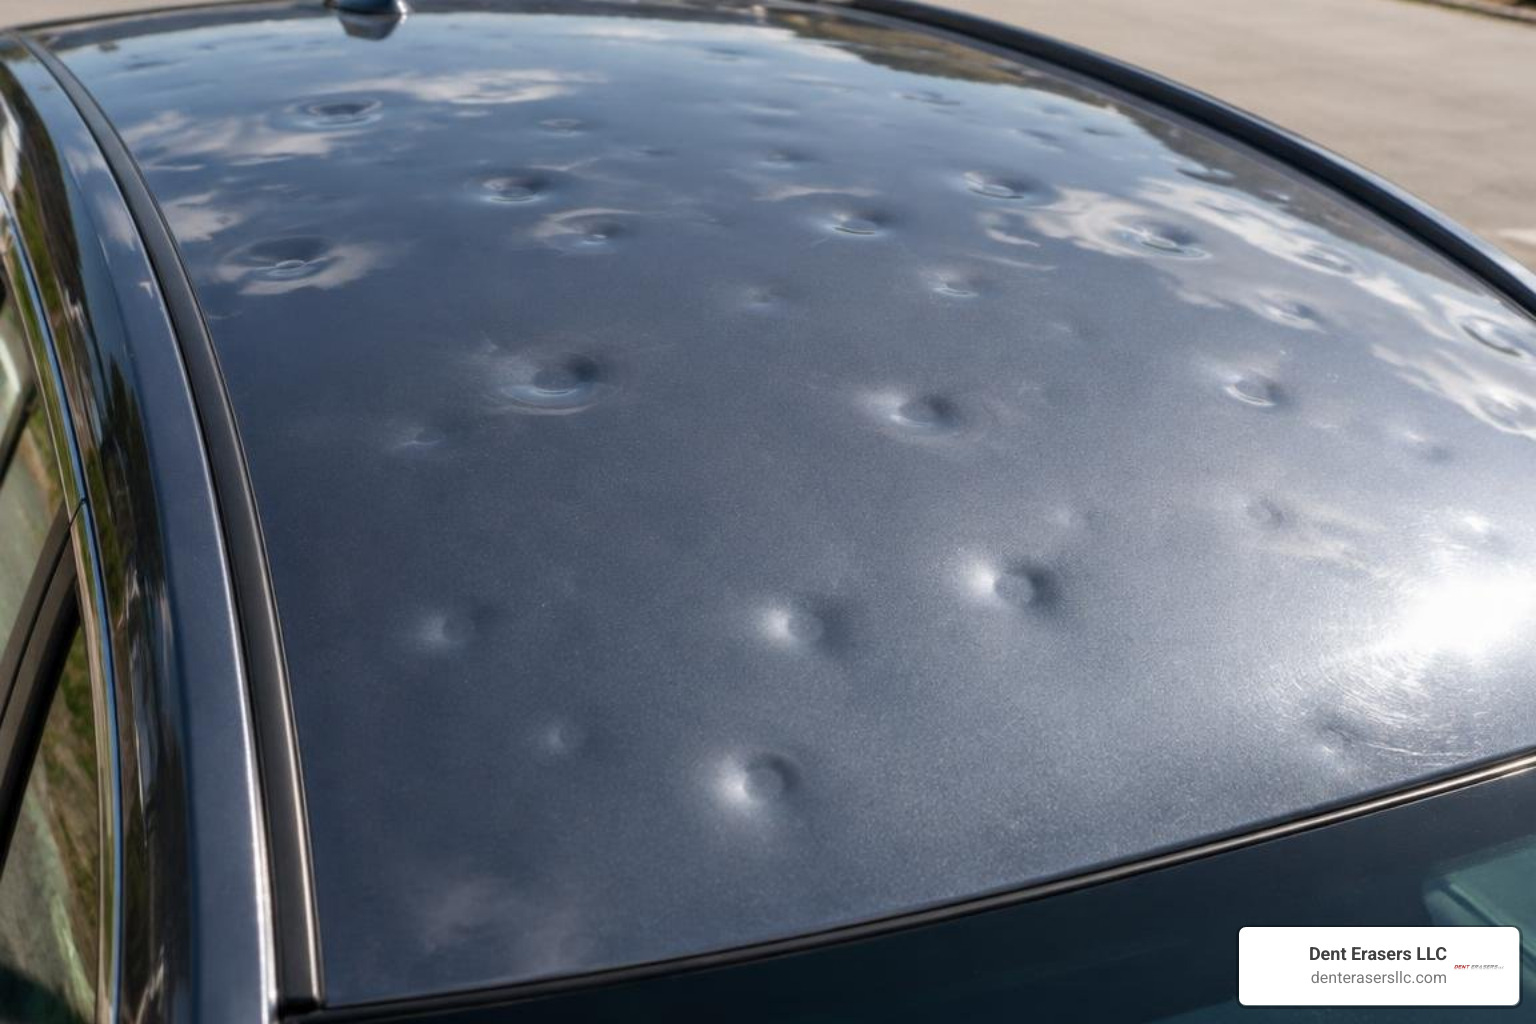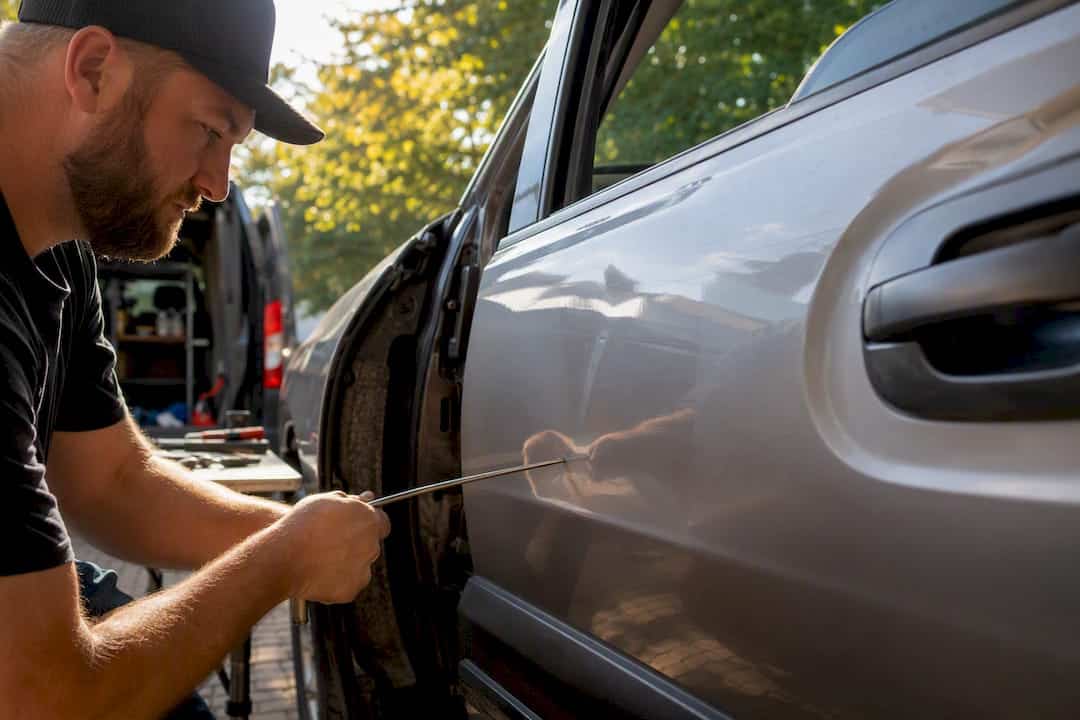
A door crease is repairable most of the time, but not always the way most people think. If the paint is intact, the metal hasn’t stretched past its elastic limit, and there’s room to work behind the panel, paintless dent repair usually restores the factory finish with no filler and no paint gun. Miss any one of those three conditions and you’re looking at traditional body work instead.
Here’s the quick check before you do anything else:
- Paint condition: Run a fingernail lightly over the crease. Any cracking, flaking, or exposed primer means PDR is off the table.
- Metal stretch: A crease that reads as a sharp, narrow “V” under light is usually fine. One that’s spread into a long, shallow trough often means the metal has stretched.
- Backside access: Technicians need to reach the panel from behind, through a door panel, trunk liner, or speaker cavity. No access, no leverage.
Pro Tip: Take a photo of the crease under direct sunlight or a garage light before you touch it. That reflection line tells a trained eye more than the dent itself.
If any of those three checks leaves you unsure, get a professional assessment before attempting anything. A five-minute inspection saves you from turning a fixable crease into a paint job.
Key Takeaways
A door crease is repairable through PDR when the paint is intact, the metal hasn’t stretched past its elastic limit, and a technician has backside access to work the fold.
| Point | Details |
|---|---|
| Three-part viability check | Confirm paint condition, metal stretch, and backside access before attempting or booking any repair. |
| Creases need staged technique | Crown control, reflection reading, and progressive tool work replace the single-pull approach used on round dings. |
| DIY carries real risk | Thermal tricks and aggressive glue pulls frequently crack paint or create new high spots on creases. |
| Time and cost run higher | Crease repairs often take two to five hours or more, well beyond the 30 to 60 minutes typical for a simple ding. |
| Denterasers LLC offers mobile assessment | Send photos for a quote, and get an onsite PDR-first evaluation before any filler or repaint work is considered. |
Table of Contents
- How to Inspect a Door Crease Dent Before Repair
- What Does Professional Crease Repair Actually Involve?
- Do DIY Door Dent Repair Methods Work on Creases?
- What Does Door Crease Dent Repair Cost and How Long Does It Take?
- Why Aluminum and Hem Flanges Change the Repair
- When Does a Crease Need Body Filler Instead of PDR?
- How to Prepare for a Mobile PDR Estimate
- Sources
- FAQ
How to Inspect a Door Crease Dent Before Repair
A crease isn’t just a bigger version of a round door ding. It’s a linear fold that concentrates stress along a single line, and that changes what you’re allowed to do to it. The inspection process is where a trained technician earns their fee, because reading the metal correctly determines whether the repair takes twenty minutes or gets declined entirely.
Here’s the sequence a good inspection follows:
- Check the paint surface first. Micro-cracking around a crease looks like a spiderweb of hairline fractures, sometimes only visible at an angle under bright light. Factory clear coat has almost no flex left in it once a panel creases sharply, so any visible cracking means the paint has already failed at a microscopic level. Pushing metal under cracked paint almost always turns hairline cracks into visible chips.
- Judge how “locked” the crease is. A fresh crease often still has some spring to it: press near the edge and you’ll feel slight give. A crease that’s sat for months, or one caused by a hard, direct impact, tends to lock into place with sharp, defined edges and almost no flex. That locked feel is a strong sign the metal has moved past its elastic limit, which the National Alliance of Paintless Dent Repair Technicians identifies as one of the three core conditions that determine whether PDR will work at all.
- Confirm backside access. Door panels usually come off with a handful of clips and screws, giving technicians a clear path to the crease from behind. Trunk lids and quarter panels are trickier. Speaker cutouts, wiring channels, and factory access holes sometimes provide just enough room for a rod, but a crease buried behind structural bracing may have zero usable access.
- Measure distance from the hem flange. Creases running close to a panel’s folded edge, where two layers of metal are crimped together, are some of the hardest repairs in the trade. DentAdvisor’s guidance on PDR limitations specifically flags hem flange proximity as a common disqualifier, because there’s no backside to push against without deforming the flange itself.
If two or more of these checks come back uncertain, that’s your signal to stop guessing and call a technician. A crease that’s genuinely borderline needs eyes and hands that have seen a few hundred of them, not a YouTube tutorial.
What Does Professional Crease Repair Actually Involve?
Professional dent repair techniques for creases look nothing like the quick pop-and-done process people picture for a round door ding. Creases demand a staged approach, because you’re not pushing out one low spot, you’re methodically unwinding a line of stress that runs the length of the fold.
The process typically breaks down into five stages:
- Assessment under an LED reflection board. Technicians position a striped light board to see exactly how light bends across the crease. This reveals the true shape of the damage, including secondary crowns that aren’t visible under normal lighting.
- Initial depth reduction. Using glue-pulled tabs or access through the panel’s backside, the tech begins lifting the deepest part of the crease, not to finish it, but to reduce the overall tension in the metal.
- Crown control. Every crease creates small secondary high points, or crowns, on either side of the main fold. Tapping these down before working the trough itself keeps the repair from creating new waves in the panel. Dent Repair School’s training material treats crown management as one of the defining skills separating crease work from standard door-ding repair.
- Progressive tool work. This is where internal rods, picks, and specialized tips come in when backside access allows it. The technician works in small increments along the length of the crease, checking the reflection board after nearly every pass.
- Finishing blend. The final pass smooths out any remaining texture so the repaired panel reflects light exactly the way the surrounding metal does.
Glue tabs tend to come into play when a technician can access the front of the panel but not the back, letting them pull from outside without piercing the paint. Internal rods take over when there’s a real cavity behind the panel, like inside a door skin or trunk lid, giving direct leverage on the crease from the reverse side.
Pro Tip: Ask your technician whether the repair will require trim removal. Pulling a door panel or trunk liner adds time to the job, but it also usually means a cleaner, more thorough repair than working blind through a small access hole.
Tension management is really the core skill at play here. Metal that’s been forced into a crease holds onto that stress the way a bent paperclip holds its shape, and pushing too hard in one spot just relocates the tension somewhere else on the panel. Overworking a crease with too much force, too fast, is how a fixable dent turns into a wavy, oil-canning mess that no amount of tapping can undo. That’s why an experienced technician moves slower on a crease than they would on a simple round ding, even though the crease might look smaller.
Do DIY Door Dent Repair Methods Work on Creases?
Most DIY door dent repair methods were designed for shallow, round dings, not directional creases, and that mismatch is exactly where people get into trouble.
Thermal tricks show up constantly in online tutorials: heat the panel with a hair dryer, then hit it with compressed air or dry ice to force rapid contraction. On a shallow round dent, this can occasionally pop the metal back into shape. On a crease, the sharp fold concentrates that thermal stress unevenly along the line, and the temperature swing risks cracking clear coat that’s already under tension from the fold itself. Industry writeups on DIY dent removal consistently flag this as a common way to turn a fixable crease into one with damaged paint.
Suction cups and plunger kits are built for smooth, gradual, dome-shaped dents. A crease has no dome to grab. The suction just slips off the fold or pulls unevenly, doing little beyond wasting an afternoon.
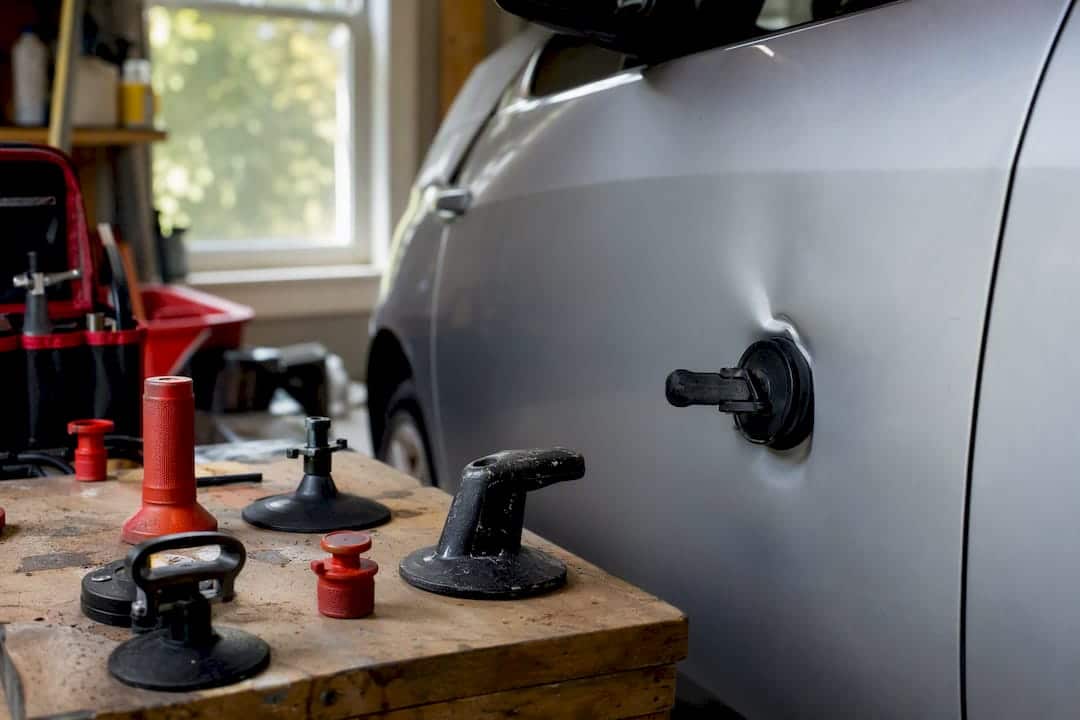
Glue-pull kits are the most legitimate DIY option on the market, and they can work on shallow, accessible creases if you’re patient. The common mistake is pulling too aggressively in one spot, which creates a high point that then needs to be pushed back down, sometimes making the repair harder than the original crease.
Three situations mean stop, don’t DIY, no exceptions:
- Any visible cracking or chipping in the paint
- A crease running near or across a hem flange
- Metal that feels locked or rigid rather than springy when pressed
What Does Door Crease Dent Repair Cost and How Long Does It Take?
A round door ding might take a skilled technician 30 to 60 minutes from start to finish. A crease is an entirely different job. According to case studies from professional PDR shops, crease repairs commonly run two to five hours or more, depending on the crease’s length, the panel’s material, and how much access the technician has to work with.
That time difference shows up directly in the price. A handful of factors typically push a crease repair estimate higher:
- Length of the crease. A six-inch fold takes meaningfully longer to blend than a two-inch one.
- Panel material. Aluminum panels require different tools and a gentler touch than steel, which usually means a higher-skill technician and a higher price.
- Access difficulty. Creases requiring trim removal or work through a tight cavity add labor time regardless of the crease’s actual size.
- Body line proximity. A crease running through or near a factory body line demands extra precision to keep that line crisp after the repair.
When the metal has fractured or stretched too far to reshape, traditional filler and paint work becomes the only realistic option, and that’s also when it’s worth checking whether your insurance covers collision repair, since filler-and-paint jobs run considerably higher than PDR in most cases.
Why Aluminum and Hem Flanges Change the Repair
Aluminum body panels don’t behave like steel once creased. They’re more prone to fracturing rather than stretching cleanly, which means aluminum crease repairs often call for specialized techniques and a gentler, more incremental approach than steel panels need. Expect a higher price on aluminum doors, hoods, and fenders for exactly that reason.
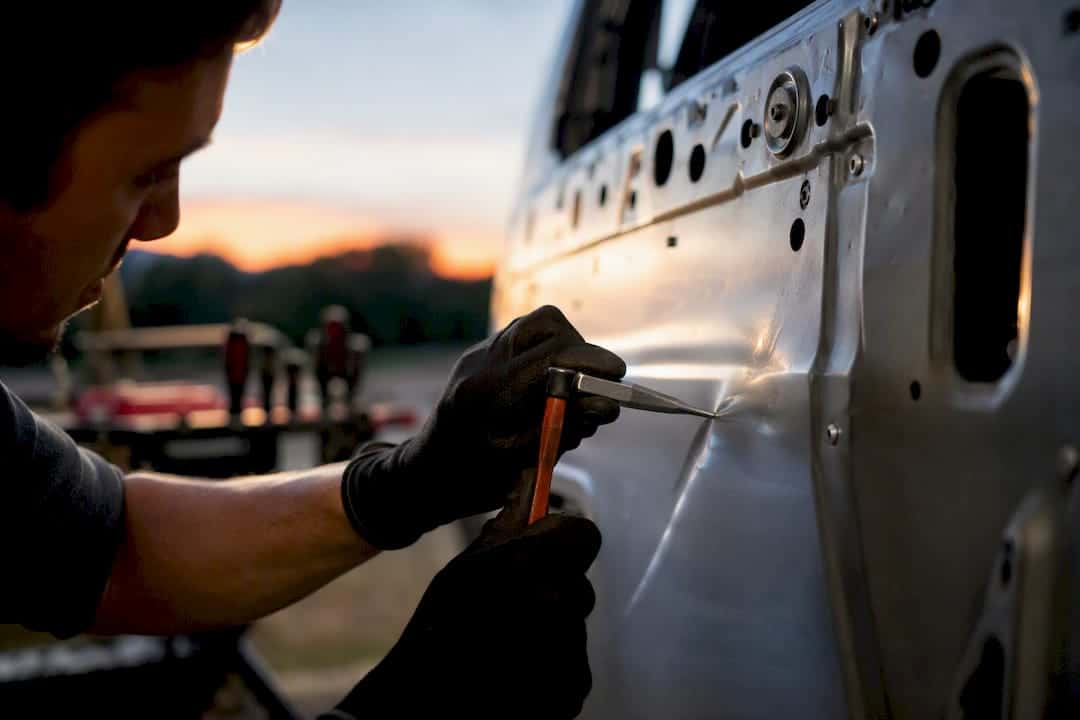
The hem flange, where two layers of panel metal are folded and crimped together at an edge, is the industry’s clearest no-go zone. As a rough rule of thumb, creases within about an inch of a hem flange lose most of their backside access, since there’s no clean surface to press against without warping the fold itself. When the metal’s internal structure has fractured rather than simply stretched, PDR runs out of options, and filler becomes the only path forward.
When Does a Crease Need Body Filler Instead of PDR?
Some creases are past the point PDR can help, and recognizing that early saves you a wasted trip and a wasted estimate.
- Cracked, torn, or missing paint exposing bare metal or primer underneath the crease
- Metal folded sharply enough that it won’t move back under controlled pressure, or that crosses a structural seam or reinforcement rib
- Fractured internal metal structure, where the panel’s lattice has actually broken rather than just bent
In any of these cases, conventional bodywork, filler, sanding, and repaint, or in some cases full panel replacement, delivers a more durable and better-looking result than forcing a PDR attempt that was never going to hold.
How to Prepare for a Mobile PDR Estimate
- Take photos from three angles: straight on, at an oblique angle to catch the reflection line, and a longer shot showing the crease’s full length against the panel.
- Have basic details ready: your vehicle’s make and model, the panel material if you know it, the approximate crease length, and whether the panel has been repaired or repainted before.
- Expect an on-site process that starts with an LED board inspection, followed by a firm estimate, a time window for the work, and a note on whether trim needs to come off.
- Ask about the finish guarantee before work begins, specifically whether the factory paint stays fully untouched and what happens if the technician determines mid-repair that traditional bodywork is needed instead.
A technician’s take on choosing PDR first
I’ve seen enough creases up close to know the instinct to grab a plunger or a hair dryer usually comes from good intentions and bad information. Our gallery work, including a deep trunk crease repair we documented in Martinez, shows what’s possible when the metal cooperates and someone experienced reads it correctly. PDR done right preserves factory paint, and that’s worth more at resale than most owners realize. When a crease is a real candidate, get it assessed before you touch it yourself.
— Brian Blanc
Get Your Door Crease Assessed by a Mobile PDR Team
Denterasers LLC handles exactly this kind of work, mobile paintless dent repair for creases, dings, and specialty panels, done at your home or office instead of a shop bay. Our gallery of completed repairs, including seamless fender work and deep crease restorations, shows the kind of finish preservation a body shop repaint can’t match. If your panel needs surface prep beyond dent work, a resource like Diamondbrite’s swirl mark guide is a useful companion once the crease itself is handled.
Booking starts with photos: send a few shots of the crease and your vehicle details, and we’ll give you a time estimate and price range before we ever show up. If the crease turns out to need traditional filler and paint instead, like on jobs involving plastic bumper repair, we’ll tell you that upfront rather than force a PDR attempt that won’t hold. Request your quote today and find out whether your crease is a same-day fix.
Sources
- National Alliance of Paintless Dent Repair Technicians — About PDR
- Dent Repair School — Understanding the difference between door dings, creases and hail dents in PDR
- Southwest Collision — Door creases: why they take more time and skill
FAQ
How much does it cost to fix a door crease dent?
Cost depends heavily on length, access, and panel material, but crease repairs typically run higher than simple door dings because they take two to five hours or more of skilled labor compared to under an hour for round dings.
How do you get rid of a crease dent?
A trained PDR technician removes a crease through staged crown control, glue-pull tabs or internal rods, and progressive tool work while checking an LED reflection board, not through a single outward pull.
What dents can’t be fixed with PDR?
Dents with cracked or missing paint, metal stretched or fractured beyond its elastic limit, or creases sitting within about an inch of a hem flange typically can’t be fixed with PDR and need traditional filler and paint instead.
Can you fix a door dent on your own?
Shallow, paint-intact dings sometimes respond to careful glue-pull kits, but creases carry real risk from thermal tricks and over-pulling, and any paint damage or metal stretch means it’s time to call a professional PDR technician.