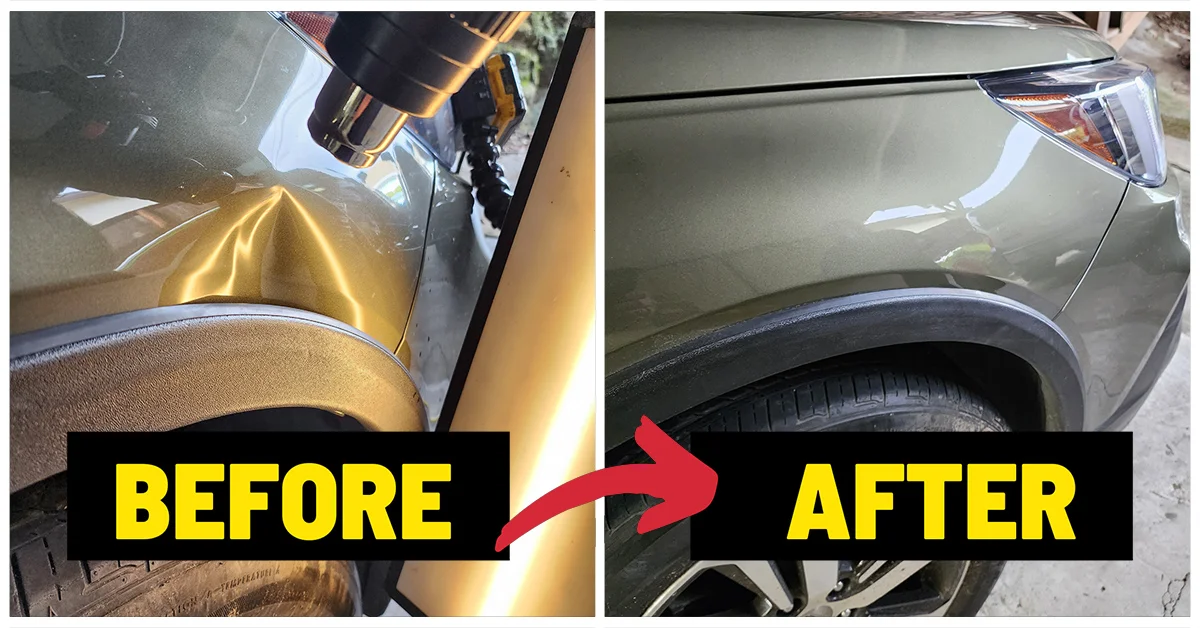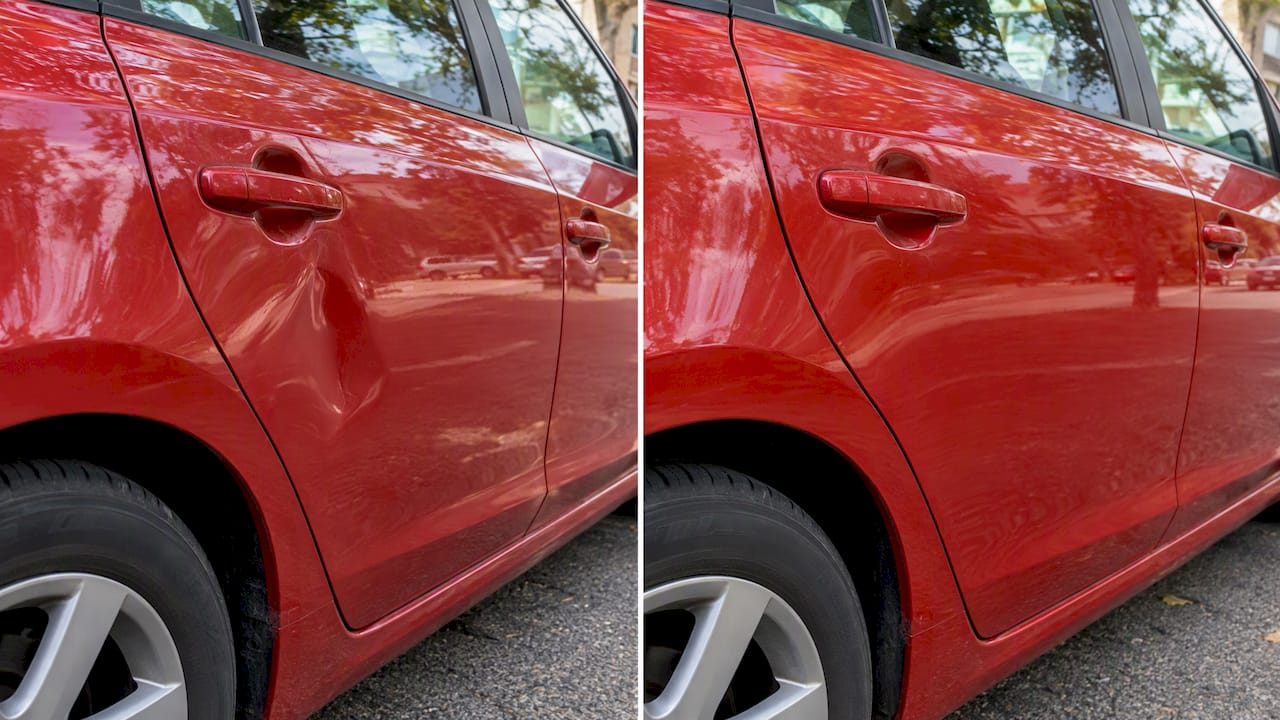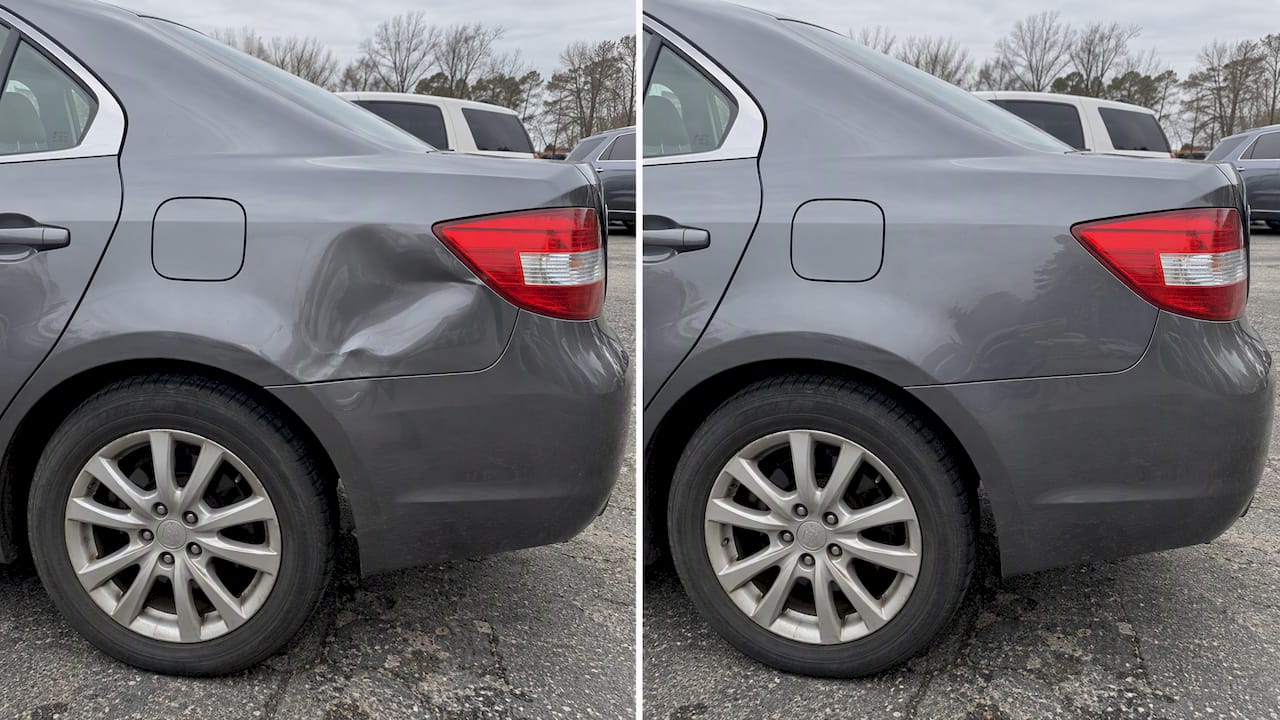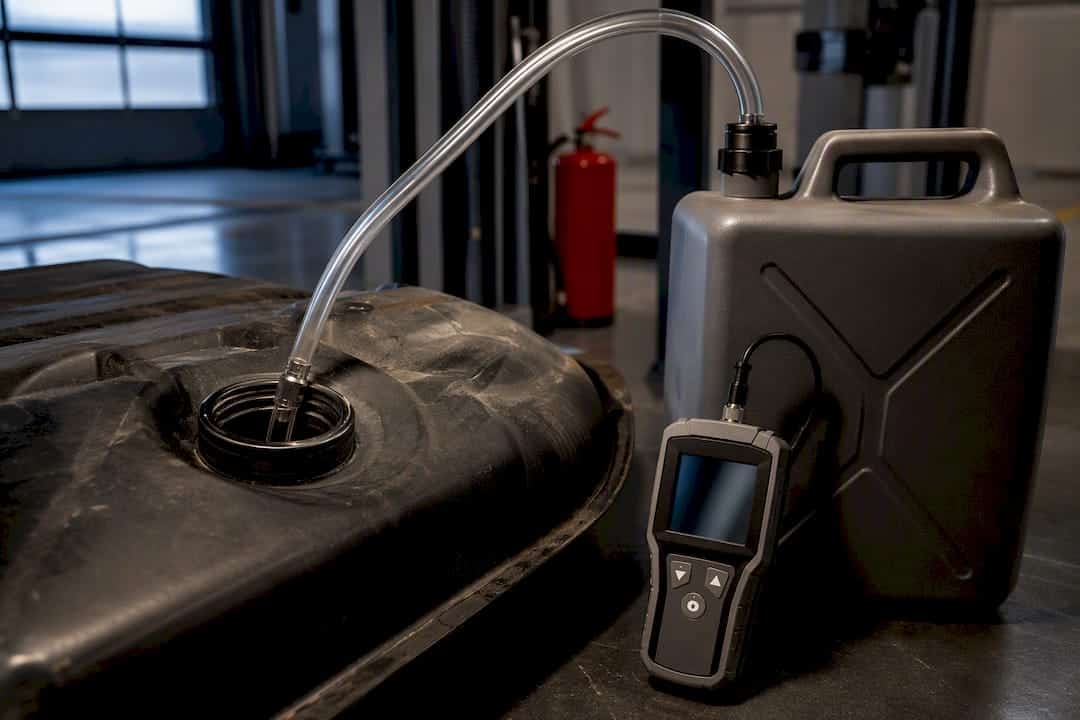
Drain and fully purge the tank before paintless dent repair whenever the job involves internal access, heavy mechanical tools, or anything that could create a spark, and follow minimal precautions for light, external work. Draining alone is not enough. You need to purge the fumes out and confirm the tank reads vapor-free before any tool touches it. The steps below walk through exactly how and where a mobile technician takes over.
TL;DR:
- Draining a fuel tank requires using UL-rated pumps or siphons and proper disposal of residual fuel at hazardous waste facilities.
- Complete vapor elimination mandates repeated rinsing with warm water and dish soap and extended ventilation, not just draining the liquid.
- Confirm safety with a combustible-gas meter before starting PDR; if readings remain unsafe after multiple attempts, professional assistance is necessary.
- Removing internal components like pumps or petcocks improves safety and access, but if left in place, they must be capped and protected from contamination.
- For complex, vintage, or poorly ventilated situations, hiring a professional with specialized equipment prevents safety hazards and ensures proper tank preparation.
Table of Contents
- Tools, Containers, and PPE for a Drain Tank for PDR Setup
- How to Drain a Motorcycle or Car Fuel Tank Safely
- Purging Vapors and Testing the Tank Before PDR
- Removing Internals and Prepping the Tank for PDR
- Safety Checklist and Troubleshooting for Tank Prep
- Technician Notes on Vapor-Free Tank Prep for PDR
- When to Call a Professional Instead of DIY
- Dent Erasers LLC: Skip the Fuel Tank Risk Entirely
- Sources
- FAQ
Tools, Containers, and PPE for a Drain Tank for PDR Setup
Before you drain a single ounce of gasoline, gather the right gear. Gasoline vapor ignites at concentrations most people never notice, and the equipment you use determines whether that vapor stays contained or finds a spark.
Start with the drain tank for PDR setup itself. A UL-rated or flash-arresting fuel transfer pump is the safer choice over a shop-vac rig or an improvised siphon, since it’s built to move flammable liquid without generating the static charge that raw plastic tubing can. Manual siphons work as a lower-skill backup, but they demand slower handling and closer attention to spills.
You’ll also need:
- A UL-rated or flash-arresting fuel transfer pump (or a manual siphon kit if a pump isn’t available)
- DOT or UN-rated approved fuel containers, sized to hold the tank’s full capacity
- Safety glasses and chemical-resistant gloves
- An organic-vapor respirator rated for gasoline fumes
- Non-sparking tools (brass or plastic, not steel)
- Flame-resistant clothing, no synthetic fabrics that can generate static
- A dry-chemical fire extinguisher rated for flammable liquids
- A second person acting as a fire watch while you work
Work outdoors or in a space with real cross-ventilation, not just a cracked garage door. Set the tank on a grounded metal support to bleed off static buildup, since a plastic sawhorse won’t do that job. Professionals working on motorcycle tanks consistently point to approved containers and an active fire watch as the two details DIYers skip most often, and they’re the two that matter most if something goes wrong.
Pro Tip: Keep the fire extinguisher within arm’s reach the entire time, not just staged nearby. A vapor ignition happens in under a second, and you won’t have time to walk across the garage.
How to Drain a Motorcycle or Car Fuel Tank Safely
Draining fuel is simple mechanically. It’s the sequencing and the small details around it that keep it safe. Follow this order every time.
- Move to an open, ventilated space. A driveway or open garage door with a cross breeze beats a sealed shop every time.
- Kill the ignition and pull the key. No exceptions, even for a “quick” job.
- Disconnect the battery or isolate the negative terminal. This removes any chance of an accidental spark from wiring near the tank.
- Clear heat sources from the area. That means no space heaters, no pilot lights nearby, no one smoking within sight of the workspace.
- Position your approved container below or beside the drain point, on stable, level ground.
- Attach the UL-rated pump or siphon and begin a slow, controlled transfer. Rushing increases splash and static risk.
- Watch the fill level and swap containers before any single one overflows.
- Cap and label each container immediately with contents and date.
If a pump isn’t available, a manual siphon can work, but only with real caution. Use a rigid or coated siphon line rather than bare plastic tubing, keep the receiving container grounded, and never start the siphon by mouth. Manual siphoning is slower and harder to control, which is exactly why draining fully before using aggressive mechanical tools is standard advice among technicians working on motorcycle tanks. A full tank adds weight during dent work and keeps more liquid fuel in play longer than necessary.
Once the tank is empty, the drained gasoline still needs somewhere to go. Most municipalities and counties treat used gasoline as a regulated liquid, and many auto parts stores or household hazardous waste facilities accept small quantities for free or low cost. Store filled containers upright, away from heat, until you can transport them. Never pour gasoline down a drain or onto the ground. Local environmental rules generally require licensed disposal for contaminated fuel and rinse water, and regulatory guidance on tank repair points technicians toward hazardous waste facilities rather than standard trash or sewer disposal.
Spills happen even with careful work. Absorb any spilled fuel immediately with cat litter, sand, or a commercial absorbent pad rather than paper towels, which don’t contain vapor the same way. Bag the used absorbent and dispose of it per your local hazardous waste guidelines. If you rinse the tank as part of purging (covered next), that rinse water is contaminated too and needs the same disposal care as the raw fuel. Don’t dump it in a driveway drain, a storm grate, or your yard.
Purging Vapors and Testing the Tank Before PDR
Here’s the part most first-time DIYers get wrong: draining the liquid does not mean the tank is safe. Gasoline leaves a thin film on interior surfaces, and that film keeps releasing vapor for hours or even days after the tank looks empty. Hydrocarbons cling to metal, and a tank that “smells clear” to your nose can still register dangerous readings on a meter.
The practical fix is repetition. A warm water and dish soap rinse, drained completely, then repeated two or three times, breaks down more of that residual film with each pass. Multiple rinse cycles followed by extended ventilation are the standard DIY purging method, though professionals still prefer inert-gas displacement when they have the equipment for it, since it clears vapor pockets more completely than rinsing alone.
A realistic purging sequence looks like this:
- Rinse with warm water and dish soap, agitate, then drain fully
- Repeat rinsing as needed, checking that drained rinse water runs clearer with each cycle
- Let the tank air-dry in a ventilated space for several hours, not minutes
- Use inert-gas displacement (dry ice or a commercial inert gas) if you have access to it, since it shortens the wait considerably
- Confirm with a combustible-gas meter before any tool touches the tank
That last step isn’t optional. A combustible-gas meter reads the actual vapor concentration inside the tank, and it’s the only reliable way to know you’re clear. If the meter won’t settle to a safe reading after multiple rinse and dry cycles, stop. Don’t guess, and don’t decide “it’s probably fine” based on smell alone. That’s exactly the situation where calling a professional with proper vapor-detection equipment beats pushing forward.
Removing Internals and Prepping the Tank for PDR
Most motorcycle and vehicle fuel tanks house a pump, a pickup tube, or a petcock valve, and these usually need to come out before serious dent work starts. Leaving an electric fuel pump in place while you’re hammering or massaging metal from the inside risks cracking a housing or damaging wiring you can’t easily replace.
If removal isn’t practical for your setup, cap and protect every opening and connector instead. Loose wiring harnesses and open fuel lines are both entry points for grit and moisture during the repair, and a stray connector can get crushed if it’s left dangling inside the tank while you work.
Decide early whether the tank stays on the bike or comes off entirely. On-bike work is faster and avoids extra fuel-line disconnection, but it also limits your access angles and makes it harder to support the tank evenly. Removing the tank gives full access for glue-pulling and other paintless dent techniques, at the cost of extra disassembly time and one more set of fuel connections to purge and cap.
Whichever route you choose, support the tank on a grounded, padded surface. Grounding bleeds off static charge, and padding prevents new dents from careless handling while you’re focused on the old one.
- Remove the fuel pump, pickup tube, and petcock where access requires it
- Cap all open fittings and connectors if internals stay in place
- Choose on-bike versus tank-off access based on the dent’s location and severity
- Support the tank on a grounded, padded surface throughout the repair
Pro Tip: Take a photo of every wire and hose connection before you disconnect anything. It takes fifteen seconds and saves you from guessing during reassembly.
Safety Checklist and Troubleshooting for Tank Prep
Run through this before any tool touches the tank:
- PPE on: respirator, gloves, glasses, flame-resistant clothing
- Approved containers and a disposal plan ready for both fuel and rinse water
- Fire watch assigned, extinguisher within reach
- Battery disconnected or negative terminal isolated
- Combustible-gas meter reading confirmed safe
Common problems and quick fixes:
| Problem | Likely Cause | What to Do |
|---|---|---|
| Fuel odor persists after rinsing | Residual film in seams or joints | Rinse again, extend air-drying time |
| Pump or petcock stuck | Corrosion or old gasket adhesion | Apply penetrating oil, avoid forcing with metal tools |
| Rinse water looks contaminated | Normal for early rinse cycles | Continue rinsing until it runs clear, dispose properly |
| Visible leak at a seam | Compromised weld or gasket | Stop work, this is a professional repair, not a DIY dent job |
Stop and call a professional if vapor readings won’t clear after repeated rinsing, if you find a damaged seam or weld, or if a seal looks compromised in any way. Those situations move past dent repair into fuel-system repair territory.
Technician Notes on Vapor-Free Tank Prep for PDR
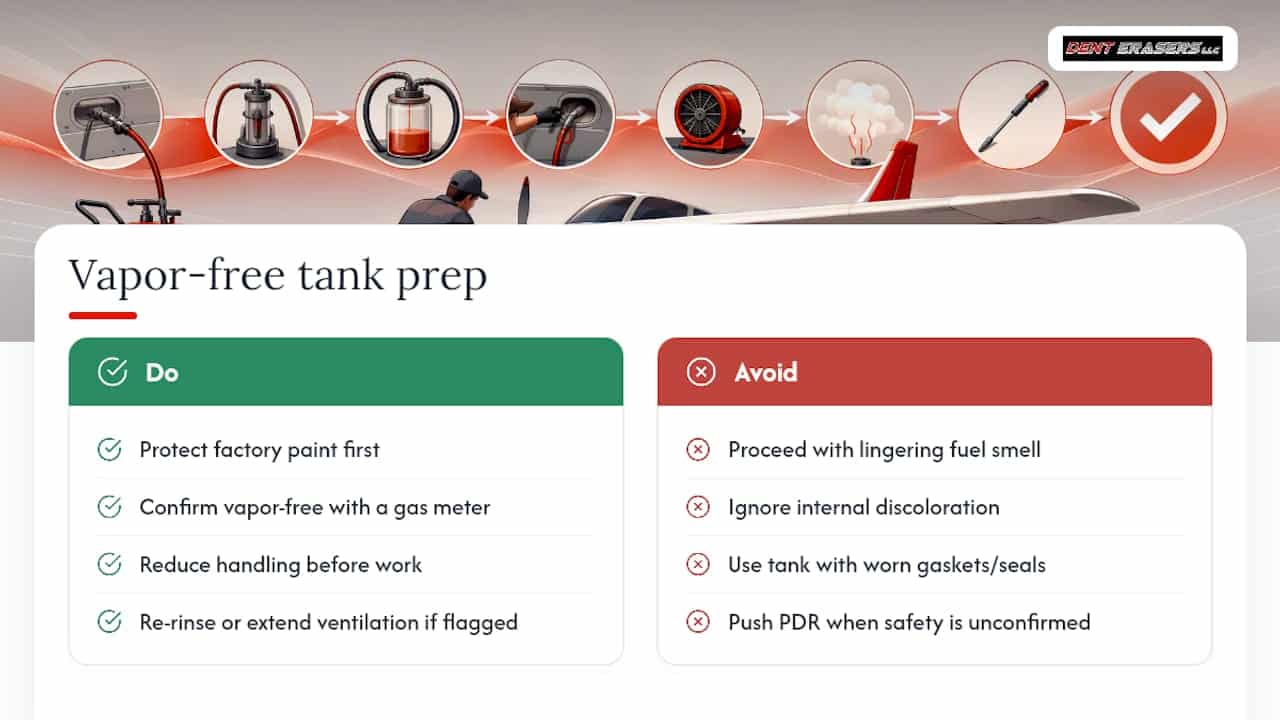
Every mobile job starts with the same priority: protect the factory paint and confirm the tank is vapor-free before a single tool touches it. That second part isn’t a formality. A gas meter reading changes the entire plan for the visit.
Red flags that stop work on the spot include a lingering fuel smell after rinsing, discoloration inside the tank suggesting old rust or contamination, and gaskets or seals that look worn past their service life. Technicians handle these by re-rinsing, extending ventilation time, or, when the tank itself is compromised, recommending repair or replacement instead of pushing dent work forward. Reducing handling and confirming safety before proceeding protects both the vehicle and the person doing the work.
— Brian Blanc
When to Call a Professional Instead of DIY
Some situations call for a mobile technician rather than a home fix. If you can’t get a clean, confirmed vapor-free reading after multiple rinse cycles, that’s a stop condition, not a “close enough.” Vintage tanks with unknown internal corrosion, electric fuel pumps that need careful removal, and tight workspaces without real ventilation all tip the scale toward professional help.
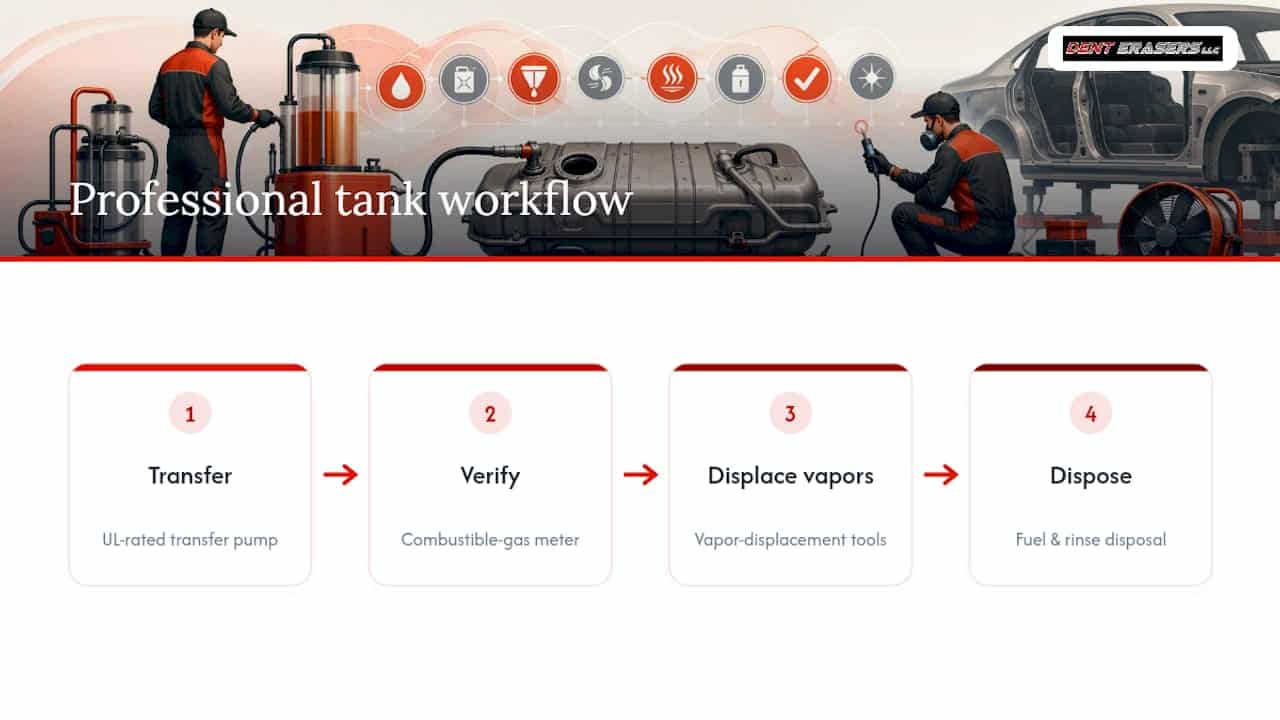
A technician brings equipment most garages don’t have: UL-rated transfer pumps, a combustible-gas meter for on-the-spot verification, vapor-displacement tools, and an established disposal process for drained fuel and rinse water. If you reach a point in this process where you’re not fully confident in a safety step, that’s the moment to stop and bring in someone equipped for it rather than guess your way through.
Dent Erasers LLC: Skip the Fuel Tank Risk Entirely
Denterasersllc is the alternative to spending a weekend juggling siphons, gas meters, and hazardous waste drop-offs. Our technicians bring UL-rated pumps, vapor-detection meters, and proper disposal procedures directly to your driveway, so the entire tank-prep risk moves off your plate and onto ours.

Booking a mobile visit is straightforward. We come to your location, whether that’s your driveway, office lot, or garage, and handle the tank draining, vapor testing, and the dent repair itself in one visit. All we need from you is vehicle access, your keys, and a spot with reasonable clearance to work. Our approach follows the same safety-first sequence covered in this guide, verified with real equipment instead of a guess, and we treat your factory paint the way we’d treat our own. If you’d rather have a technician confirm the tank is safe than do it yourself, check out Denterasersllc’s mobile paintless dent repair service and get a quote for your motorcycle or vehicle. For a broader look at how a mobile visit typically runs, our essential paintless dent removal checklist covers what to expect before we arrive.
Sources
The safety procedures in this guide draw on established fuel-tank repair guidance and hands-on motorcycle PDR resources:
- SP 10-0065 – Vehicle Fuel Tank Repair
- Engineerskill
- Rapidrepair
- Motorcycle Gas Tank Dents In Calgary? – X Detailing
FAQ
Does a Plunger Really Work on a Motorcycle Tank Dent?
Rarely. Plungers struggle with the curved surfaces of most motorcycle tanks, and glue-pulling kits designed for PDR handle shallow dents far more reliably. A plunger also does nothing to address vapor safety, which matters more than the tool choice itself.
What Is the Best PDR Kit for Beginners?
A basic glue-pulling kit with graduated tabs and a slide hammer covers most shallow to medium dents a beginner will encounter. Pair it with the safety gear and drain tank for PDR setup covered above before touching a fuel tank specifically.
What Tool Removes Dents From a Motorcycle Gas Tank Best?
Glue-pulling tools generally outperform mechanical tools like slide hammers for tank work because they apply controlled, even pressure without the vibration risk near a fuel system. For anything beyond a shallow dent, a mobile technician with tank-specific experience gets a cleaner result with less risk to the tank itself.
Do I Always Need to Fully Drain the Tank Before PDR?
Not always. Light surface work with hand tools on the exterior may only require basic precautions, but any internal access, heavy tool use, or spark-producing equipment calls for a full drain and vapor purge first.
How Long Does Purging a Tank Take Before It’s Safe?
It varies with tank size and rinse thoroughness, but multiple rinse cycles followed by several hours of ventilation is typical before a combustible-gas meter reads safe. Inert-gas displacement shortens that wait considerably when the equipment is available.