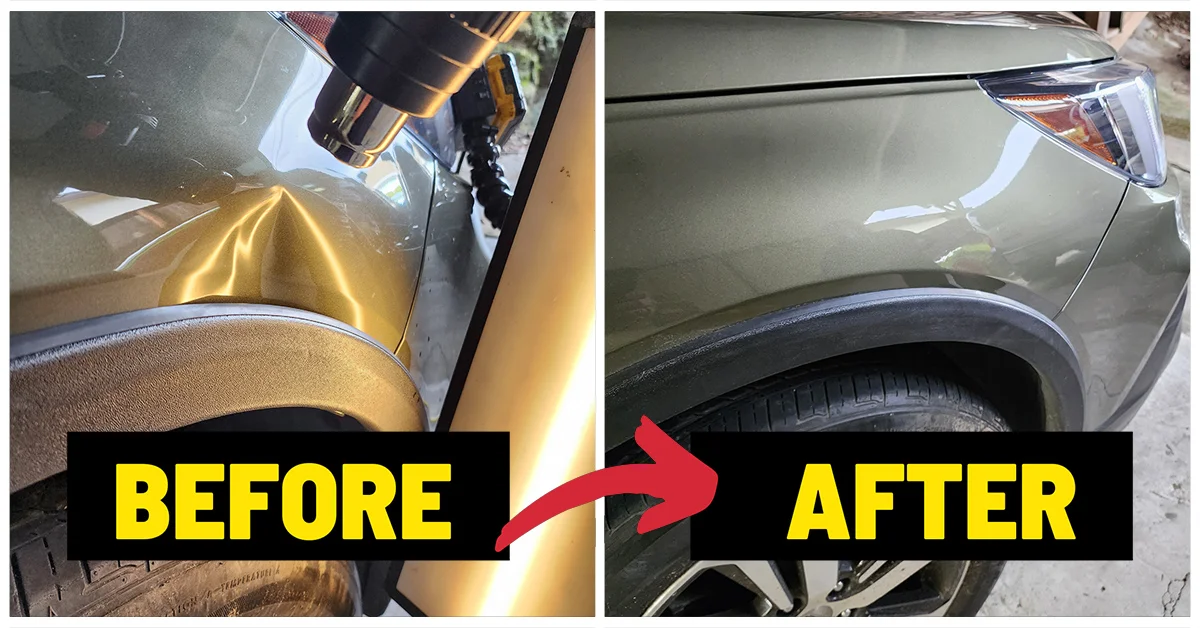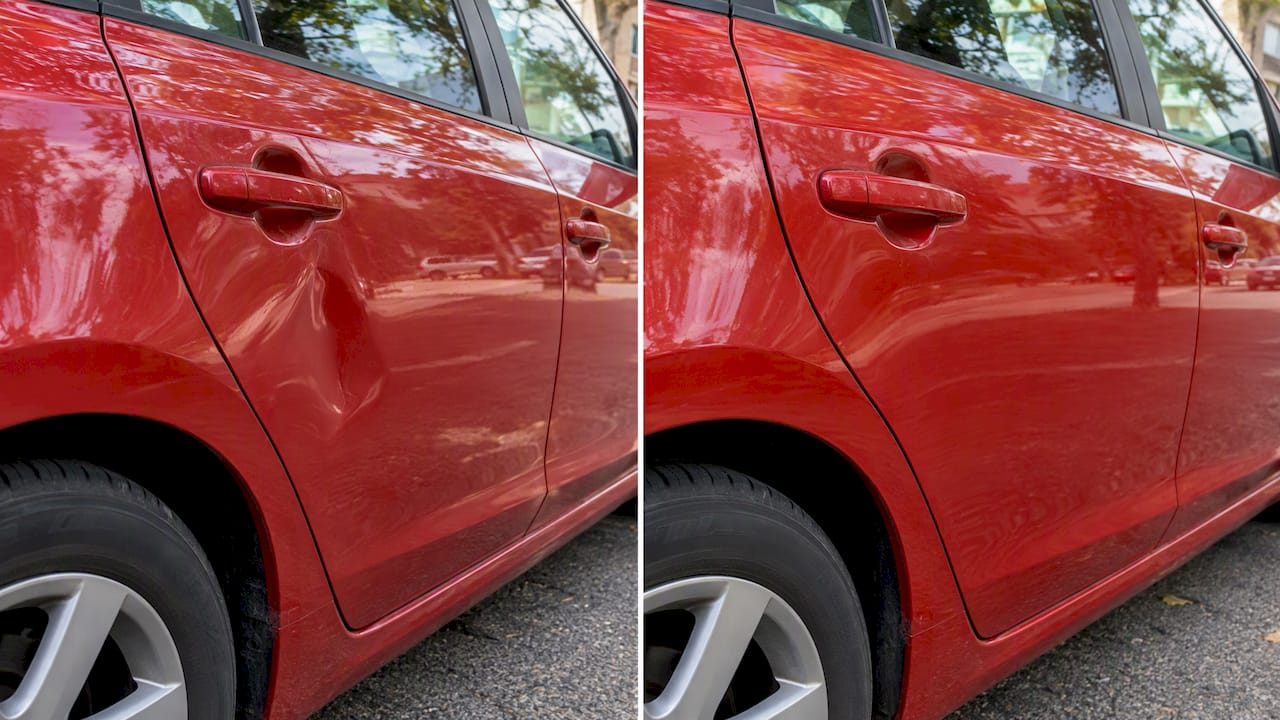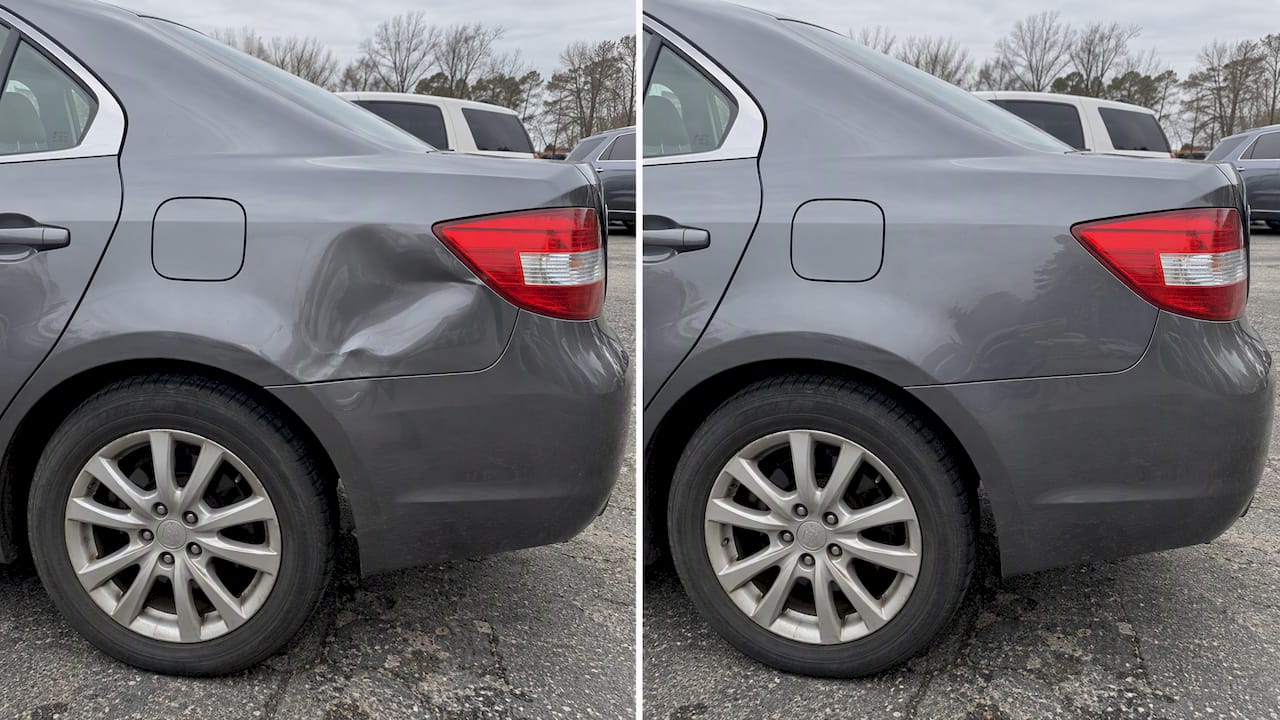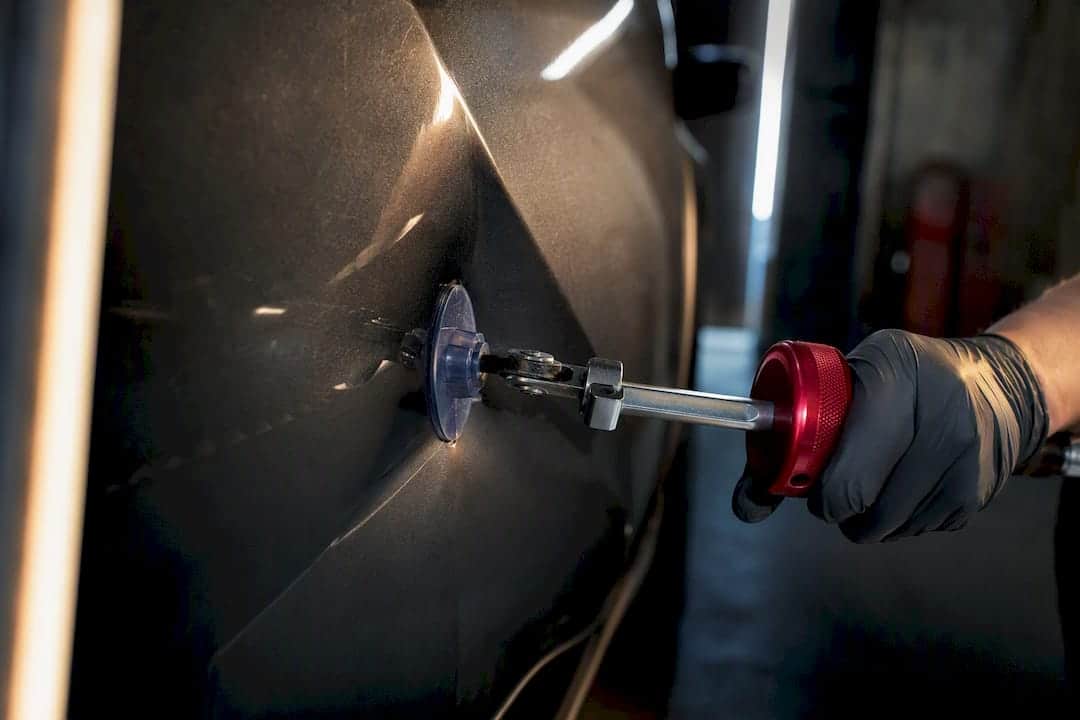
Glue pull dent repair works reliably on shallow, blocked, or small round dents when the paint is factory original and the panel hasn’t been stretched. Before you touch a glue gun, confirm three things: the paint has good adhesion (no cracks or respray lines), you’ve matched the right tab and glue type to the dent, and both the panel and adhesive are at the correct working temperature. Meet those conditions and the workflow below will get you most of the way to a clean pull. If any one of them is in doubt, that’s your signal to stop and call a mobile PDR technician instead of guessing.
TL;DR:
- Glue pull dent repair is effective on shallow and factory-painted dents when the paint’s integrity and adhesion are confirmed beforehand.
- Matching the correct glue type and tab shape to the dent size and contour is crucial for successful results, especially on larger or more complex damages.
- Combining glue pull and push-rod methods offers a comprehensive approach, using glue for blocked access areas and rods for fine detailing.
- Avoid glue pulling on panels with cracks, prior repaint layers, or sharp creases to prevent paint delamination or further damage.
- When in doubt about paint condition or dent complexity, hiring a professional mobile PDR technician ensures safe, precise repairs without risking further damage.
Table of Contents
- What Is Glue Pull Dent Repair, and When Should You Use It?
- What Tools and Glue Types Do You Need for a Glue Pull?
- How Do You Actually Perform a Glue Pull, Step by Step?
- When Is It Too Risky to Glue Pull a Dent?
- Can You Combine Glue Pulling With Rod Work for a Better Finish?
- How Do You Fix Common Glue Pull Mistakes?
- When Should You Call a Mobile PDR Pro Instead of DIY?
- Ready to Get Your Dent Fixed the Right Way?
- Where Can You Learn More About Glue Pull Techniques?
- Sources
- FAQ
What Is Glue Pull Dent Repair, and When Should You Use It?
Glue pull dent repair, often shortened to glue pull PDR, works by bonding a plastic tab to the low point of a dent with hot or cold adhesive, then attaching a pulling tool to that tab and drawing the metal back out from the outside of the panel. No drilling, no repainting, no access to the backside of the panel required. The force transfers through the tab into the dent floor, and a trained hand walks the metal back toward its original contour the same way it collapsed.
Compare that to traditional push-rod paintless dent repair, where a technician works from behind the panel with specialized rods, massaging the metal back into place from the inside. Push-rod work is often faster and cheaper when you have clean access, but plenty of dents sit against headliners, wiring harnesses, or structural braces that block a rod entirely. That’s where glue pulling earns its place. Technicians at SuperPDR describe the choice as a decision framework rather than a rulebook: pick glue pull when rear access is blocked or risky, and treat push and pull as complementary tools rather than competing methods.
The advantage of glue pulling is straightforward. It preserves the factory paint finish, avoids interior disassembly, and works on body lines and panel edges that a rod simply can’t reach. The limitations are just as real. Cracked clear coat, deep creases, and stretched metal near a crown fold don’t respond well to a pull because the glue asks the metal to move in ways the crease geometry won’t allow.
Before committing to a pull, run through a quick mental checklist:
- Can you physically get behind the panel, or is access blocked by trim, wiring, or structure?
- Is the paint original factory finish, or is there evidence of a prior respray?
- Is the dent a clean, rounded low point, or does it include a sharp crease or fold?
- Are there aftermarket coatings (ceramic, vinyl wrap) that could interfere with adhesion?
Answer those honestly and you’ll know within a minute or two whether a glue pull is the right tool for the job in front of you.
What Tools and Glue Types Do You Need for a Glue Pull?
Your results depend more on matching the right glue and tab to the dent than on how expensive your pulling tool is. Get the adhesive and tab selection wrong and even a professional-grade bridge lifter won’t save the repair.
Glue types. PDR glue sticks generally split into two categories: fast-cure hot glues and flexible, slower-cure formulations. Hot fast-cure glue sets in seconds, which suits quick, single-pull jobs where you want to move fast before the panel cools. Flexible glue stays workable longer and tolerates temperature swings better, which makes it the safer choice for larger dents, multi-tab jobs, or work in a garage that isn’t climate controlled. GlueGun’s PDR-specific stick lineup categorizes formulations by weather behavior, with dedicated hot-weather sticks and all-weather blends built to hold their bond across a wider temperature range.
Tab selection. The rule technicians live by: choose a tab smaller than the dent floor and match its shape to the contour you’re pulling. A tab that’s too large spreads force outside the low point and drags surrounding metal with it. A tab that’s too small concentrates pull force in a way that can overstretch a small area. ProSpot’s glue-tab system documentation shows why kits ship with rounds, bridge tabs, and crease-specific shapes: geometry has to match the dent, not just its size. Flexible tabs also help avoid what technicians call crown locking, where a rigid tab holds the metal at a false high point mid-pull. Dentcraft Tools recommends flexible tabs for repeated pulls specifically because they release that lock more easily.
Pulling tools. Four tools cover most jobs:
- Slide hammer: a sliding weight on a shaft that delivers sharp, controlled jolts. Best for smaller dents where you need precise, incremental movement.
- Bridge or beam lifter: spans the dent and applies steady, even tension across a wider area. Good for larger, shallower dents where a slide hammer’s jolt would be too aggressive.
- Robo lifter (mini-lifter): a compact, spring-loaded tool for tight spaces and small dings where a full bridge won’t fit.
- T-bar: simple, direct pulling force for straightforward single-tab pulls, often the first tool a DIYer buys.
Round out your kit with an adjustable-temperature glue gun, isopropyl alcohol in the 95 to 99 percent range for surface prep, plastic scrapers for glue removal that won’t scratch clear coat, an infrared thermometer to check panel and glue temperature, and an LED reflection board so you can actually see the dent’s contour as you work. That last item matters more than most beginners expect. Without a reflection board, you’re pulling blind.
How Do You Actually Perform a Glue Pull, Step by Step?
This is the sequence that separates a clean repair from a frustrating afternoon of overpulls and residue. LearnPDROnline’s 10-step glue-pull checklist and KECO’s Pull-to-Paint process both organize the work around inspection, preparation, bonding, and controlled pulling. Here’s how that plays out in practice.
-
Inspect the panel. Look for OEM paint documentation, feel along the edges for signs of a prior respray, and check for hairline cracks in the clear coat. Set up your reflection board and angle a light source to find the exact low point of the dent. You can’t fix what you can’t see clearly.
-
Clean the work area. Wipe the dent and surrounding panel with isopropyl alcohol to strip wax, road grime, and any silicone-based products. Skip this step and your glue bond will fail halfway through the pull, usually at the worst possible moment.
-
Check panel and glue temperature. KECO’s process guidance points to warming the panel to roughly 120°F (50°C) and setting a hot glue gun to around 385°F (195°C) for certain glue formulations, according to KECO’s Pull-to-Paint guidance. Cold panels don’t accept adhesive evenly, and glue that’s too hot can scorch paint or run past the tab edges.
-
Apply the glue and seat the tab. Lay a bead of adhesive on the tab, center it directly over the low point, and press down firmly enough to create even contact without squeezing out excess glue around the edges. A lopsided bead means an uneven pull.
-
Let it cure. Fast-cure hot glue typically needs only seconds before it’s ready. Flexible formulations need longer, sometimes a minute or more depending on ambient temperature. Rushing this step is one of the most common beginner mistakes.
-
Attach your pulling tool and begin staged pulls. Start light. Use short, steady pulls rather than one aggressive yank. A slide hammer works well for small, isolated dents; switch to a bridge or beam lifter for wider, shallower areas where you want even tension spread across more metal.
-
Reassess after each pull. Check the reflection board. Metal has memory, and PDR technicians talk about it the same way physical therapists talk about muscle: you’re coaxing it back gradually, not forcing it in one move. Repeated overpulling stretches metal past its original shape and creates a high spot that’s harder to fix than the dent you started with.
-
Knock down remaining highs. Once the low point comes up close to level, use a knockdown tool or gentle tap to lower any high spots while keeping tension on the pull. This is where experienced hands earn their reputation. It’s a balancing act between holding the gain you just made and refining the surface.
-
Remove the glue. Once you’re satisfied with the contour, soften the remaining adhesive with light heat or a dedicated glue-release product, then lift the tab and scrape away residue with a plastic tool. Follow with a final isopropyl alcohol wipe.
-
Final inspection. Angle your reflection board across the repaired area one more time. Look for any remaining low spots, high spots, or leftover residue before calling the job finished.
Pro Tip: Keep a spray bottle of cool water nearby during hot-glue pulls. A quick mist over the tab after your final pull speeds up cooling and makes glue removal noticeably cleaner, especially on darker paint where residue shows more.
When Is It Too Risky to Glue Pull a Dent?
Not every dent is a candidate, and the paint itself will tell you more than the dent shape ever will. CyPaint’s guidance on hot-glue dent pullers is blunt about this: the tools are safe when used correctly, but overheating, aggressive pulling, or leftover residue meaningfully raises the risk of paint damage.
Watch for these red flags before you apply any adhesive:
- Visible cracks or crazing in the clear coat around the dent
- A hard edge line or slight color mismatch suggesting a prior respray
- Single-stage paint (common on older vehicles), which bonds differently than modern basecoat/clearcoat systems
- Ceramic coatings or heavy paint protection film layered over the factory finish
- Metal that feels stretched or shows a sharp crease rather than a smooth rounded low point
The core issue is an adhesion mismatch. Glue tabs bond aggressively to whatever surface they touch, and if that surface is a secondary respray layer with weaker adhesion than the factory finish underneath, the pull force can exceed what that repaint layer can hold. The result is delamination, meaning the top paint layer peels away from the layer beneath it rather than the dent simply popping out. This risk climbs specifically on panels that have already been repainted, since the bond between old and new paint is rarely as strong as the original factory adhesion.
Run a simple, non-destructive check before committing: press firmly on an inconspicuous section of the panel and look closely for any lifting or texture change. If you have any doubt about paint history, stop. A five-minute phone call to a mobile PDR technician costs far less than a professional refinish job.
Can You Combine Glue Pulling With Rod Work for a Better Finish?
Most experienced technicians don’t treat glue pull and push-rod work as an either/or decision. They sequence both methods on the same dent depending on which sections are accessible and which aren’t, an approach SuperPDR’s decision framework describes as standard practice rather than a workaround.
A typical hybrid sequence looks like this: glue-pull the sections of the dent that sit behind blocked access points, bringing that metal up close to level from the outside. Then, wherever the backside opens up, switch to rod work for fine contour refinement. The rod lets you feel the metal directly and make small, precise adjustments that a glue pull, working blind from the front, can’t replicate as easily.
The coordination challenge is holding your pull gains while you knock down highs. If you release tension too early or knock down too aggressively, you can reverse the progress the pull just made. Work in small increments and reassess with your reflection board between every adjustment.
A few practical notes worth knowing:
- Aluminum panels dent differently than steel, springing back less and work-hardening faster, which means smaller, more frequent pulls tend to outperform fewer aggressive ones.
- Steel tolerates slightly more aggressive pull force before work-hardening becomes a problem.
- After any final knockdown, a light machine polish or compound pass on the repaired area blends the finish with surrounding paint and removes minor swirl marks left from tool contact.
Pro Tip: If you’re working on an aluminum panel and the metal starts to feel stiff or resistant mid-pull, stop. That stiffness is work-hardening setting in, and pushing through it usually creates a new high spot instead of finishing the old low one.
How Do You Fix Common Glue Pull Mistakes?
Even careful work runs into trouble sometimes. Here’s how to correct the most frequent problems without making them worse.
-
Overpulls. If the metal comes up too high, don’t panic and yank it back down. Use a gentle knockdown tool and work in small taps, checking your reflection board after each one, until the surface settles back to level.
-
Volcanoing. This happens when the metal around the tab bulges upward in a ring while the center stays low, usually from a mismatched tab size or an uneven glue bead. Reheat the glue, release the tab, switch to a properly sized tab that matches the dent floor, and re-seat it centered over the low point.
-
Adhesion failure. If the tab pops loose mid-pull, the surface almost certainly wasn’t clean enough, or the panel was too cold. Wipe the area again with isopropyl alcohol, confirm the panel has reached proper working temperature, and consider switching to a flexible glue if you’re working in a cooler environment.
-
Residue removal. Never scrape dried glue off with a metal tool. Soften it first with gentle heat or a dedicated release agent, then lift with a plastic scraper and finish with an alcohol wipe to remove any last film.
For a broader prep checklist before your next pull, our paintless dent removal checklist walks through the tools worth having on hand before you start.
When Should You Call a Mobile PDR Pro Instead of DIY?
Some customers get calls after a DIY glue pull has gone sideways more often than hoped. The jobs that consistently need a professional hand are the ones with uncertain paint history, sharp creases mixed into an otherwise round dent, or panel access so limited that even a beam lifter can’t get proper leverage.
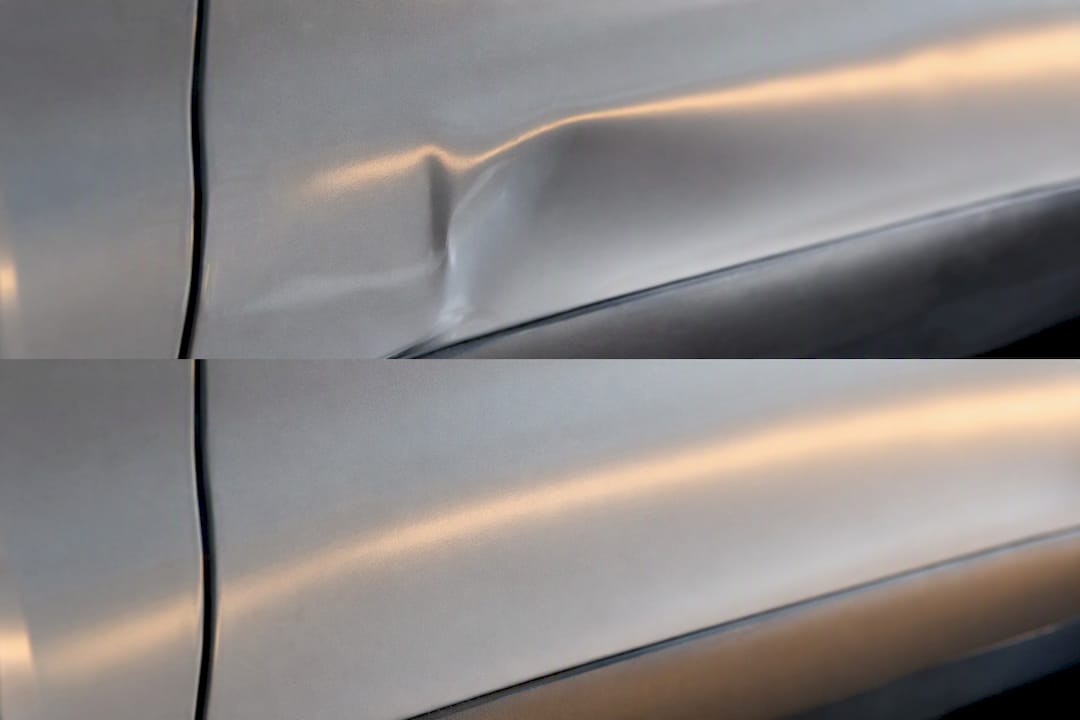
What a trained mobile technician brings to those jobs isn’t just a bigger tool bag. It’s years of reading paint condition correctly, sequencing glue pulls and rod work on the same panel without one undoing the other, and knowing exactly when to stop pulling before metal work-hardens past the point of an easy fix.
If you’re weighing whether to book a visit, a few photos of the dent from multiple angles, any notes on past bodywork, and the dent’s exact location on the vehicle help us assess suitability before we even arrive. Our guide on choosing the right paintless dent repair service covers what else to have ready.
Ready to Get Your Dent Fixed the Right Way?
If the checks in this guide left you uncertain about your dent, that’s exactly the judgment call a mobile technician is trained to make on the spot. Mobile paintless dent repair technicians bring glue-pull tools, tab inventory, and paint-risk assessment experience directly to your driveway or office parking lot, helping you skip the guesswork and the trip to a body shop.

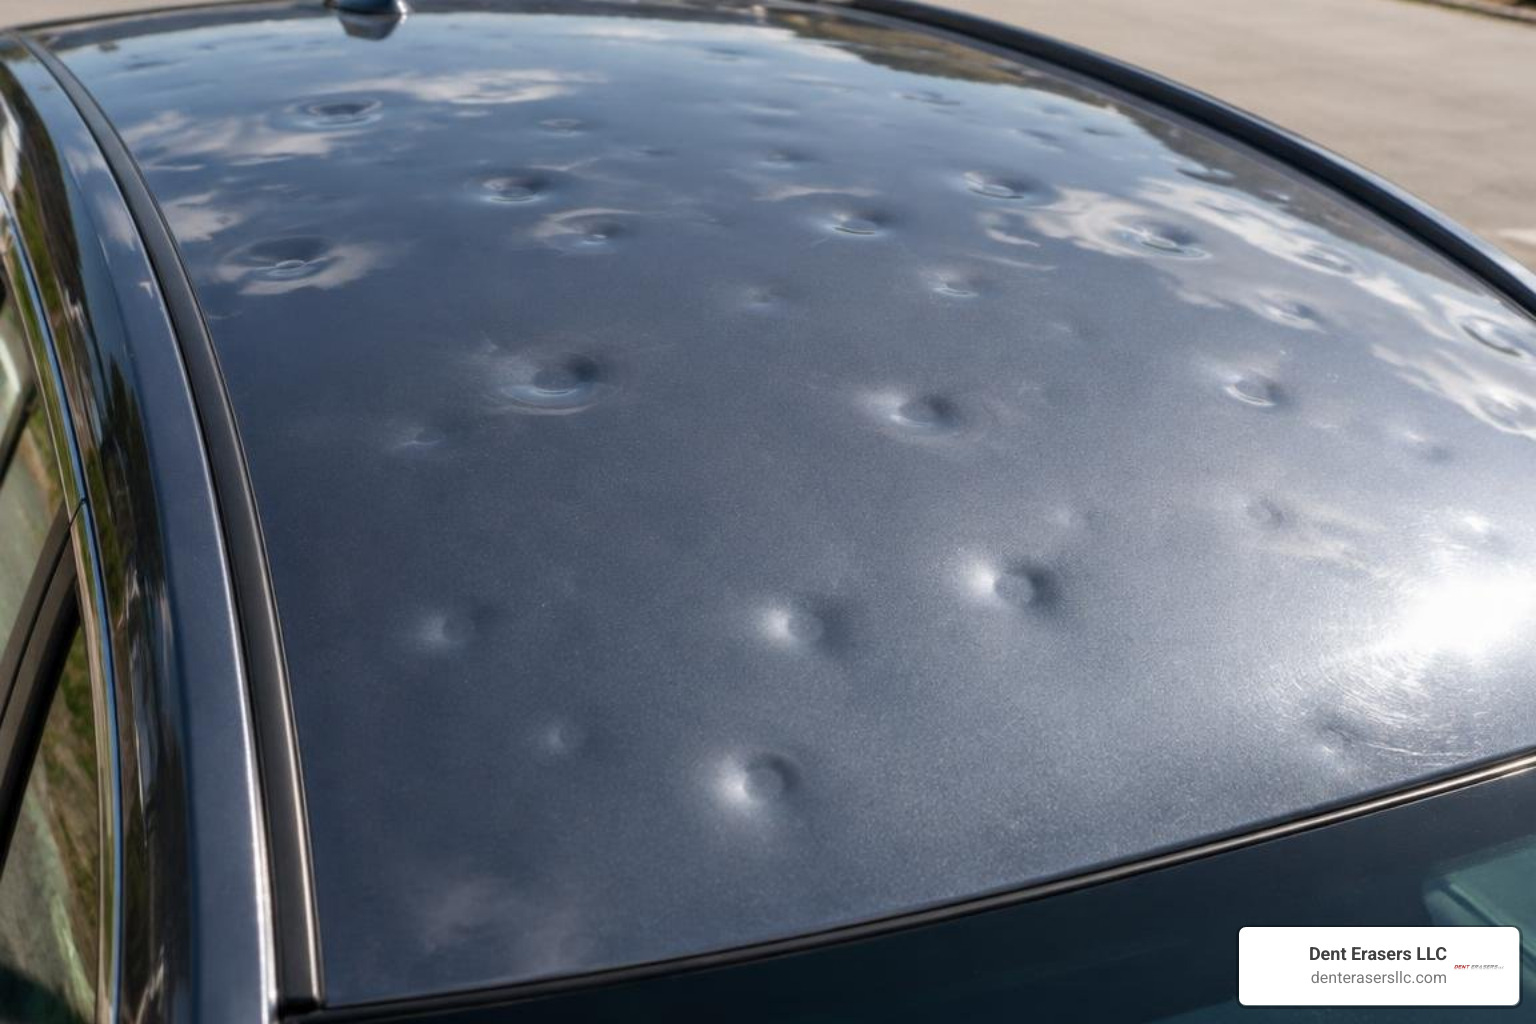
Booking works the same way whether you have a single small dent or a cluster of hail damage. Technicians inspect the panel on-site, confirm the dent is a good candidate for paintless repair, and provide a firm estimate before any glue touches your paint. Mobile repair avoids dropping the car off and arranging a rental while it sits in a shop queue. If the dent involves a crease or paint history that makes DIY too risky, a technician is ready to handle it. For aluminum panels specifically, our aluminum panel repair guide breaks down what makes those repairs different. Ready to see if your dent qualifies? Schedule your onsite estimate with Denterasers LLC and get a straight answer before you decide how to proceed.
Where Can You Learn More About Glue Pull Techniques?
- Pull-to-Paint Process Guide – KECO
- 10-Step Glue Pulling Checklist – LearnPDROnline
- Push vs. Glue Pull Decision Framework – SuperPDR
- Hot Glue Dent Pullers and Paint Safety – CyPaint
- Removing Water Spots From Your Car
- Paintless Dent Repair FAQ – Denterasers LLC
- Best Dent Puller for Large Dents
Sources
- Pull-to-Paint: The Process For Maximizing Your Glue Pulling Repair Res – KECO Australia
- PDR Glue Pulling | Paintless Dent Removal Glue Pulling
- PDR Push vs. Glue Pull: A Repair-Method Decision Framework
FAQ
Do Glue Dent Pullers Actually Work?
Yes, for shallow, rounded dents on original factory paint with good adhesion, glue dent pullers reliably bring metal back close to its original contour when the tab, glue, and temperature are matched correctly to the job.
What’s the Best Glue for Pulling Dents?
There’s no single best glue for every job. Fast-cure hot glue suits quick single-tab pulls, while flexible, slower-cure formulations work better on larger dents or in cooler, variable temperatures where you need more working time.
What Glue Do You Use With a Dent Puller?
Most technicians use PDR-specific glue sticks designed for hot-glue guns, choosing between hot-weather and all-weather formulations depending on the panel temperature and job size, rather than generic craft or industrial glue sticks.
Can Glue Sticks Pull Dents Out on Their Own?
No. The glue stick only creates the bond between the tab and the dent floor. You still need a pulling tool, such as a slide hammer, bridge lifter, or T-bar, to apply the actual force that draws the metal back out.
Is Glue Pull Repair Safe for All Cars?
It’s safe for most vehicles with original factory paint and sound panels, but it becomes riskier on resprayed panels, cracked clear coat, or heavily creased dents, where a professional assessment from a mobile PDR technician is the safer next step.