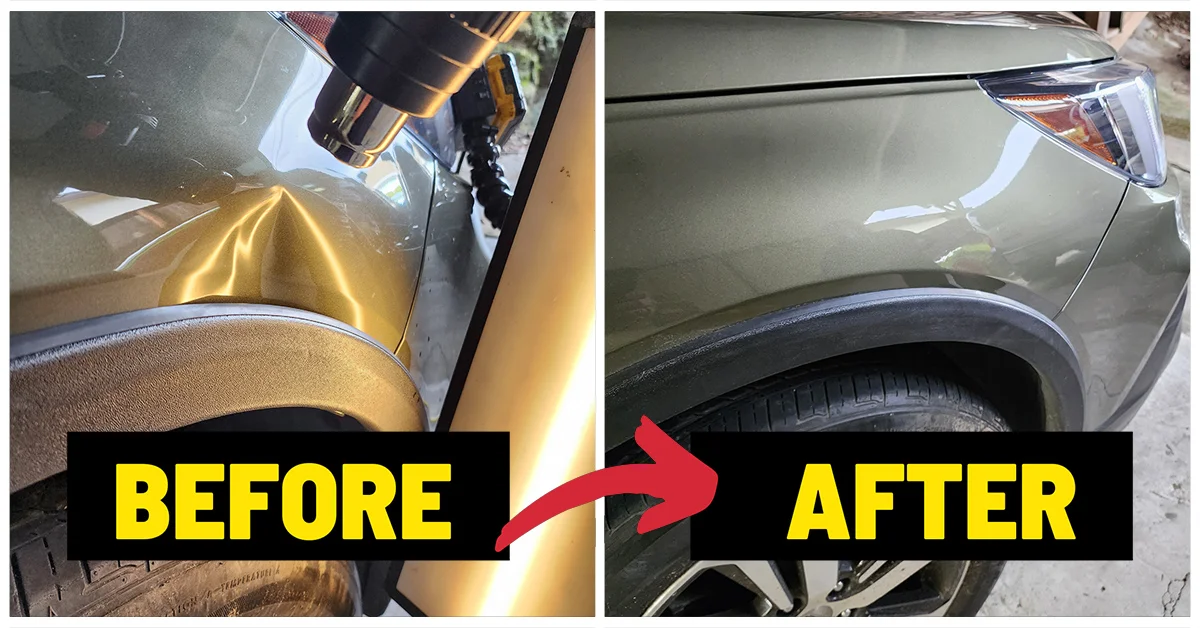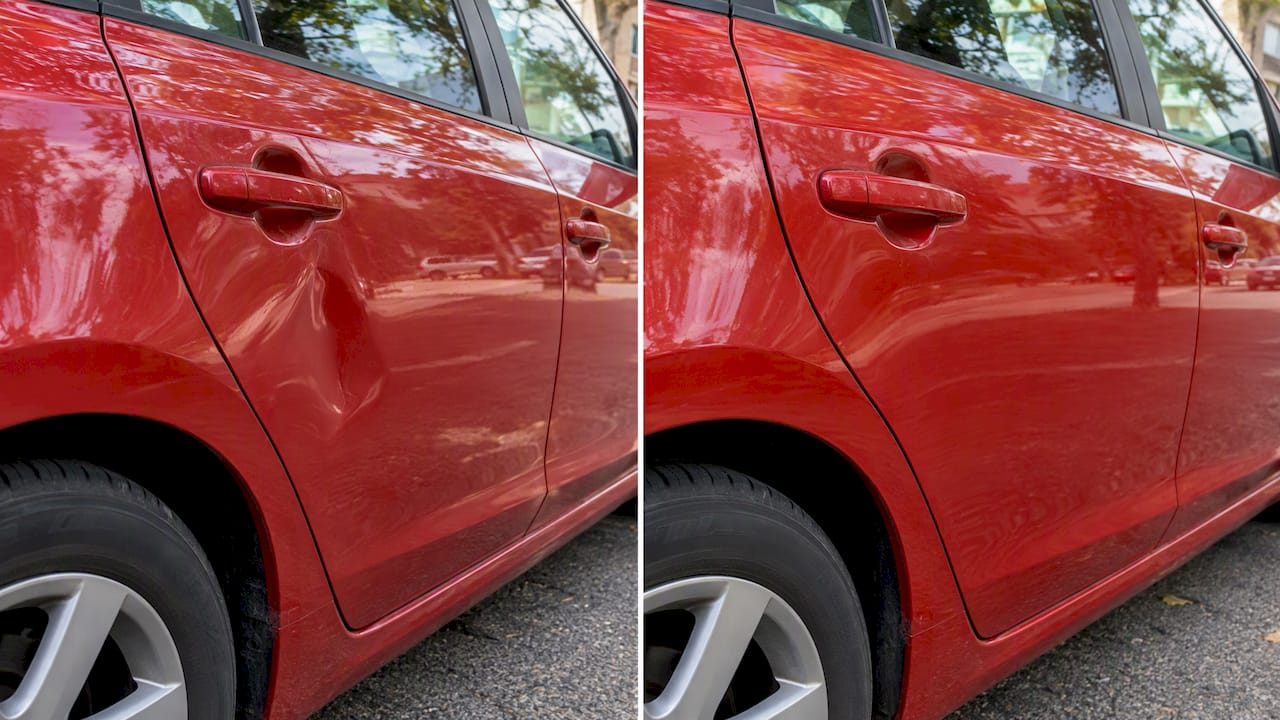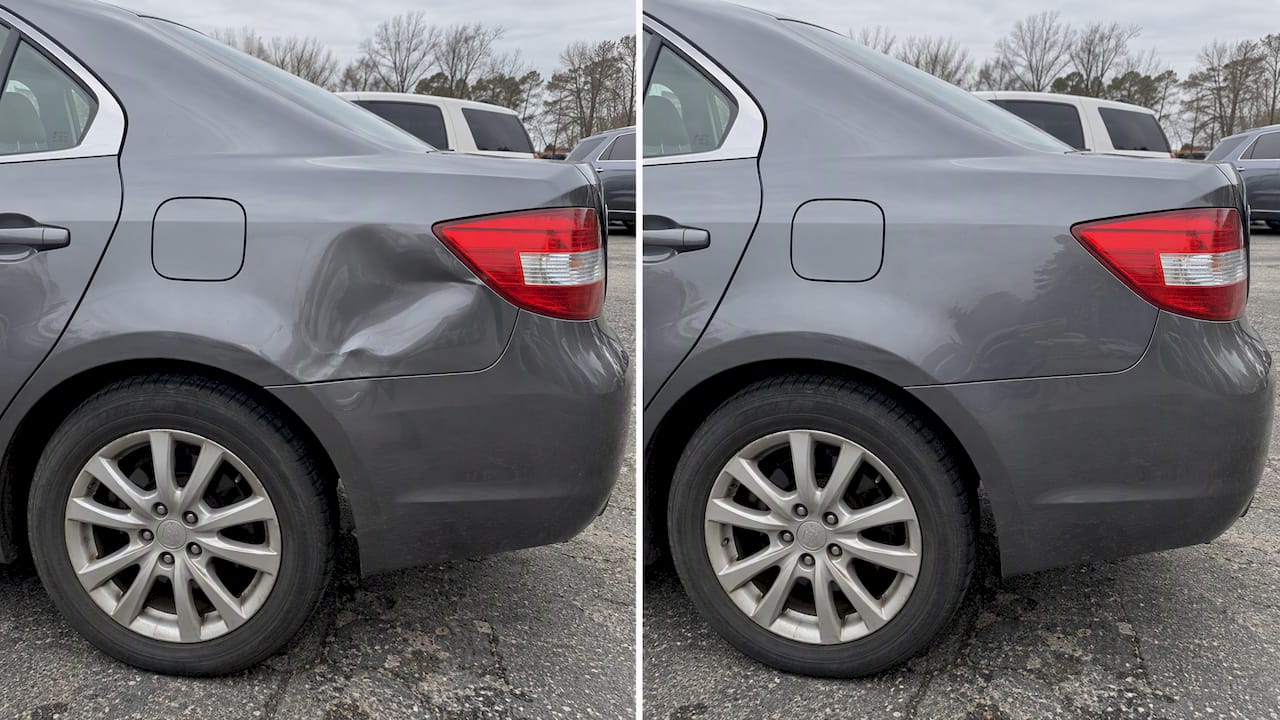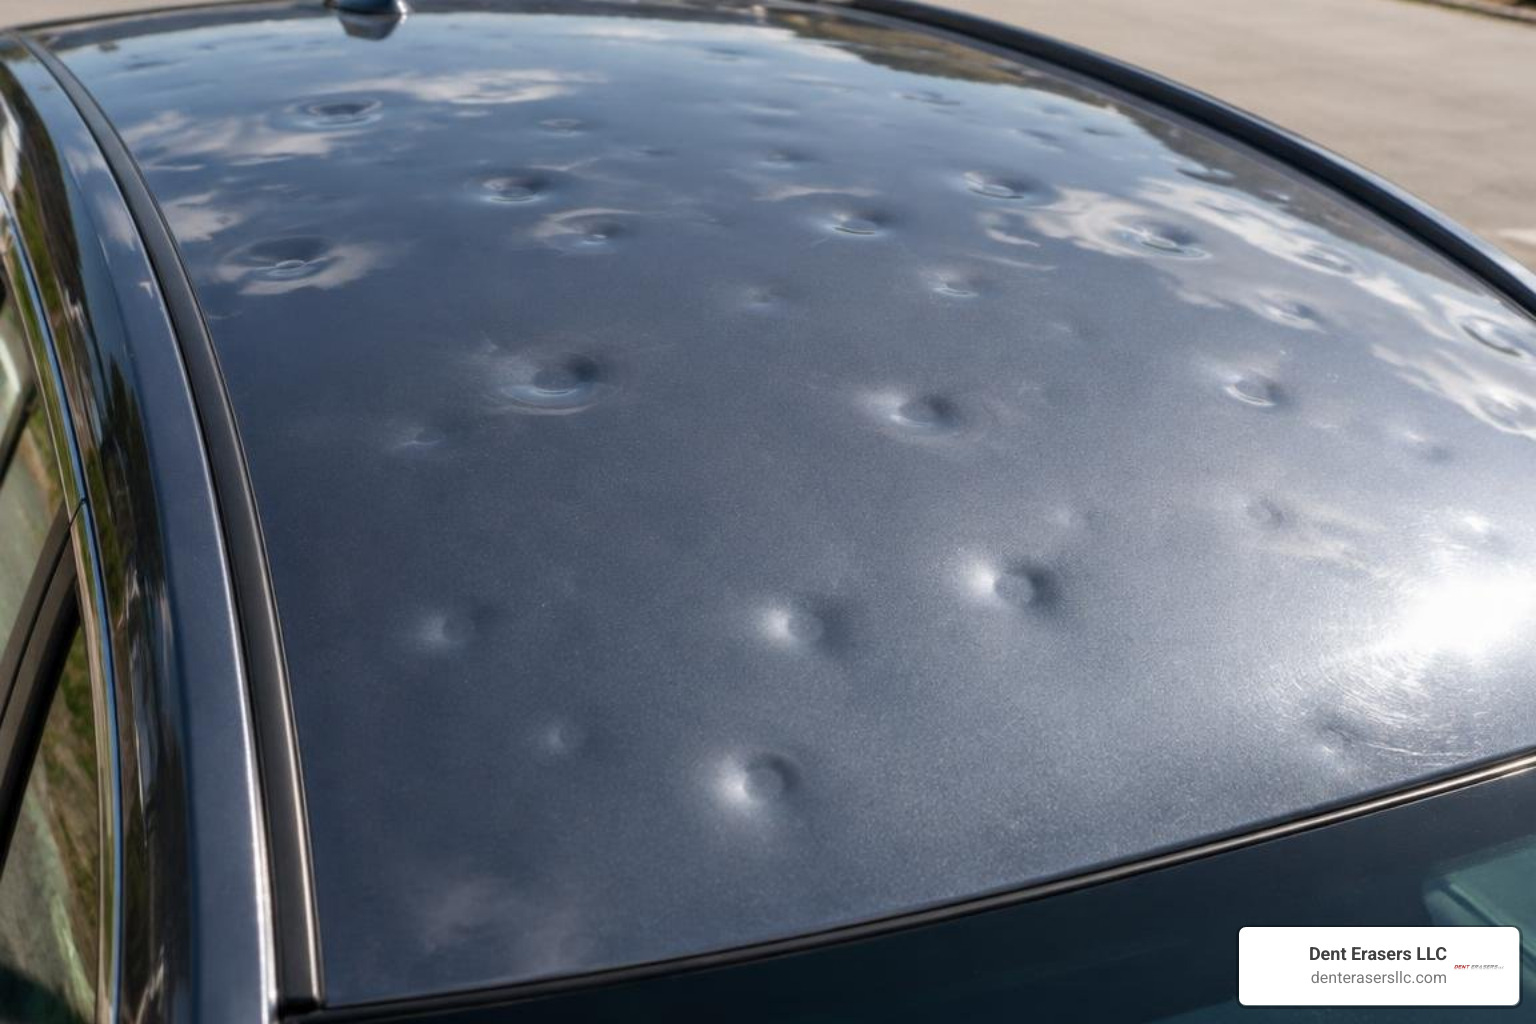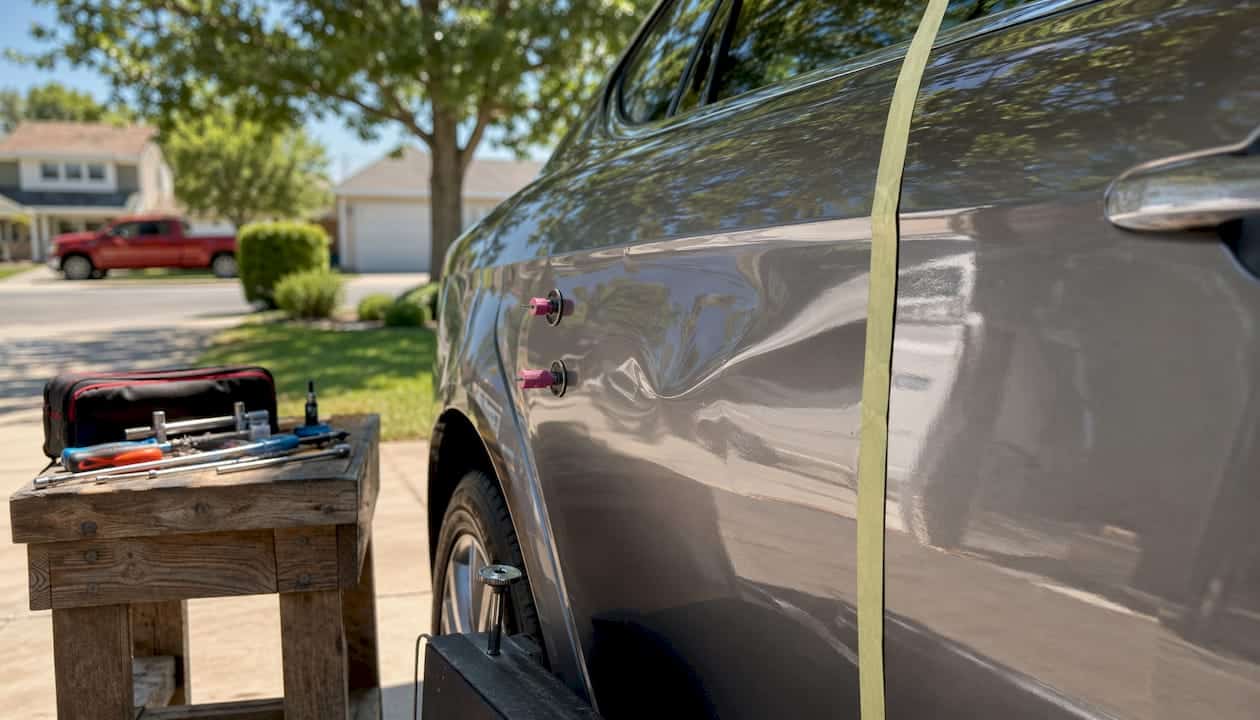
Minor dents are absolutely fixable at home on your driveway, but only under the right conditions. Paintless dent repair (PDR) is the method that makes it possible, gently massaging metal back to its original shape without touching the factory paint. The key word there is gently. DIY dent repair is suitable only for shallow, smooth dents under 2–4 inches in diameter on flat panels with fully intact paint and no creases. Anything outside those boundaries and you risk turning a simple fix into a costly bodywork job.
Before you grab a tool, be honest about what you’re working with:
- Good candidates: Shallow, round dents under 2–4 inches on flat panels like doors, hoods, and trunk lids with no paint cracking
- Avoid: Dents on sharp body lines, character lines, or panel edges
- Never attempt: Dents on aluminum panels or vehicles with previous paint work, where paint flexibility is already compromised
- Realistic goal: “Much better” appearance, not showroom perfect
- Safety first: Work in shade, protect your eyes, and never use open flame near paint
How do you set up a home driveway dent repair workspace?
Getting your home driveway dent repair setup right before you touch the car is half the battle. A rushed setup leads to poor lighting, wrong tool choices, and preventable mistakes.
Tools you need:
- Glue pull tabs and a hot glue gun
- Dent rods or picks (for backside access)
- Knockdown tools with plastic or rubber tips
- Angled LED lighting board or a strong flashlight you can angle across the panel
- Can of compressed air or dry ice (optional, for heat and cool method)
- Microfiber towels and car wash soap
- Isopropyl alcohol (for glue pull prep)
- Plastic trim tools and a rubber mallet
- Nitrile gloves and safety glasses
Workspace setup:
- Park in a shaded area. Direct sun heats panels to 140°F or higher, which affects glue adhesion and paint flexibility.
- Clear at least 3 feet around the vehicle on all sides so you can move freely.
- Good ventilation matters when using compressed air or chemical cleaners.
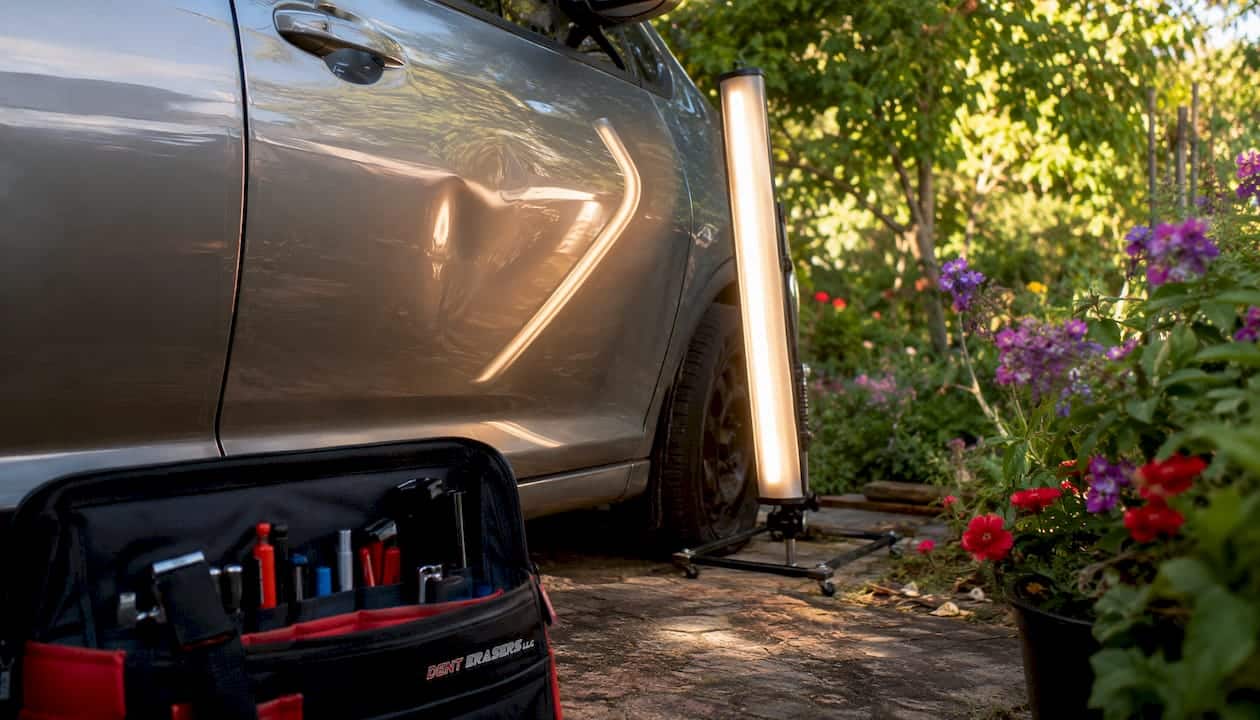
- Position your LED board or flashlight at a low, oblique angle across the dented panel. Generic overhead lighting hides dent contours. Angled side lighting creates the shadows that reveal exactly where the high and low spots are.
Pro Tip: Practice on a salvage hood or door panel before working on your actual vehicle. Many professionals recommend this exact approach to help you understand how metal responds to tool pressure before you risk your car’s finish.
Wear nitrile gloves when handling compressed air canisters and eye protection throughout. Compressed air sprayed upside down reaches temperatures cold enough to cause skin injury.
What does a step-by-step driveway dent repair process look like?
Backside access is the gold standard for PDR. When you can reach behind the panel, you have the most control. Glue pulling is the secondary method when access isn’t possible, and it demands more patience.
Step 1: Clean and inspect
- Wash the panel with car soap and dry with a microfiber towel.
- Wipe the dent area with isopropyl alcohol before any glue work.
- Look closely for spider cracks, chips, or bare metal. If you see any, stop. Popping the dent will cause paint to peel.
- Check whether you can reach behind the panel through interior trim, door wiring holes, or by removing a light cluster.
Step 2: Choose your method
- Backside access available: Push from behind using a rounded, rubber-tipped rod. This is the most controlled approach.
- No backside access: Use glue pull tabs with a pulling bridge or slide hammer.
- Tiny, shallow dent on a flexible panel: Try the heat and cool method first. Warm the area with a hairdryer, then spray compressed air upside down for a rapid cool. Note that this works reliably on plastic bumpers due to their thermoplastic memory, but steel panels respond less predictably to thermal shock.
Step 3: Work with your lighting
Set your LED board or flashlight at a low angle and watch the reflection on the panel. The shadow tells you where the dent still sits. Work the edges of the dent inward toward the center, never the center first. Pushing the center first locks the edges in place and creates a raised crown that’s harder to remove than the original dent.
Step 4: Small adjustments only
Over-pulling is the most common beginner mistake. One aggressive pull creates a high spot that requires specialized knockdown tools to correct, and basic kits rarely include what you need to fix it. Make many small pulls or pushes, step back, and check the reflection each time. If the metal doesn’t move easily, don’t force it.
Step 5: Knock down high spots carefully
If a small high spot appears, use a knockdown tool with a plastic or rubber tip and apply light, controlled taps. Check your progress with angled lighting after every two or three taps.
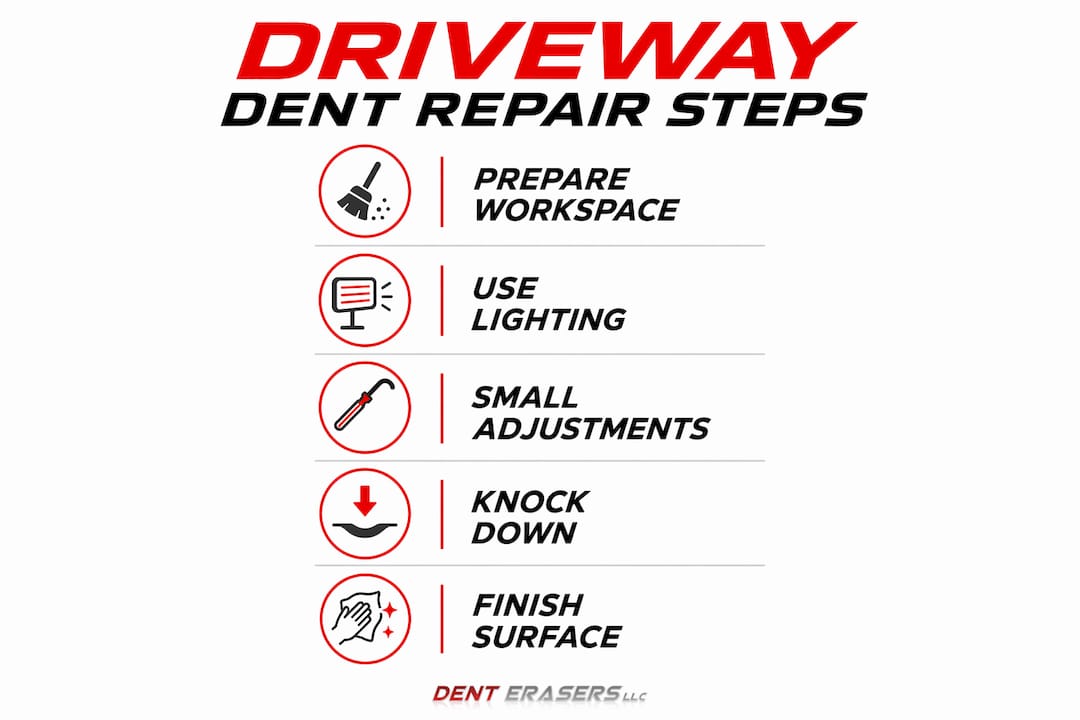
Step 6: Finish the surface
Stop when the dent is mostly gone. A tiny low spot is always better than a high spot. Wipe the area clean and apply a quick spray wax or polish to restore the panel’s appearance.
Pro Tip: Set a timer for 30–45 minutes per session. Fresh eyes catch overcorrection before it becomes permanent. Walking away and reassessing under different lighting often reveals progress you couldn’t see while working.
Troubleshooting common issues during DIY dent repair
Even careful work runs into problems. Here’s what to do when things don’t go as planned.
The dent isn’t moving. Cold metal resists pulling. Warm the panel gently with a hairdryer on low before your next attempt. Work in moderate temperatures, ideally 60–80°F, for the best results.
A high spot appeared. Stop pulling immediately. Use a knockdown tool with very light taps and check with angled lighting after each tap. If the high spot won’t come down, this is the point where professional assessment makes sense. Excessive pulling creates high spots that are harder to correct than the original dent.
The glue tab is pulling paint. This happens on older vehicles or panels that have been repainted. Paint flexibility decreases with age and previous paint work, and glue tabs can lift brittle paint right off the surface. Stop immediately, remove the tab carefully, and do not attempt further pulls on that panel.
The dent looks worse after pushing. You likely pushed the center before working the edges. Apply gentle heat to relax the metal slightly, then use a knockdown tool to lower any raised areas while using a pick from behind to keep surrounding metal level. If the panel continues to distort, call a professional before the damage compounds.
Paint stress lines are appearing. Any sign of stress in the paint finish means you’ve reached the limit of what DIY can safely accomplish. Stop, clean the area, and get a professional assessment.
When to avoid DIY and call a professional instead
Some dents simply aren’t DIY projects, and recognizing that early saves money.
Avoid DIY repair when you see paint cracks, chips, or bare metal. Once the paint is broken, PDR is no longer an option, and attempting it will cause the paint to peel further. Dents on sharp body lines or complex curves require tool control and access that consumer kits can’t provide. Aluminum panels and prestige vehicles carry a high risk of permanent damage even with careful technique.
If you lack backside panel access and the glue pull method isn’t producing clean results, the risk of creating high spots or lifting paint outweighs the benefit of continuing. The same applies when your lighting setup isn’t revealing the dent clearly. Working blind is how small problems become expensive ones.
The moment you notice paint cracking, metal high spots that won’t respond to knockdown tools, or a dent that’s getting worse, stop. Professional PDR technicians use specialized tools and years of trained technique to address exactly these situations. Catching it early keeps your options open.
Key Takeaways
A proper home driveway dent repair setup, combined with patient technique and the right tools, gives you a real shot at restoring minor dents without touching your factory paint.
| Point | Details |
|---|---|
| Suitable dent criteria | Only attempt shallow, smooth dents under 2–4 inches in diameter on flat panels with fully intact paint. |
| Lighting is non-negotiable | Angled LED lighting reveals dent depth and high spots; generic overhead light hides them. |
| Incremental force only | Small, repeated adjustments prevent high spots and paint stress better than any single pull. |
| Know when to stop | Paint stress, high spots that won’t correct, or worsening dents all signal it’s time for professional help. |
| Denterasersllc for complex repairs | When DIY reaches its limit, Denterasersllc provides mobile PDR that preserves your factory finish on-site. |
The honest truth about DIY dent repair
Most car owners underestimate how much of PDR is diagnosis, not just technique. You can read every guide and watch every tutorial, and the metal will still surprise you the first time you push in the wrong spot. The craft is built on reading the panel’s response in real time, adjusting force by fractions, and knowing when to stop before you’ve gone too far. Consumer kits don’t teach that. They give you the tools but skip the feedback loop that professional technicians spend years developing.
That said, I don’t think DIY is pointless for the right dent. A shallow, round door ding on a flat panel with healthy paint is a legitimate candidate. The problem is that most people attempt DIY on dents that are already past that threshold, and they find out the hard way that one bad pull converts a $150 PDR job into a $450 traditional repair with filler and respray. The cost of dent repair climbs fast once paint is involved.
My honest advice: be ruthlessly selective about which dents you attempt. Practice on a salvage panel first. Set a time limit before you start. And if the dent has any crease, any paint damage, or sits on a body line, skip the kit entirely and call a professional from the start.
Denterasersllc brings professional PDR to your driveway
When a dent goes beyond what a home kit can safely handle, you don’t have to drive to a body shop and leave your car for days.

Denterasersllc specializes in mobile paintless dent removal that comes directly to you in Contra Costa County and surrounding areas. The factory paint stays untouched, there’s no filler, no repainting, and no color mismatch risk. For dents that exceed DIY limits, including plastic bumper damage, large panel dents, and specialty repairs on luxury or vintage vehicles, Denterasersllc handles the full scope. Get a quote and book your on-site repair at denterasersllc.com.
FAQ
What dents can I safely repair at home on my driveway?
Shallow, smooth dents under 2–4 inches in diameter on flat panels with fully intact paint are the best DIY candidates. Dents with creases, paint damage, or on body lines require professional repair.
What is the most important tool for DIY dent repair?
Angled LED lighting is the single most critical tool. Without it, you cannot accurately see dent depth, high spots, or your progress, which leads to overcorrection and paint damage.
Can I fix a plastic bumper dent at home?
Yes, plastic bumpers respond well to heat because thermoplastic material has memory and softens enough to reshape. Apply heat with a hairdryer, then push gently from behind. This method does not work reliably on steel panels.
What happens if I pull too hard during DIY PDR?
Over-pulling creates a high spot above the panel’s original surface, which is harder to correct than the original dent. Fixing it requires specialized knockdown tools, and without them, the damage often requires professional bodywork.
When should I call Denterasersllc instead of attempting DIY?
Call when the dent has any paint cracking, sits on a body line or crease, is on an aluminum panel, or when DIY attempts have already created high spots or worsened the damage. Denterasersllc offers mobile PDR that preserves your factory finish without a body shop visit.