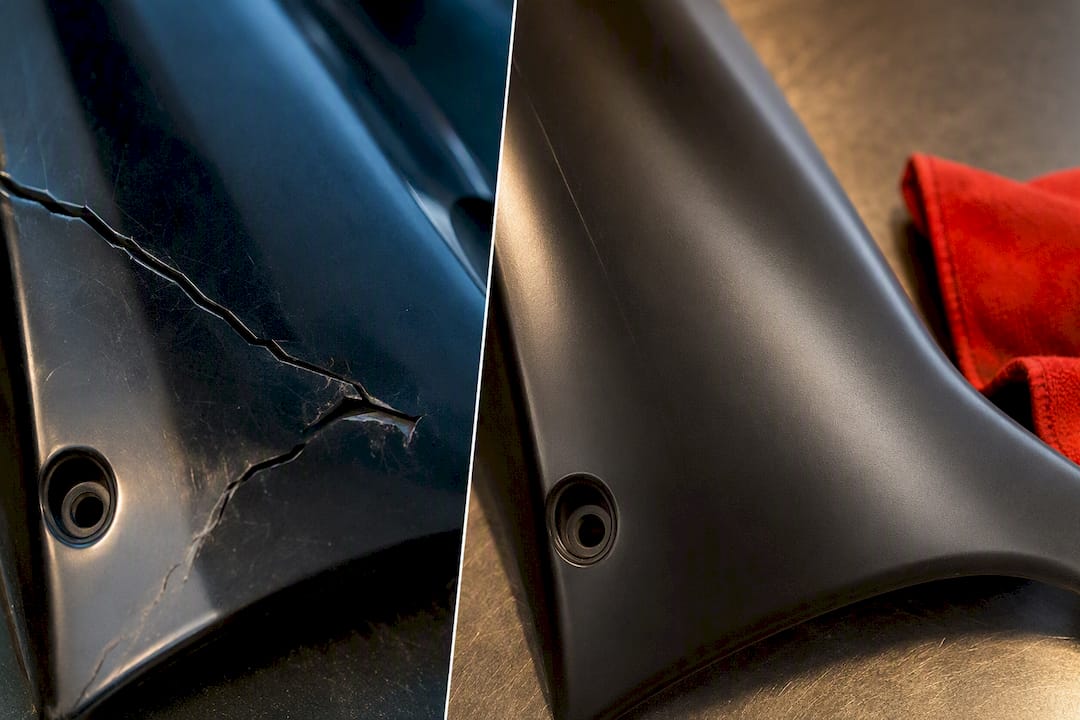
A clean, aligned crack on an ABS fairing with intact mounts is almost always repairable, and ABS slurry (chemical fusion) is the strongest fix for it. Fiberglass panels respond best to resin and mat laid into a sanded groove. Shattered edges, heat-warped plastic, or lost mounting geometry push the job toward professional repair or replacement. Pull the panel and check both sides before you commit to a method.
TL;DR:
- ABS panels with intact mounts and aligned edges are highly repairable using chemical fusion with ABS slurry, which restores near-original strength.
- Correct material identification is crucial, as slurry bonds only with ABS, while fiberglass requires resin and mat, and polypropylene resists most DIY repair methods.
- Proper repair includes thorough inspection, surface prep, and patience during curing to ensure long-lasting results, avoiding shortcuts like rushing or skipping tests.
- For high-stress or severely damaged panels, professional repair or replacement remains the safest option, especially when mounting tabs are missing or distortion is evident.
- DIY fixes demand precise application and finishing; poor technique or material misidentification often lead to quick failure, making expert help preferable in complex cases.
Table of Contents
- Motorcycle Fairing Crack Repair: How to Assess Damage and Decide
- Which Repair Method Fits Your Fairing Material?
- How Do You Fix a Cracked ABS Fairing With Slurry?
- Plastic Welding and Hot-Stapling: What You Need to Know
- Structural Epoxy Repairs and Getting the Filler Right
- Rebuilding Mounting Tabs Without Losing Alignment
- Getting an Invisible Finish That Survives Vibration
- When Does a Cracked Fairing Need a Professional?
- The Real Lesson in Fairing Repair: Match the Method, Not the Marketing
- Ready for a Pro? Request a Mobile Fairing Repair Estimate
- Manufacturer and Method Resources to Read Next
- Sources
- FAQ
Motorcycle Fairing Crack Repair: How to Assess Damage and Decide
Before you touch sandpaper or slurry, figure out what you’re actually working with. Fairings show up in four common materials, and mixing up your identification will sabotage the repair before it starts.
How to identify the material:
- ABS plastic has a slightly matte, uniform texture and usually carries a molded recycling mark (often “ABS” inside a triangle) on the underside.
- Polypropylene (PP) feels waxier and more flexible; it resists most adhesives and doesn’t take slurry well.
- Fiberglass feels rigid and often shows woven strands or resin texture on the backside where paint hasn’t sealed it.
- Carbon fiber shows a visible weave pattern under clear coat and is stiffer than fiberglass at the same thickness.
When you’re not sure, the acetone spot test settles it fast: dab a hidden interior spot with acetone. ABS softens or gets tacky within seconds. Fiberglass and PP barely react.
Once you know the material, look at the damage itself. A crack with edges that still line up, on a panel that isn’t warped, and with mounting tabs intact, is a solid DIY candidate. That aligns with the standard decision framework for ABS fairing repair, which treats shattered, heat-distorted, or misaligned panels as replacement or professional-repair territory rather than DIY projects.
Before you decide anything, remove the panel and check it properly:
- Inspect both the painted face and the unpainted backside; hidden hairline cracks often radiate from a visible one.
- Check every fastener location and mounting boss for stress cracking, not just the obvious break.
- Flex the panel gently near the crack. Cracks that spread when flexed mean the damage runs deeper than it looks.
For a broader comparison of when repair beats replacement across panel types, our body panel repair options guide walks through the tradeoffs in more detail.
Which Repair Method Fits Your Fairing Material?
Not every fix belongs on every plastic, and picking the wrong one is the single biggest reason DIY fairing repairs fail within a season. Here’s how the main methods stack up.
- ABS slurry (chemical fusion). This method dissolves ABS plastic in a solvent to create a paste that chemically bonds with the panel rather than just sticking to its surface. It restores something close to the panel’s original monolithic strength, which is why it’s the top choice for ABS cracks specifically.
- Plastic welding and hot-stapling. A heated tool fuses filler rod into the crack, or metal staples get embedded across it for mechanical reinforcement. This works well when you need speed and have practiced the technique, but it demands real heat control. Overdo it and you get brittle, warped plastic instead of a repair.
- Structural epoxy plus mesh. An automotive-grade epoxy formulated for plastics, reinforced with fiberglass mesh across the crack, creates a hybrid repair that’s less material-specific than slurry or welding. It works on ABS, fiberglass, and mixed-material panels, which makes it the most versatile option in a home shop.
- Resin and mat (fiberglass-specific). Layered fiberglass cloth saturated with resin rebuilds structural strength on fiberglass and carbon panels the same way slurry does for ABS. Wrong material choice here just peels off later.
What doesn’t work, no matter how convenient it seems: generic super glue, wood epoxies, and household contact cement. Fairings live through heat cycling, road vibration, and flex every single ride, and surface-bonding adhesives like these routinely re-open cracks once the bike gets back on the road. They bond to the surface instead of fusing with or mechanically gripping the plastic, and that’s a losing bet against sustained vibration.
How Do You Fix a Cracked ABS Fairing With Slurry?
Chemical fusion works because ABS slurry actually dissolves and re-bonds the plastic at a molecular level, rather than gluing two surfaces together. That’s the reason it holds up where adhesives fail.
Step-by-step process:
- Remove the panel completely and inspect both faces under good light, marking the full extent of the crack with a pencil.
- Cut a shallow V-groove along the crack on the backside using a rotary tool, tapering the edges so the slurry has somewhere to key into.
- Repeat lightly on the front side only if the crack has propagated through, since most structural work happens from the back.
- Prepare or apply a commercial ABS repair product like PlastiFix, which bonds with ABS without requiring welding equipment. If you’re mixing your own slurry from ABS scraps and acetone, work in a well-ventilated space with a sealed container, since the fumes are genuinely unpleasant and mildly hazardous.
- Apply the slurry to the backside groove first, building it slightly thicker than the final surface since it shrinks as the solvent evaporates.
- Support the panel from behind with a rigid backing plate or clamps so it doesn’t sag or distort while the solvent flashes off.
- Let it cure fully before test-fitting; rushing this step is the most common way home repairs fail.
Pro Tip: Confirm your ABS with the acetone spot test before you mix a single batch of slurry. If the panel doesn’t react, you’re likely holding polypropylene, and slurry simply won’t bond to it no matter how carefully you apply it.
Avoid over-thinning your slurry mix. A watery consistency looks easier to apply but shrinks unevenly and leaves pinholes you’ll be chasing with filler later.
Plastic Welding and Hot-Stapling: What You Need to Know
Welding gives you a mechanically stronger repair than slurry in some cases, but it asks more of your hands and your patience. Airless plastic welders, basic welding irons, and hot staplers each handle this job differently, and picking the right tool matters as much as technique.
An airless plastic welder melts a filler rod matched to your panel’s plastic type directly into the crack, building it up in passes. A hot stapler drives small metal staples across the crack at intervals, then melts them flush, which reinforces the repair mechanically even where the plastic itself is a marginal candidate for welding.
Getting it right:
- Work in short stitches rather than one long pass, letting each section cool slightly before moving to the next.
- Embed a strip of mesh or a few staples across the crack’s midpoint for extra pull-strength in high-flex areas.
- Support the panel underneath with a heat-safe backing so it doesn’t sag or bow while the plastic is molten.
- Keep the welder moving. Lingering in one spot is what turns a repair brittle instead of strong.
Welding shines on ABS and some fiberglass composites, but polypropylene fairings are a genuine headache. PP has a low surface energy that resists most weld rods and staples alike, which is why slurry-style chemical products rarely target it either. If you’ve identified PP on your panel, epoxy with mesh reinforcement is usually your more reliable route.
Structural Epoxy Repairs and Getting the Filler Right
Epoxy plus mesh is the closest thing to a universal fairing fix, since it works across ABS, fiberglass, and mixed panels where slurry or welding might not apply. The key is treating epoxy as the structural layer and filler as cosmetic only, never the reverse.
- Choose an automotive structural epoxy specifically formulated for plastics, not a generic hardware-store two-part epoxy meant for wood or metal.
- Embed a strip of fiberglass mesh across the crack before the epoxy sets for real pull-strength, especially on load-bearing areas near mounts.
- Let the epoxy cure fully, often around 24 hours, before you apply any cosmetic filler on top.
- Keep filler layers thin, no more than about 1/16 inch. Thicker layers crack under the same flex that the plastic beneath them handles fine.
- Sand progressively and use a guide coat, a light contrasting spray-paint dusting, to reveal high and low spots before you commit to primer.
That thin-filler rule is worth repeating because it’s where most home repairs go wrong: piling on body filler to hide a rough weld or slurry seam instead of fixing the surface underneath. Standard body filler like Bondo is genuinely brittle under structural load, and it belongs only as a thin finishing skim over a repair that’s already sound, never as the thing holding the crack together.
Rebuilding Mounting Tabs Without Losing Alignment
Broken mounting tabs are where DIY fairing repairs most often go sideways, because a tab that’s a millimeter off throws the whole panel’s fit into a fight with the frame and neighboring fairings.
- Document the original geometry first. Before you cut, grind, or dissolve anything, take photos and measurements of the tab’s position relative to fixed reference points on the panel.
- Build a rigid template. An impression from an identical undamaged part, or even a stiff cardboard jig held against the mounting point, preserves geometry far better than eyeballing it.
- Match the rebuild method to your material. Rebuild ABS tabs with slurry and reinforcing mesh, weld PP or ABS tabs with filler rod for direct mechanical strength, or use epoxy with mesh backing for composite panels.
- Support the tab through full cure, then test-fit against the frame before drilling or finishing any holes. Drilling too early locks in misalignment you won’t be able to fix later.
If a tab has sheared off entirely with no remnant to rebuild from, or if the surrounding plastic is too degraded to hold a rebuild under vibration, replacement is the honest call. A tab failure at speed is not the place to save a few dollars on a marginal repair.
Getting an Invisible Finish That Survives Vibration
The repair only looks as good as the finishing work behind it, and rushing this stage is how a structurally sound fix ends up looking like a patch job anyway.
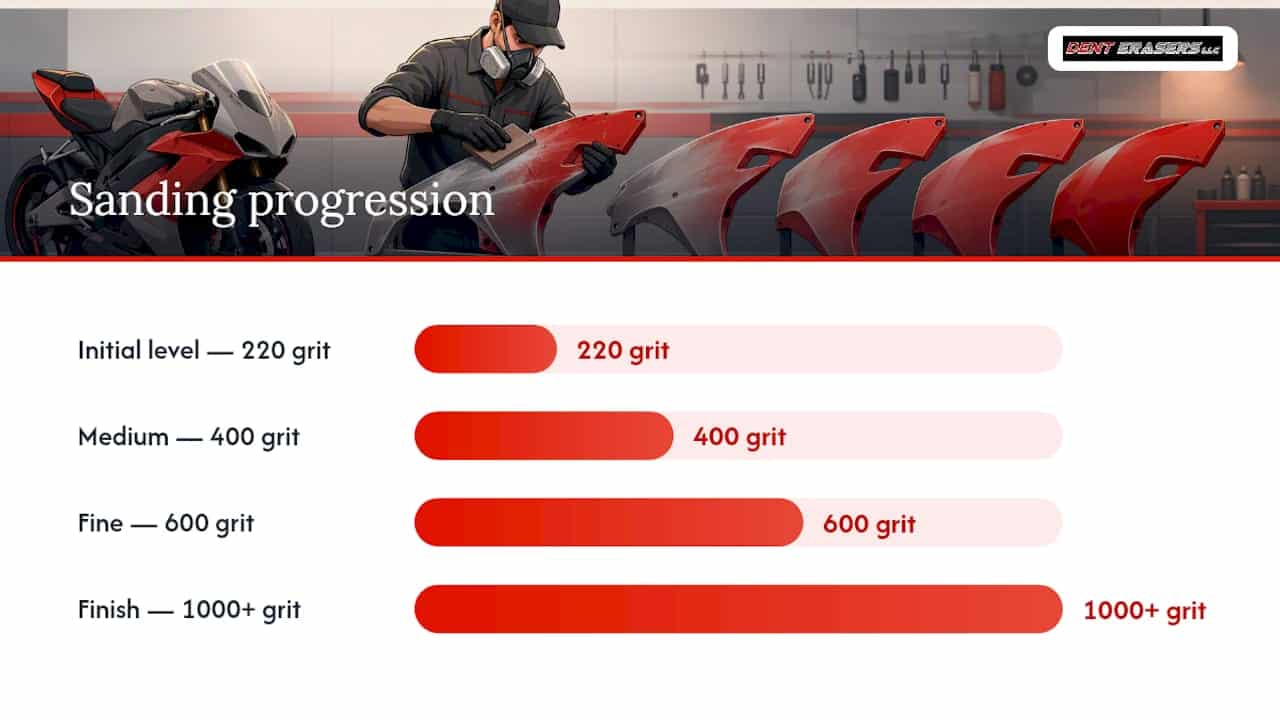
- Start with coarser grit (around 220) to level the repair, then step progressively finer through 400, 600, and up to 1000 or higher.
- Switch to wet sanding once you hit the finer grits; it cuts faster with less clogging and leaves a smoother base for primer.
- Apply a guide coat, a light dusting of contrasting spray paint, then sand it off. Wherever guide coat lingers in low spots, you’ve found your next round of filler work.
- Run your fingernail across the repaired area. Any ridge you can catch with a nail will show through paint, full stop.
- Use a flexible primer designed for automotive plastics, and respect its recoat window exactly as the can states.
Pro Tip: Before final paint, flex the panel by hand in a few spots and watch the primer for hairline cracking. Catching a flex problem in primer costs you an afternoon. Catching it after topcoat costs you the whole paint job.
Once primed and painted, test-fit the panel on the bike and take it for a short, careful ride before calling the repair done. Vibration reveals weak spots that a static test-fit never will. If you’re chasing detailed guidance on primer chemistry and additive behavior, ASTRA Chemical’s technical guides go deeper into coating performance than most DIY writeups do.
When Does a Cracked Fairing Need a Professional?
Some repairs are genuinely beyond a home garage, and knowing where that line sits saves you from ruining a fairing you could have saved with the right tools.
Hire a professional when the panel is distorted from heat, when a mounting tab is missing entirely rather than just cracked, or when the repair sits somewhere a visible flaw would bother you every time you looked at the bike. Complex color matching, especially on multi-tone or pearl finishes, is also a place where DIY paint work tends to disappoint.
A qualified repair professional brings material-matched techniques, tab reconstruction methods dialed in from repeated practice, and color-matching tools most home shops don’t have. Mobile services add the convenience of an onsite estimate without a shop visit.
Before booking anyone, ask:
- Do they test-fit the panel before and after paint to confirm alignment?
- What’s their warranty on the repair itself, not just the paint?
- Can they show examples of prior fairing repairs, not just dent work?
- Will they identify your fairing material before quoting a method?
A shop or mobile technician who can’t answer these plainly probably hasn’t repaired many fairings.
The Real Lesson in Fairing Repair: Match the Method, Not the Marketing
Most fairing repair advice online treats “crack repair” as one generic task with one generic fix, usually whatever adhesive the writer happens to be selling. That’s backwards, and it’s the biggest reason DIY repairs fail within a few months of riding.
The material identification step isn’t a formality you rush through to get to the fun part. It’s the decision that determines whether everything after it holds up. ABS slurry on polypropylene is wasted effort. Epoxy without mesh on a high-stress mounting area is a repair waiting to fail on the next pothole. The riders who get durable results are the ones who spend fifteen minutes with an acetone test and a flashlight before they open any repair product at all.
What’s overrated in most guides is speed. What’s underrated is the cure clock. Rushing an epoxy cure or skipping the test-fit before paint causes more repeat failures than any material choice does. If you take one thing from this, prioritize identification and patience over whichever product looks fastest on the shelf.
— Brian Blanc
Ready for a Pro? Request a Mobile Fairing Repair Estimate
If your fairing has gotten past what a garage repair can handle, distorted plastic, a missing mounting tab, or a color match you know you can’t nail yourself, Denterasersllc is the alternative to a shop visit: we bring material-matched repair work and color-matching tools to your driveway instead of asking you to haul the bike anywhere.
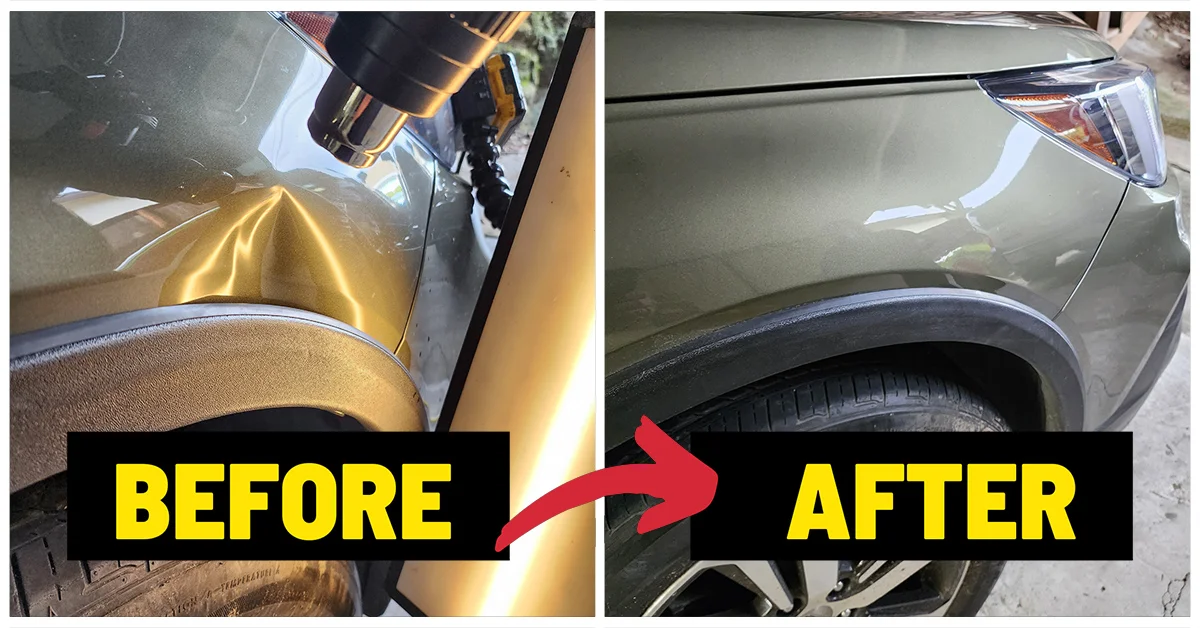
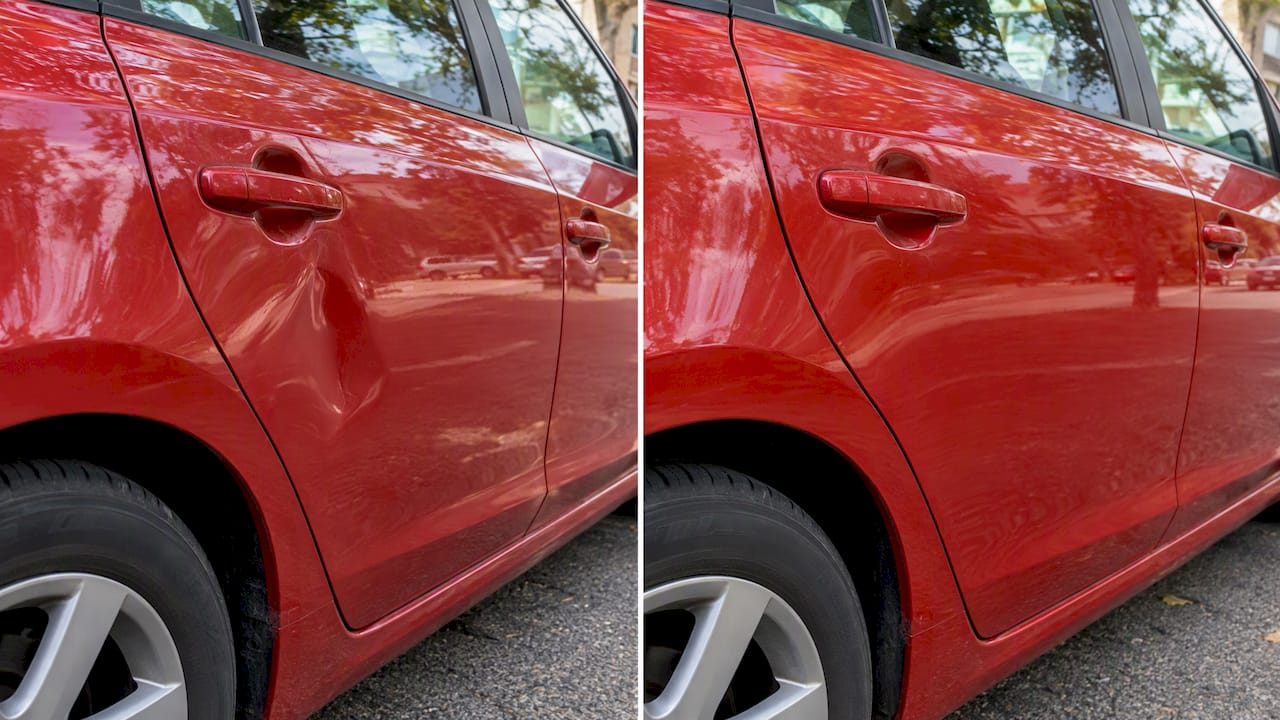
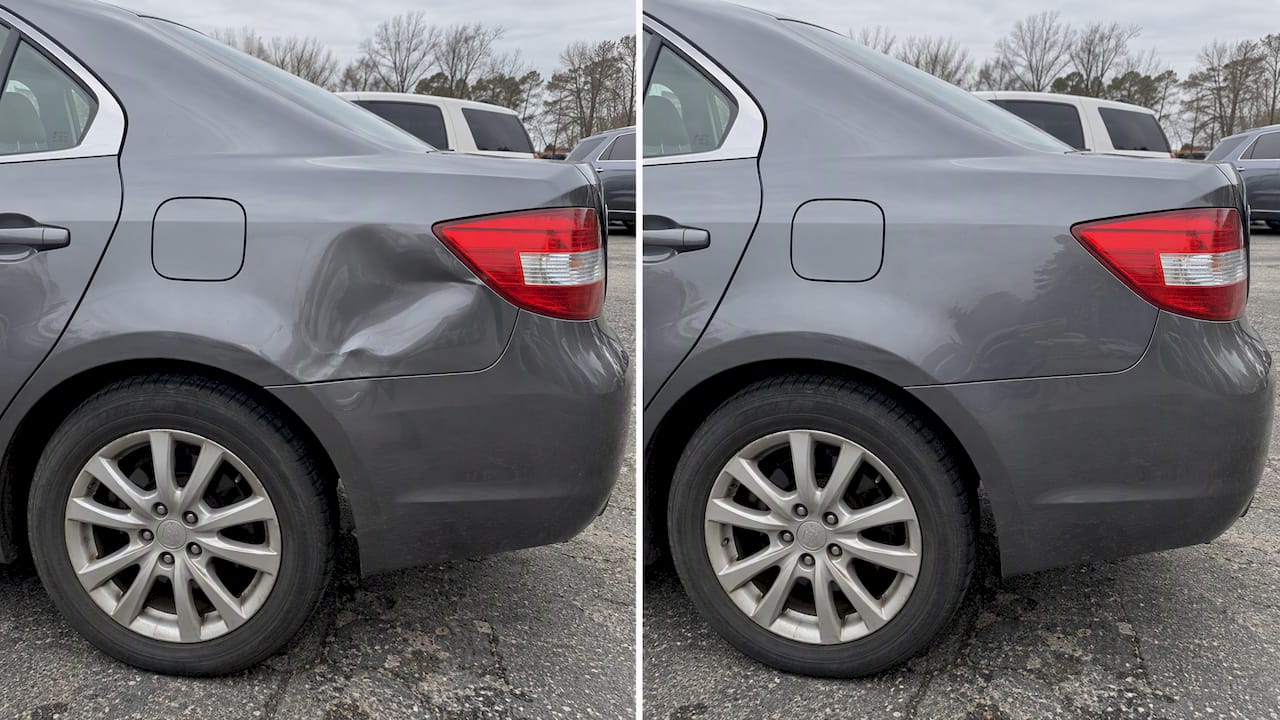
We handle plastic fairing and bumper repair alongside our core paintless dent work, matching the repair method to your specific panel material rather than applying one generic fix to every job. Our onsite estimates let you see the plan and the price before any work starts, and our gallery shows the kind of finish we aim for on every repair. If your crack falls into the “hire a pro” category covered above, request a mobile estimate through Denterasersllc and get a plan for your bike without a shop drop-off.
Manufacturer and Method Resources to Read Next
For deeper technical detail, Henkel’s epoxy repair walkthrough covers cure timing in full, and Polyvance’s PlastiFix guide details ABS-specific application steps. Zenith Motorcycles’ fairing repair guide breaks down sanding and guide-coat technique.
Sources
- Henkel Adhesives — how to repair a motorcycle fairing with epoxy
- ABS fairing repair: fix cracks, tabs and missing pieces — GoMotoTrip
- Repairing an ABS street motorcycle fairing with PlastiFix — Polyvance
FAQ
How do you fix a cracked plastic fairing?
Identify the plastic first, then match the method: ABS slurry or a kit like PlastiFix for ABS, structural epoxy with mesh for mixed materials, or resin and mat for fiberglass. Cracks with aligned edges and intact mounts respond well to DIY repair; distorted or shattered panels usually need replacement.
What is the best adhesive for repairing motorcycle fairings?
There’s no single best adhesive across all materials. ABS slurry chemically fuses ABS plastic, while an automotive structural epoxy formulated for plastics works better across mixed materials and fiberglass panels.
How can I repair a broken motorcycle fairing myself?
Remove the panel, sand a V-groove along the crack from the backside, and apply either ABS slurry or structural epoxy reinforced with mesh depending on the material. Let it cure fully, often around 24 hours for epoxy, before sanding, priming, and test-fitting.
Can you use Bondo on motorcycle fairings?
Only as a thin cosmetic finishing skim, kept to roughly 1/16 inch, over a structurally sound repair. Standard body filler is brittle under vibration and load, so it should never serve as the structural core of the repair.
When should I hire a pro instead of repairing the fairing myself?
Call a professional when the panel is heat-distorted, a mounting tab is missing rather than just cracked, or you need a precise color match. Mobile services can handle material-matched repairs and color matching onsite without a shop visit.