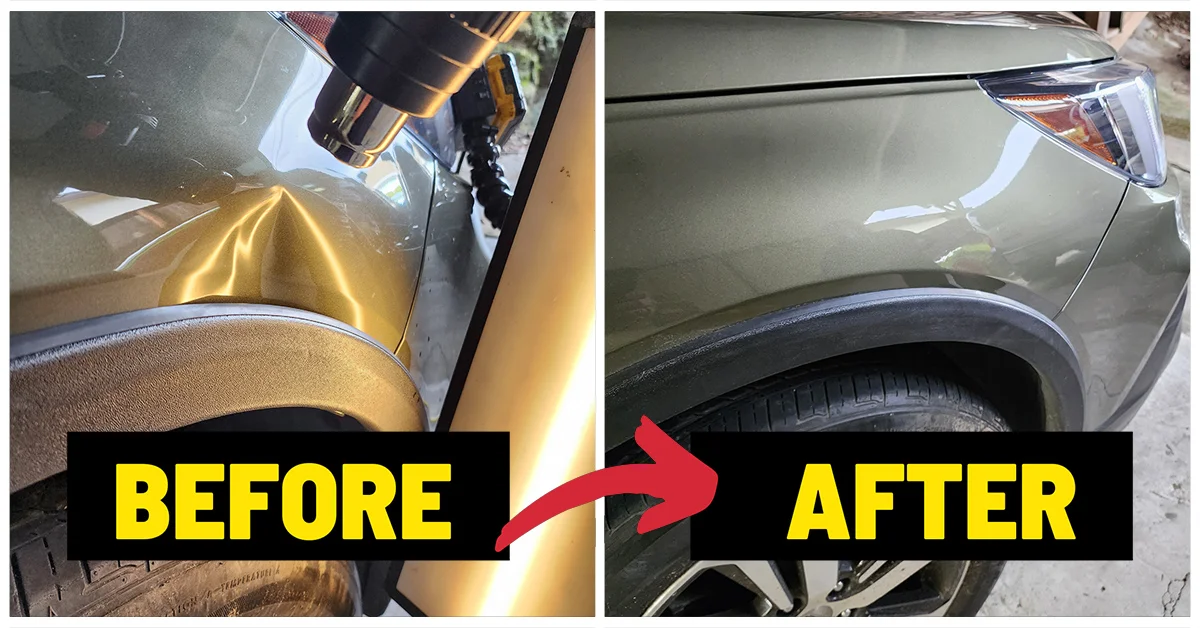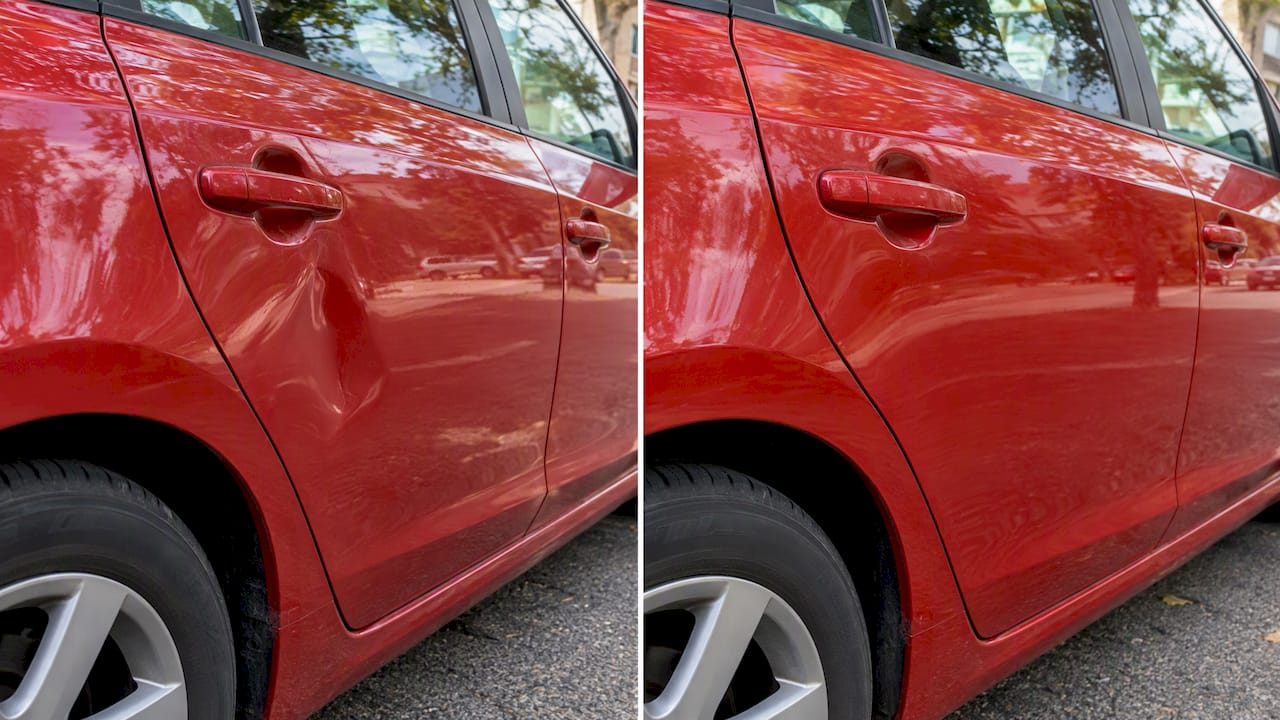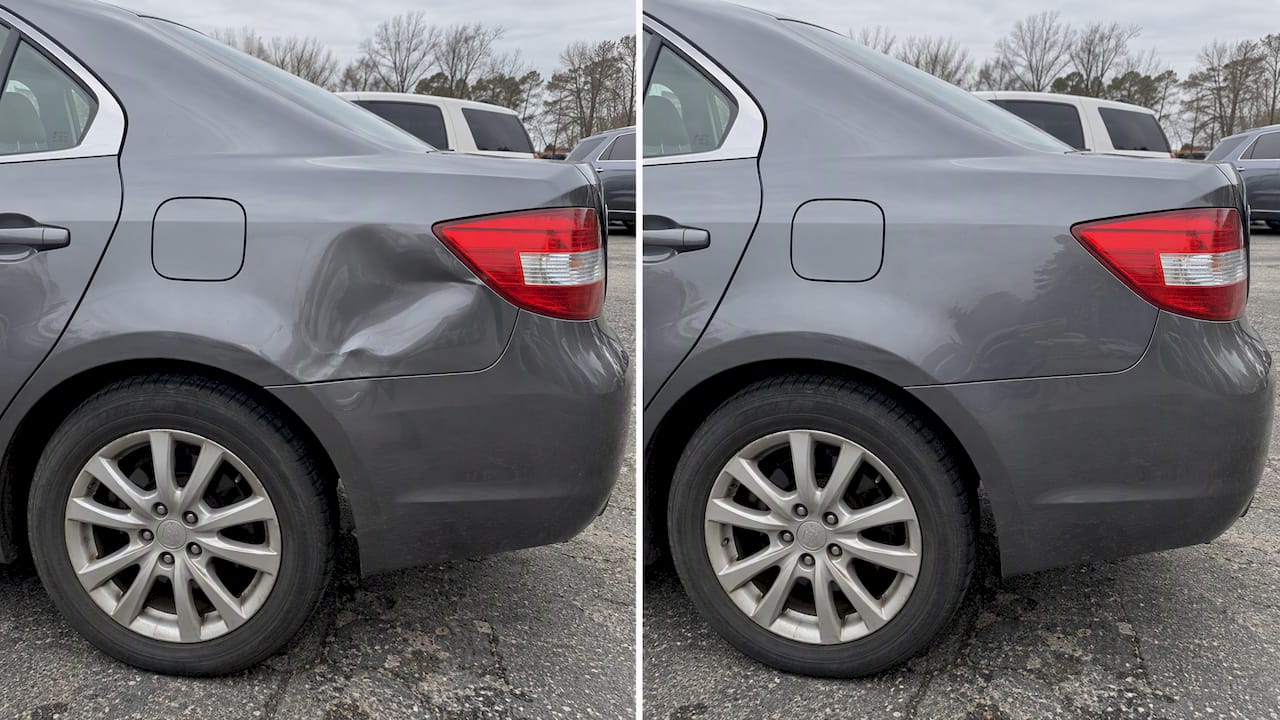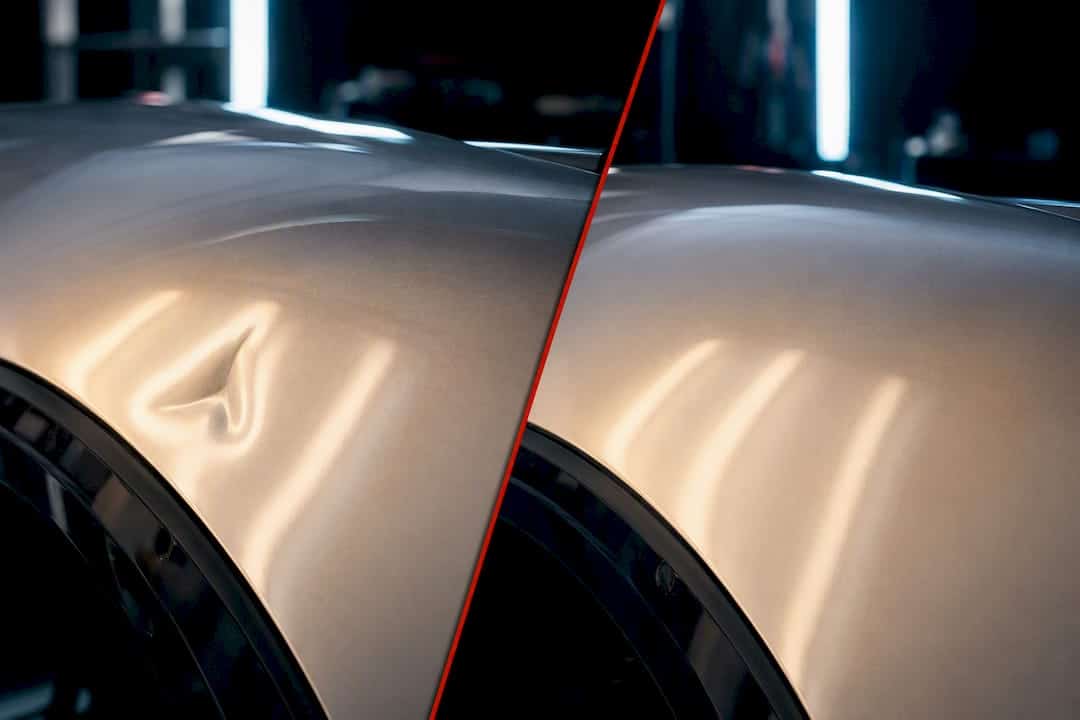
PDR access holes are factory openings, trim gaps, or grommets that technicians use to reach the back of a dented panel with a specialized rod, letting them push metal back into shape without cracking or repainting the finish. These openings already exist in most vehicles, hidden behind door panels, wheel liners, or trunk trim, and finding the right one is often what separates a clean repair from a botched one. OEM guidelines and I-CAR both advise against drilling or cutting new holes into a panel to create access.
TL;DR:
- Most factory access points are hidden behind trim, door panels, or wheel liners, and creating new holes is discouraged due to potential panel weaknesses and corrosion risks.
- Proper route planning involves assessing damage, selecting the right rod geometry, and avoiding forcing tools through tight angles, which can cause paint or structural damage.
- Drilling new holes to gain access is not recommended, as it can compromise reinforcement structures, expose metal to moisture, and force costly repainting.
- When rear panel access is blocked, glue-pull methods serve as a paint-safe alternative, but they require careful matching of tabs, glue, and temperature.
- A professional inspection and route mapping before starting work significantly improves repair quality and protects the vehicle during the process.
Table of Contents
- Where Are PDR Access Holes Located on a Car?
- How Do Technicians Plan a PDR Rod Route?
- Why Do OEMs and I-CAR Advise Against Drilling Access Holes?
- What Alternatives Exist When Rear Panel Access Is Blocked?
- A Quick Walkthrough: From Inspection to Finished Repair
- Why Professional Access Planning Actually Protects Your Car
- Ready for a Professional PDR Evaluation?
- Sources
- FAQ
Where Are PDR Access Holes Located on a Car?
Every panel on a vehicle hides its own set of openings, and knowing where to look is half the battle in paintless dent repair. Doors are usually the most forgiving. Pull the interior door card and you’ll typically find rubber grommets, plastic wiring caps, and drain holes along the bottom edge, all of which double as rod entry points once trim is out of the way. Belt-line gaps, the narrow channel where the window glass rides, sometimes offer a second route for dents sitting higher on the panel.
Fenders and front wings depend heavily on wheel-well access. Pulling back the plastic wheel liner, which usually takes just a few plastic push-pin clips, exposes the backside of the fender from the inside of the wheel arch. Some fenders also open up near the headlamp assembly or along the underhood edge, depending on the platform.
Hoods and trunk lids follow a different logic entirely. Peeling back the insulation pad reveals factory access holes and hinge or latch adjuster openings that were never meant for PDR but work just fine for it. Rear quarter panels and roof areas are the toughest customers on most vehicles. Getting behind a quarter panel often means removing the taillamp assembly, while roof dents may demand pulling the headliner or A/B/C pillar trim.
The construction of the panel itself changes what’s possible:
- Single-skin panels (most hoods, some fenders) offer direct rod access once trim is cleared.
- Double-skin panels (many doors, some quarters) require working through a narrower internal cavity, which limits rod angle and length.
- Bonded or structural panels may have almost no factory openings, pushing the job toward glue-pull methods instead.
Each opening lets a technician do something slightly different. A door grommet might allow a straight shot at a dent near the handle. A wheel liner pull might only give a shallow angle, forcing the use of a shorter, more aggressively bent rod. Understanding these differences is the core of any real PDR hole placement strategy.
How Do Technicians Plan a PDR Rod Route?
Route planning happens before a single tool touches the car, and skipping this step is where amateur repairs go wrong. A trained technician walks the damaged area first, mentally mapping the hidden structure behind the panel: reinforcement braces, foam blocks, wiring harnesses, drain channels, and any factory openings already available.
- Survey the damage and identify every possible access point within reach of the dent.
- Select rod geometry: length, bend angle, and tip shape, so the working end reaches the low point while the shaft and handle clear obstructions the technician can’t see.
- Establish a leverage point that won’t twist wiring, crack sealant, or crush foam supports.
- Protect surrounding coatings and seals before inserting anything, since scraping paint from the inside out is just as damaging as scratching it from the outside.
- Work in small increments, checking reflection lines or mirror images after each push to confirm progress instead of guessing.
Rod geometry trips up more beginners than any other part of the job. A rod that’s too long or bent at the wrong angle can foul on a wiring harness three inches from the actual dent, and the technician won’t feel that collision until metal or plastic clips start cracking. Choosing the correct bend and shaft length up front prevents that blind collision entirely.
Pro Tip: Reflection lighting only tells the truth once access is right. If the rod route forces an awkward angle, the reflections you’re reading will be distorted, and you’ll end up chasing a low point that isn’t really where it looks.
Good access mapping also means fewer tool marks. A technician working from a properly planned route can apply steady, controlled pressure instead of forcing the rod through a cramped angle, which is exactly where slip marks and high spots come from.
Why Do OEMs and I-CAR Advise Against Drilling Access Holes?
Drilling a new hole into a panel to solve an access problem might sound like a shortcut, but it’s a decision that can undo the whole point of paintless repair. I-CAR and most vehicle manufacturers recommend against cutting or drilling panels for PDR access, and the reasoning holds up under scrutiny.
Panels aren’t hollow shells. They’re often loaded with structural reinforcements, foam blocks for sound deadening, corrosion coatings, and adhesive beads that hold trim or sealers in place. Drilling through any of that can:
- Weaken a reinforcement brace that was engineered for crash performance, not just dent resistance.
- Expose bare metal to moisture, starting corrosion in a spot that’s nearly impossible to inspect later.
- Compromise seals or adhesive beads that keep water out of the door or trunk cavity.
- Create a hole that no amount of paintless work will ever hide, forcing a repaint anyway.
Forcing a rod through a poorly chosen route causes its own set of problems even without drilling. A rod jammed at the wrong angle tends to skip or slip, leaving small crescent-shaped marks on the paint’s underside that read through as high spots once the panel flexes back. When a technician hits that wall, whether from access that’s too tight or damage that’s too severe, the right move is to stop and switch methods rather than force it.
What Alternatives Exist When Rear Panel Access Is Blocked?
Some panels simply don’t offer a usable opening, and that’s when glue-pull methods step in as the paint-safe fallback. A specialized tab is glued directly to the outside of the dent, then pulled with a slide hammer or bridge tool to draw the metal back out. It sounds almost backward compared to traditional rod work, but it’s become a reliable option for bonded panels and tight quarter-panel dents where no rear access exists at all.
Getting a clean result from glue-pull depends on details that are easy to overlook. Matching tab size, glue type, and working temperature to the specific panel and dent shape makes the difference between a smooth pull and a stretched, uneven repair. Follow-up knockdown work, gently tapping down any slight overcorrection, is usually needed to finish the blend.
Other paint-safe routes include:
- Removing trim, lamp housings, or wheel liners to open an OEM-permitted working path.
- Pulling a panel entirely, but only when factory procedures allow it and reinstallation won’t disturb seals or alignment.
- Recognizing when the metal has stretched, creased sharply, or lost its “memory,” which signals traditional filler and paint work is the only real option left.
A Quick Walkthrough: From Inspection to Finished Repair
Seeing the process laid out step by step makes the access-first approach click.
- Inspect under raking light or reflection boards to trace the exact shape and low point of the dent, since eyeballing it in flat daylight almost always misleads.
- Choose the entry point: a door grommet, a trim opening, or a removed lamp housing, based on what the route-mapping revealed.
- Protect the opening’s edges before sliding the rod through, so plastic clips or paint edges don’t get scuffed during insertion.
- Locate the low point by feel and push in small increments, checking the reflection line after every movement rather than committing to one big push.
- Address any remaining high spot with light tapping or a follow-up glue-pull, then reinstall trim and confirm every seal and clip is back where it belongs.
That last step gets skipped more often than it should. A rushed reassembly that leaves a drain hole misaligned or a seal pinched can cause water intrusion months later, long after the dent itself is forgotten.
Why Professional Access Planning Actually Protects Your Car
Mobile paintless dent repair is a service that can be performed on-site, meaning the same access planning covered above can happen in your driveway or parking lot instead of a shop bay. A documented approach, mapping the safest entry point, protecting coatings during the work, and restoring every clip, seal, and trim piece afterward, is what keeps a repair invisible instead of just cheap. When booking a paintless dent repair visit, customers can expect an inspection, a clear plan for how access will be gained, and careful reassembly once the dent is out.
— Brian Blanc
Ready for a Professional PDR Evaluation?
If you’ve read this far, you already understand why access planning separates a clean repair from a risky one, and that’s exactly where a trained eye earns its keep. Mobile paintless dent repair evaluations are sometimes offered that come to your location, checking access feasibility before any tool touches the panel.

A typical visit starts with a hands-on inspection of the damage, followed by an honest read on which access points are available for that specific panel and how straightforward (or complicated) the route will be. From there, you get a clear estimate before any work begins, no guessing games about what the final bill will look like. If you’re weighing your options, our guide to choosing the right PDR service walks through what separates a solid technician from a rushed one. Once you’re ready to move forward, book an on-site evaluation through Denterasersllc and get a real answer on your dent instead of a guess.
Sources
- Why Panel Access Is the Foundation of Successful Paintless Dent Repair – Dent Repair School
- PDR Rod Access Planning: Route, Tip, Angle, and Leverage
- How Does Paintless Dent Repair Work? | Hail Solutions
FAQ
Can Dents Come Back After PDR?
A properly repaired dent shouldn’t return, since paintless dent repair restores the metal’s original shape rather than filling a gap. Dents can reappear if the metal was already work-hardened or the initial repair skipped a needed follow-up step, but that’s a workmanship issue, not a limitation of the method itself.
How Hard Is It to Learn Paintless Dent Repair?
PDR takes months to years of practice to master, since reading reflections accurately and building rod control by feel doesn’t come quickly. Beginners often struggle most with access route planning, misjudging rod geometry in ways that cause hidden collisions or slip marks.
What Dents Cannot Be Removed With PDR?
Dents with sharp creases, cracked paint, or stretched metal usually fall outside what paintless dent repair can fix, since the metal has lost its ability to flex back into shape. Extremely large dents near panel edges or on structural reinforcements also often require traditional filler and paint work instead.
Can You PDR Yourself?
Basic small dents on accessible panels are technically within reach for a patient DIYer with the right tools, but most repairs benefit from professional judgment on access and rod control. Getting the route wrong risks paint damage or hidden collisions with wiring and braces that an untrained eye won’t catch until it’s too late.