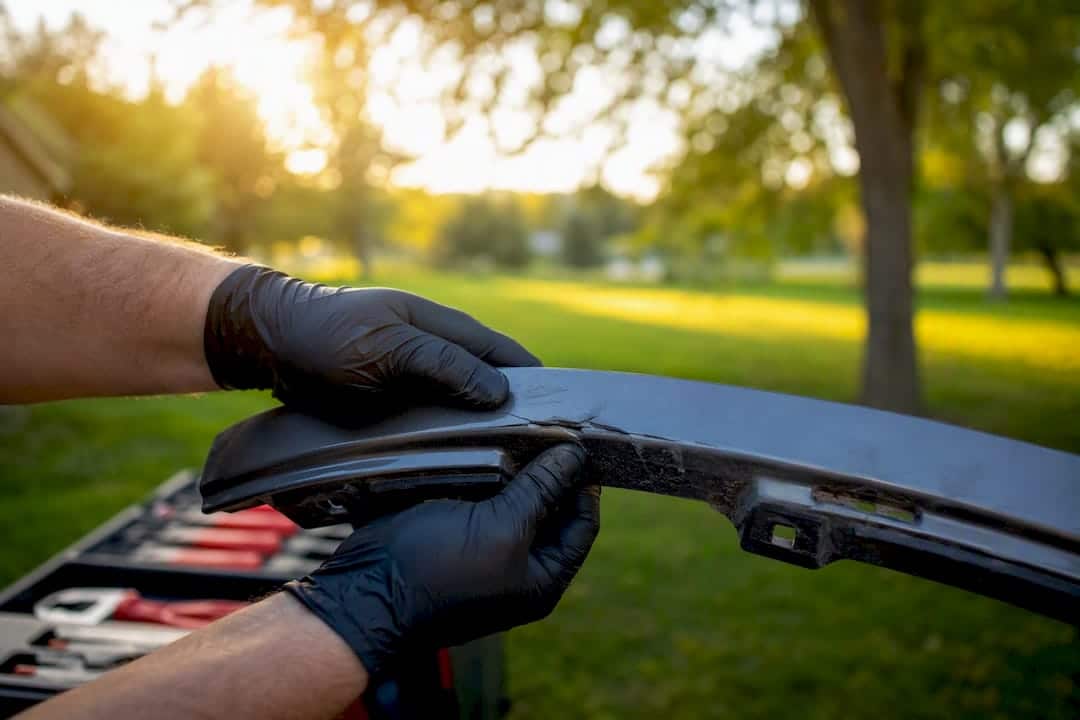
Most small to medium plastic bumper cracks, under roughly 6 to 8 inches and away from sensors or mounting tabs, can be repaired at home with a reinforced flexible adhesive repair or plastic welding. Both methods follow the same logic professional shops use: stop the crack from spreading, rebuild strength from the back, then fill and refinish the front. If the damage sits near a parking sensor, a torn mounting tab, or spans multiple deep cracks, skip the DIY route and get a professional assessment first.
TL;DR:
- Repair is feasible for cracks under 6 to 8 inches on flat or gently curved panels, but close to sensors or mounting tabs, professional assessment is necessary.
- Use a two-part flexible adhesive, adhesion promoter, mesh reinforcement, and proper sanding before priming and painting to ensure longevity.
- Drilling stop holes and cutting a V-groove along the crack significantly improve adhesion and prevent crack propagation under stress.
- Steel-welded repairs are preferable for torn mounting tabs or missing material, while adhesive and mesh work well for cosmetic cracks.
- For damage near ADAS components or structural mounts, hiring a professional ensures proper sensor calibration, structural integrity, and a long-lasting finish.
Table of Contents
- Is Your Plastic Bumper Crack Repair a DIY Job?
- What Materials Do You Need for a Plastic Bumper Crack Repair?
- The Complete Step-by-Step Plastic Bumper Crack Repair Process
- Plastic Welding or Adhesive and Mesh: Which Should You Use?
- How Do You Get a Finish That Doesn’t Show the Repair?
- Why Do Bumper Repairs Fail, and How Long Should They Last?
- When Should You Call a Professional Instead?
- What Do Mobile Repair Professionals Actually Check?
- What Actually Matters in a Bumper Crack Repair
- Ready to Skip the Sanding and Call a Pro Instead?
- Sources
- FAQ
Is Your Plastic Bumper Crack Repair a DIY Job?
Before you touch a sander, figure out what you’re actually dealing with. A clean 4 inch crack in the middle of a flat panel behaves nothing like a spiderwebbed corner near your backup sensor, and treating them the same way is how DIY repairs fail.
Start with a walk-around inspection under good light, ideally with the bumper cool (not fresh off a hot afternoon drive, which can make hairline cracks harder to spot). Run through this checklist before deciding whether to move forward:
- Length and depth: Cracks under 6 to 8 inches that don’t go all the way through the panel are the best DIY candidates.
- Location: Cracks on a flat section or gentle curve are far easier to fix than ones on a sharp body line or tight corner, where flex and stress concentrate.
- Missing material: If a chunk of plastic is gone rather than just cracked, you’re looking at a rebuild, not a simple fill, and that pushes toward welding or a professional shop.
- Mounting tabs: Check the brackets and clips that hold the bumper to the frame. Cracked or torn tabs mean the bumper’s structural attachment is compromised, not just its cosmetic surface.
- Multiple or spreading cracks: Several deep cracks radiating from one point often signal a harder impact than the surface damage suggests, and one patch job won’t address the underlying stress.
A few quick diagnostics help confirm what you’re seeing. The fingernail test tells you a lot: drag a nail across the damage. If it catches on a raised edge, that’s likely just clearcoat or paint that chipped, not a crack through the substrate. Clean the area with soap and water, then isopropyl alcohol, and inspect again. Dirt and old wax hide hairline cracks constantly.
Try a gentle flex test by pressing the bumper edge near the crack with your palm. If you feel or hear creaking, or the crack visibly widens, that’s a sign of deeper structural compromise. For cracks near corners or wheel wells, pulling the bumper partially free (most clip in with a handful of push pins and a couple of bolts) gives you a much clearer look at the backside, where reinforcement webbing and mounting points live. A crack that looks minor from the front sometimes reveals a cracked mounting boss once you see it from behind.
If the damage sits within a few inches of a parking sensor, camera, or radar housing, treat that as an automatic flag. Even a cosmetically simple crack near ADAS hardware is worth a professional look, since disturbing a sensor mount can throw off calibration in ways you won’t notice until the system misfires. For more detail on how impact damage translates into different repair categories, our guide on types of bumper damage breaks down what each pattern usually means.
What Materials Do You Need for a Plastic Bumper Crack Repair?
Buying the wrong products is the single fastest way to waste a Saturday on a repair that fails within a month. Bumpers flex constantly with temperature swings and road vibration, so anything rigid, brittle, or not designed for plastic is fighting against the material rather than working with it.
Here’s what actually belongs in your kit:
- Two-part flexible plastic adhesive or urethane epoxy built specifically for bumper repair, not a general-purpose epoxy off the hardware store shelf.
- Plastic adhesion promoter, which is what actually lets paint and filler grip polypropylene and TPO plastics that would otherwise reject most coatings.
- Fiberglass or plastic reinforcement mesh, sometimes sold as mesh tape, to span the crack from the backside.
- Flexible glazing putty for the final skim coat and pinhole filling, never rigid polyester filler.
- Plastic-capable primer, followed by a color-matched basecoat and 2K clearcoat if you can get it (a quality 1K clear works in a pinch, but 2K holds up better against UV and temperature cycling).
- Sandpaper in a grit progression from 80 up through 600, plus sanding blocks or a dual-action sander.
- A drill for stop holes, a rotary tool with a V-groove or cutoff bit, mixing nozzles for two-part products, and basic PPE: nitrile gloves, a respirator rated for solvents and sanding dust, and eye protection.
Avoid polyester body filler (the classic “Bondo” most people already have in the garage) on flex zones. It’s rigid, it cracks under the bumper’s normal movement, and it’s a top reason DIY repairs fail within a season. Skip cyanoacrylate super glue too. It bonds fast but has zero flexibility, and skip high-speed grinders on plastic, which generate enough heat to melt and distort the substrate before you even notice.
When shopping for a repair kit, look for language like “flexible,” “automotive bumper,” and explicit compatibility with polypropylene (PP) or thermoplastic olefin (TPO), since those two plastics make up the vast majority of modern bumper covers. Reinforced repair systems built around stop holes, a V-groove, and mesh backing consistently outperform simple surface fillers on real-world durability.
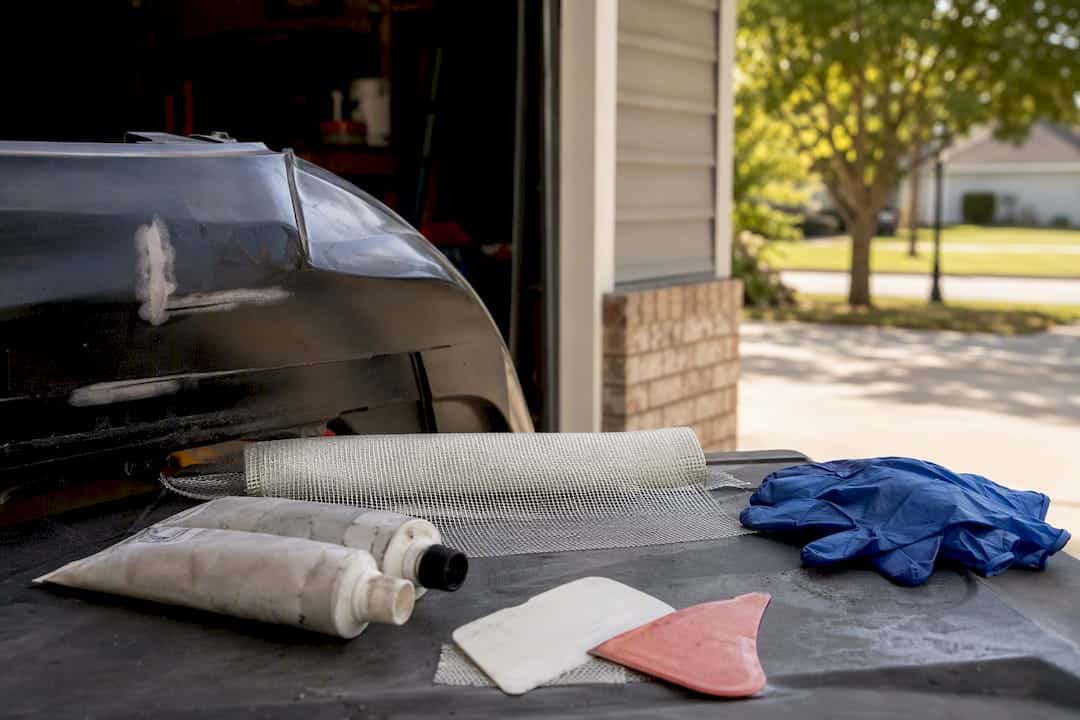
Pro Tip: Buy slightly more adhesive and mesh than you think you need. Running out mid-repair, after the adhesion promoter’s flash window has already passed, means starting the whole prep sequence over.
The Complete Step-by-Step Plastic Bumper Crack Repair Process
This is the sequence that separates a repair that holds for years from one that reappears by next summer. Each step builds on the one before it, so resist the urge to skip ahead once things start looking good.
-
Wash and degrease the entire bumper. Not just the damaged area. Old wax and road film block adhesion everywhere they linger, and a full clean also lets you spot secondary damage you might have missed. Follow with an isopropyl alcohol wipe-down, and while you’re at it, find your paint code (usually on a door jamb sticker) so you’re ready for the basecoat step later.
-
Drill stop holes at each end of the crack. A tiny hole, roughly 1/16 to 1/8 inch, drilled right at the tip of the crack keeps stress from concentrating there and stops the crack from creeping further under vibration. This step is cheap insurance that most professional repairs never skip.
-
Cut a V-groove along the crack. Using a rotary tool, open the crack into a shallow V shape, wider at the surface and tapering inward. This gives the adhesive far more surface area to grip than a hairline crack ever could. Do this on both sides if you can access the backside.
-
Prep and reinforce the backside. Sand the area around the crack until the plastic loses its shine and takes on a dull, fuzzy texture; this is what actually lets adhesion promoter and adhesive bite into the substrate. Apply adhesion promoter and respect the manufacturer’s flash time exactly. Too short and it hasn’t cured enough to bond; too long and it starts losing effectiveness. 3M’s cosmetic flexible bumper repair procedure is built entirely around getting this timing right. Bed a wet layer of two-part flexible adhesive over the crack, press mesh into it while it’s still workable, then saturate with a second adhesive layer to fully encapsulate the mesh. Let it cure completely before moving on.
-
Fill the front-side V-groove. Slightly overfill it with adhesive or flexible filler, since sanding will remove some material and you want enough left to blend smoothly. Let it cure fully per the product’s instructions; rushing this step is a common cause of shrinkage cracks appearing later.
-
Work through the sanding progression. Start at 80 grit to knock down the bulk of the excess filler, move to 180 to refine the shape, then 320, then 400 to 600 for the final smoothing pass. Use a sanding block rather than your fingers to keep the surface flat, and feather the edges out wide, several inches beyond the repair, rather than stopping abruptly at the crack’s edge. Narrow feathering is one of the most common reasons a repair becomes visible as a faint outline after painting, sometimes called repair mapping. Keep pressure light to avoid heat buildup, which can soften and distort the plastic mid-sand.
-
Skim coat and final prep. Use flexible glazing putty to knock out any pinholes left in the surface, sand once more, then blow the area clean with compressed air. Apply another light pass of adhesion promoter before priming, since sanding dust and handling can dull the surface’s receptiveness to paint.
-
Prime, basecoat, and clearcoat. Apply plastic-capable primer in several light coats rather than one heavy pass, letting each flash before the next. Follow with basecoat in light, even passes, building color gradually rather than trying to achieve full coverage in one shot. Finish with 2K clearcoat if you have access to it; it holds up to sun and thermal cycling noticeably better than most 1K rattle-can clears. Respect the recoat and cure windows listed on the product, since spraying too soon traps solvent and causes the finish to wrinkle or crack down the line.
-
Inspect and polish. Once fully cured, check the surface under raking light for any remaining pinholes or texture mismatch. Denib (light wet-sand and buff) any small imperfections, then polish once the clearcoat has had its full cure time, typically several days for 2K products.
By the numbers: Repairs that skip a proper adhesion promoter step or use rigid filler in a flex zone are the leading cause of DIY bumper repair failure, according to technicians who work with these systems daily. Following the SOP correctly, in the right order, matters more than the price tag on any single product in your kit.
Total working time for a repair like this typically spans two to three days once you account for cure times between adhesive, filler, primer, and clearcoat, even though the hands-on work adds up to just a few hours. If you want a second walkthrough of the same fundamentals with more visuals, our full bumper repair guide covers the process from a slightly different angle.
Plastic Welding or Adhesive and Mesh: Which Should You Use?
The two dominant DIY repair methods solve slightly different problems, and picking the wrong one for your specific damage is a common source of frustration.
Plastic welding fuses a filler rod directly into the substrate using heat, creating a bond that’s chemically part of the original plastic rather than sitting on top of it. This makes it the stronger choice for long tears, torn mounting tabs, or situations where material is actually missing and needs to be rebuilt. FiberFlex and similar airless welding systems bond especially well to polypropylene and TPO, the two plastics most modern bumpers are made from, and these airless systems tend to be more approachable for a first-timer than a true fusion weld with a hot air gun.
Adhesive and mesh, the method covered step by step above, is the lower-cost, lower-skill entry point. It excels on clean cracks without missing material, and when the backside reinforcement is done properly, it holds up just as well as welding for the vast majority of cosmetic and moderate structural cracks.
A few factors should drive your decision:
- Torn or missing material points toward welding, since adhesive alone can’t rebuild a gap the way a filler rod can.
- A clean crack with no missing pieces is often faster and cheaper to handle with adhesive and mesh.
- Damaged mounting tabs usually need welding’s added strength, particularly if the tab bears real structural load.
- Tool access and comfort with heat matters too. If you don’t own a plastic welder and don’t want to buy one for a single repair, adhesive and mesh gets you most of the way there.
If you do go the welding route, practice on a scrap piece of bumper plastic first. Controlling heat without burning through the panel takes a bit of feel, and a few minutes of practice on scrap saves you from ruining the actual repair area. Wear gloves and eye protection regardless of which method you choose; both hot welding and two-part adhesives carry their own hazards if handled carelessly.
How Do You Get a Finish That Doesn’t Show the Repair?
The mechanical repair only gets you halfway. A structurally sound patch with a bad paint job still looks like a bad paint job, and worse, a rushed finish tends to crack again within a year or two even when the underlying repair holds.
Adhesion promoter timing is worth repeating here because it matters just as much on the paint side as it did during backside reinforcement. Applying primer or basecoat before the promoter has flashed properly, or after it’s flashed too long, is a leading cause of delamination, where the new paint eventually lifts in a sheet.
- Use a plastic-capable primer, ideally an epoxy or high-build formula, and apply it in light coats rather than one thick pass.
- Feather-sand progressively, extending the blend zone several inches wider than feels necessary. A wide, gradual taper is what hides a repair; a tight, abrupt edge is what reveals one.
- Choose your basecoat method based on real skill level. A rattle can works fine for solid colors on a small area, but metallic and pearlescent finishes shift dramatically with spray technique and almost always look better through professional color matching.
- 2K clearcoat outperforms 1K in UV resistance and resistance to the micro-cracking that shows up after a few seasons of temperature swings, so use it when you can get it.
Improper paint prep or skipping flex-specific products is a well-documented cause of visible cracking that shows up months after a repair looked perfect. If you’re already dialing in your spray technique, a partner refinishing resource on paint best practices is worth a look before your first coat goes on.
Pro Tip: Test your clearcoat’s recoat window on a scrap panel first. Spraying a second coat outside the recommended window, either too soon or too late, is one of the most common reasons DIY clearcoat jobs develop a hazy or wrinkled texture.
Small surface scuffs near your repair that don’t need a full rebuild are worth handling separately; our guide to fixing plastic bumper scratches covers those lighter fixes.
Why Do Bumper Repairs Fail, and How Long Should They Last?
Most repair failures trace back to one of a handful of shortcuts, and recognizing them early saves you from redoing the whole job.
- Skipped or rushed adhesion promoter is the single most common culprit. Without it, paint and adhesive sit on top of the plastic instead of bonding into it, and everything eventually lifts.
- Narrow feathering leaves a visible ridge or outline once the paint cures, since the eye can spot even a subtle change in surface texture under sunlight.
- Rigid filler in a flex zone cracks again within a season because it can’t move with the bumper the way the surrounding plastic does.
- Sanding heat from pressing too hard or using too fine a grit too early can soften and distort the plastic, creating low spots that show up as waves in the paint.
If a small defect does show up, most fixes are quick. Fill isolated pinholes with a dab of glazing putty, reapply adhesion promoter before any new coating, and spot-sand and recoat just the affected inch or two rather than the whole panel.
A little maintenance afterward goes a long way. Avoid pointing a high-pressure washer directly at the repair for the first 30 days while everything fully cures, inspect the area after long road trips or big temperature swings, and touch up any hairline defect the moment you spot it rather than letting it spread. Our post on preventing paint cracking around dents covers related prep habits that extend a repair’s life.
Realistically, a careful DIY repair following these steps holds up for several years under normal driving conditions. A professional repair, using shop-grade curing equipment and structural adhesives, tends to last longer and holds color and finish quality more consistently over time.
When Should You Call a Professional Instead?
Some damage simply isn’t worth the DIY risk, either because the stakes are higher than a cosmetic miss or because the tools a shop has access to genuinely outperform a home setup.
Treat these as hard stop signs:
- Cracks near ADAS sensors, cameras, or parking sensor housings. Disturbing a sensor mount during a DIY repair can throw off calibration in ways that aren’t obvious until the system throws false warnings on the road.
- Torn or missing mounting tabs. These bear real structural load, and a failed DIY fix here can mean the bumper shifting or detaching at speed.
- Multiple deep cracks or spidering damage. This usually signals impact energy well beyond what a single patch addresses.
- Suspected damage to internal reinforcement bars or foam absorbers. These sit behind the visible plastic and require partial disassembly to even inspect properly.
- Complex body-line repairs where matching contour and paint sheen across a curve is far harder than it looks.
A shop brings a few things you can’t easily replicate at home: structural adhesives formulated with flex additives calibrated to the specific plastic, true fusion welding for compatible substrates, professional color-match blending (especially critical for metallics and pearls), infrared or booth curing that speeds and strengthens the bond, and sensor recalibration equipment when ADAS components are involved.
By the numbers: DIY materials for a minor to moderate crack typically run $50 to $150, while professional repairs commonly land between $300 and $700 depending on damage extent and paint complexity. Once repair cost starts approaching the cost of a full bumper replacement, replacement usually becomes the more sensible choice.
Before hiring anyone, ask a shop to put the scope of work, the color-match method, and the warranty terms in writing. A shop confident in its process will have no problem documenting all three.
What Do Mobile Repair Professionals Actually Check?
Denterasers LLC’s mobile team approaches every plastic bumper crack the same way a good shop would, just without asking you to drive anywhere or leave your car for days. A typical onsite visit starts with the same inspection checklist covered earlier: crack length and location, mounting tab condition, and proximity to sensors, done in person rather than guessed at from a photo.
From there, the method gets chosen to fit the damage, not the other way around. A clean cosmetic crack gets the adhesive-and-mesh treatment; a torn tab or long tear gets evaluated for welding or professional-grade structural adhesive with flex additives built in. Refinishing happens with color-matched basecoat and clearcoat, blended wide enough that the repair disappears rather than just gets covered up.
What customers consistently value about mobile service comes down to two things:
- Convenience. The repair happens at your home or workplace, on your schedule, without a multi-day drop-off.
- Preserving the factory finish. Careful method selection and blend work means the surrounding original paint stays untouched rather than getting sanded and repainted unnecessarily.
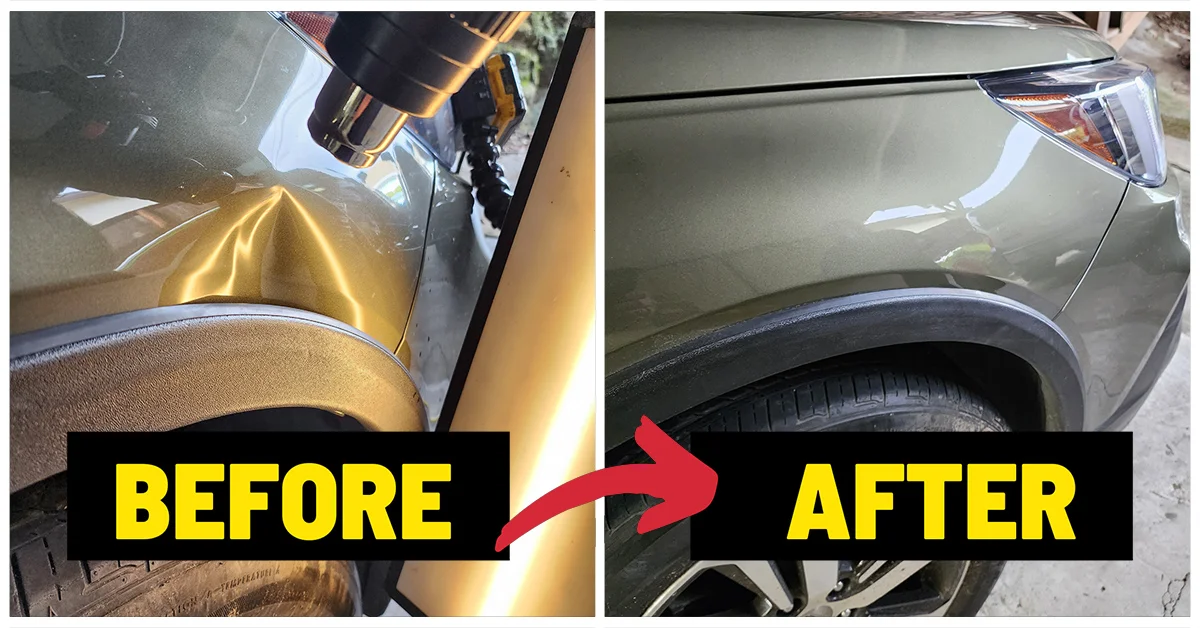
Most mobile bumper repairs wrap up in a single onsite visit, with clear expectations set upfront on timing and what the finished result will look like. You can see the level of finish work involved in gallery examples like this precision fender repair, which shows the same attention to blend and color match applied to a different type of body damage.
What Actually Matters in a Bumper Crack Repair
The conventional DIY advice online treats bumper crack repair like a filler-and-paint job, and that’s exactly why so many home repairs crack again within a year. The step people skip almost every time is the one that matters most: sanding the plastic to a genuinely fuzzy texture and respecting the adhesion promoter’s flash time. Skip that, and no amount of careful paint matching saves the repair.
I’d also push back on the instinct to reach for whatever adhesive is already in the garage. Polyester filler and super glue exist because they’re familiar, not because they belong on a bumper. Bumpers move constantly with heat and vibration, and only a flexible, purpose-built product survives that movement long term.
If you take one thing from this guide, prioritize the backside reinforcement step over the front-side cosmetics. A gorgeous paint blend over a poorly bonded mesh layer is a repair that looks perfect for exactly one season. Get the structural work right first, and the finish work becomes the easy part.
— Brian Blanc
Ready to Skip the Sanding and Call a Pro Instead?
If your crack sits near a sensor, involves a torn mounting tab, or you’d rather not spend a weekend feathering primer, Denterasersllc handles plastic bumper crack repair onsite, at your home or office, without the multi-day shop drop-off. Our mobile team runs the same structural sequence covered above, stop holes, reinforced backside bonding, and color-matched refinishing, using professional-grade materials and equipment most DIY kits can’t match, while preserving as much of your factory finish as the damage allows.
We assess the damage on-site, quote the repair before we start, and typically complete the job in a single visit. If you’re ready to get a straight answer on whether your bumper needs adhesive, welding, or replacement, book a plastic bumper repair and get it handled without the guesswork.
Sources
- Plastic repair and ADAS: not mutually exclusive — FenderBender
- How to repair a bumper using FUSOR 143 extreme plastic bond — Raybuck
- 3M cosmetic flexible bumper repair SOP — 3M
- Repairing a long tear in a bumper cover with FiberFlex — Polyvance
- How to Fix a Cracked Bumper: Methods, Cost, and More — CarParts blog
FAQ
Can You Repair a Cracked Plastic Bumper Without Replacing It?
Yes. Most cracks under 6 to 8 inches that aren’t near sensors or mounting tabs can be repaired using reinforced flexible adhesive or plastic welding, both of which restore strength without the cost of a full replacement.
What Body Filler Should You Use on a Plastic Bumper?
Use a two-part flexible plastic adhesive or flexible glazing putty designed for bumpers, never rigid polyester body filler (Bondo), which cracks under the panel’s normal flex.
How Do You Fix a Cracked Bumper Without Replacing It?
Drill stop holes at the crack ends, cut a V-groove, reinforce the backside with mesh and two-part flexible adhesive, then fill, sand through a grit progression, and refinish with plastic-capable primer, basecoat, and clearcoat.
Can JB Weld Fix a Cracked Bumper?
Standard JB Weld is too rigid for a bumper’s constant flexing and tends to crack again quickly; a flexible, automotive-specific bumper adhesive designed for polypropylene or TPO performs far better.
When Should You Call a Professional Instead of Repairing It Yourself?
Call a professional when the crack sits near ADAS sensors or parking sensors, when mounting tabs are torn, or when multiple deep cracks suggest damage beyond a single cosmetic patch. Denterasersllc’s mobile team handles these assessments onsite and can determine the right repair method on the spot.