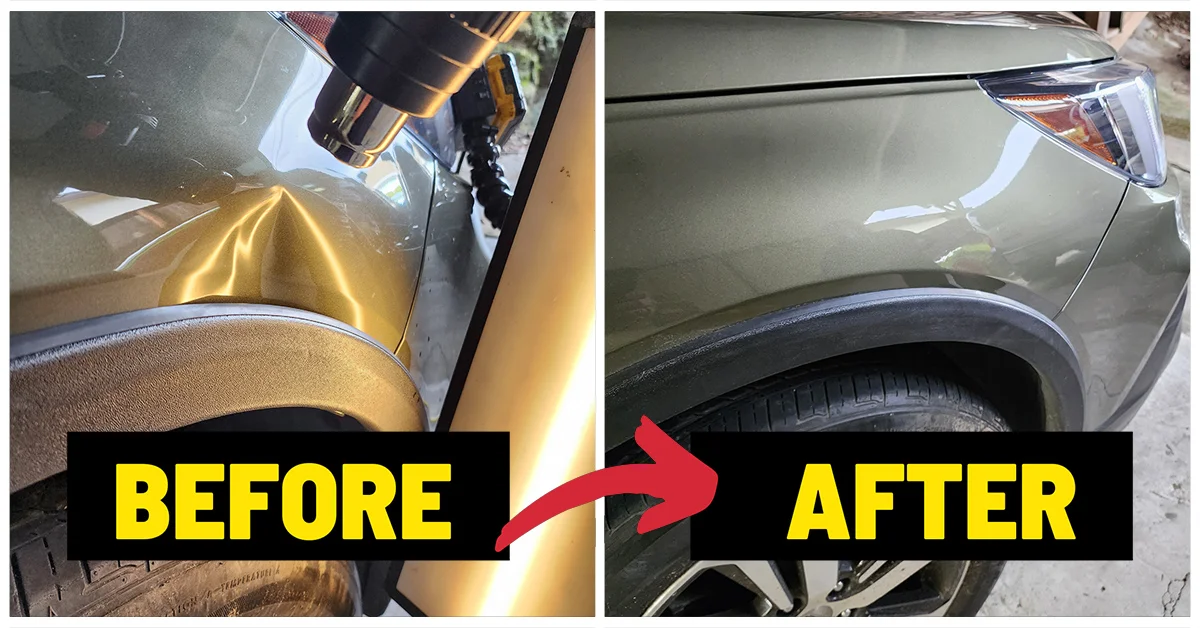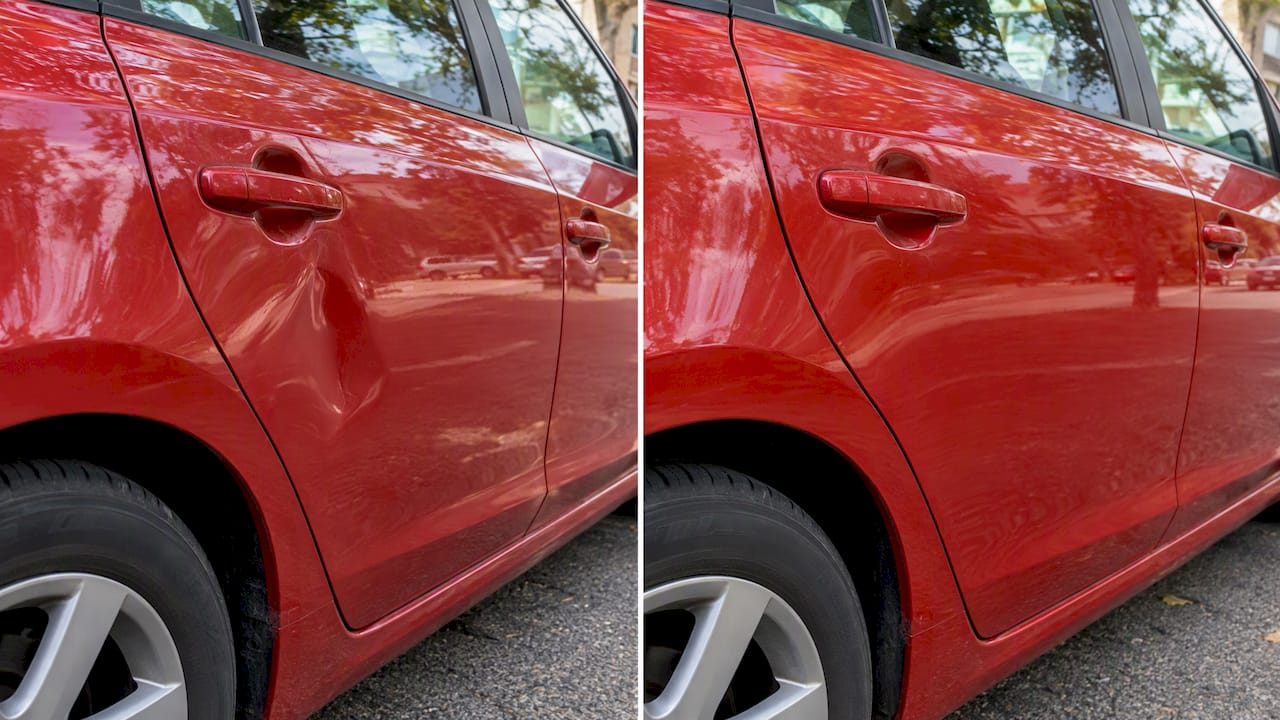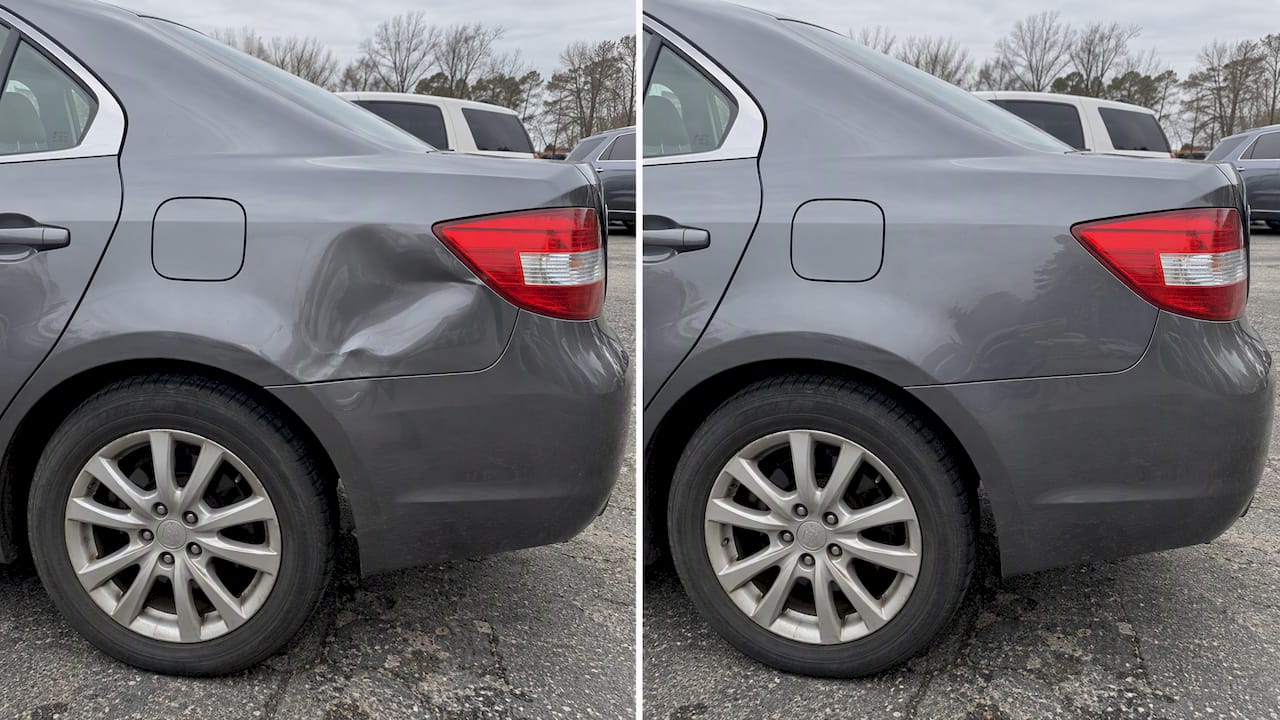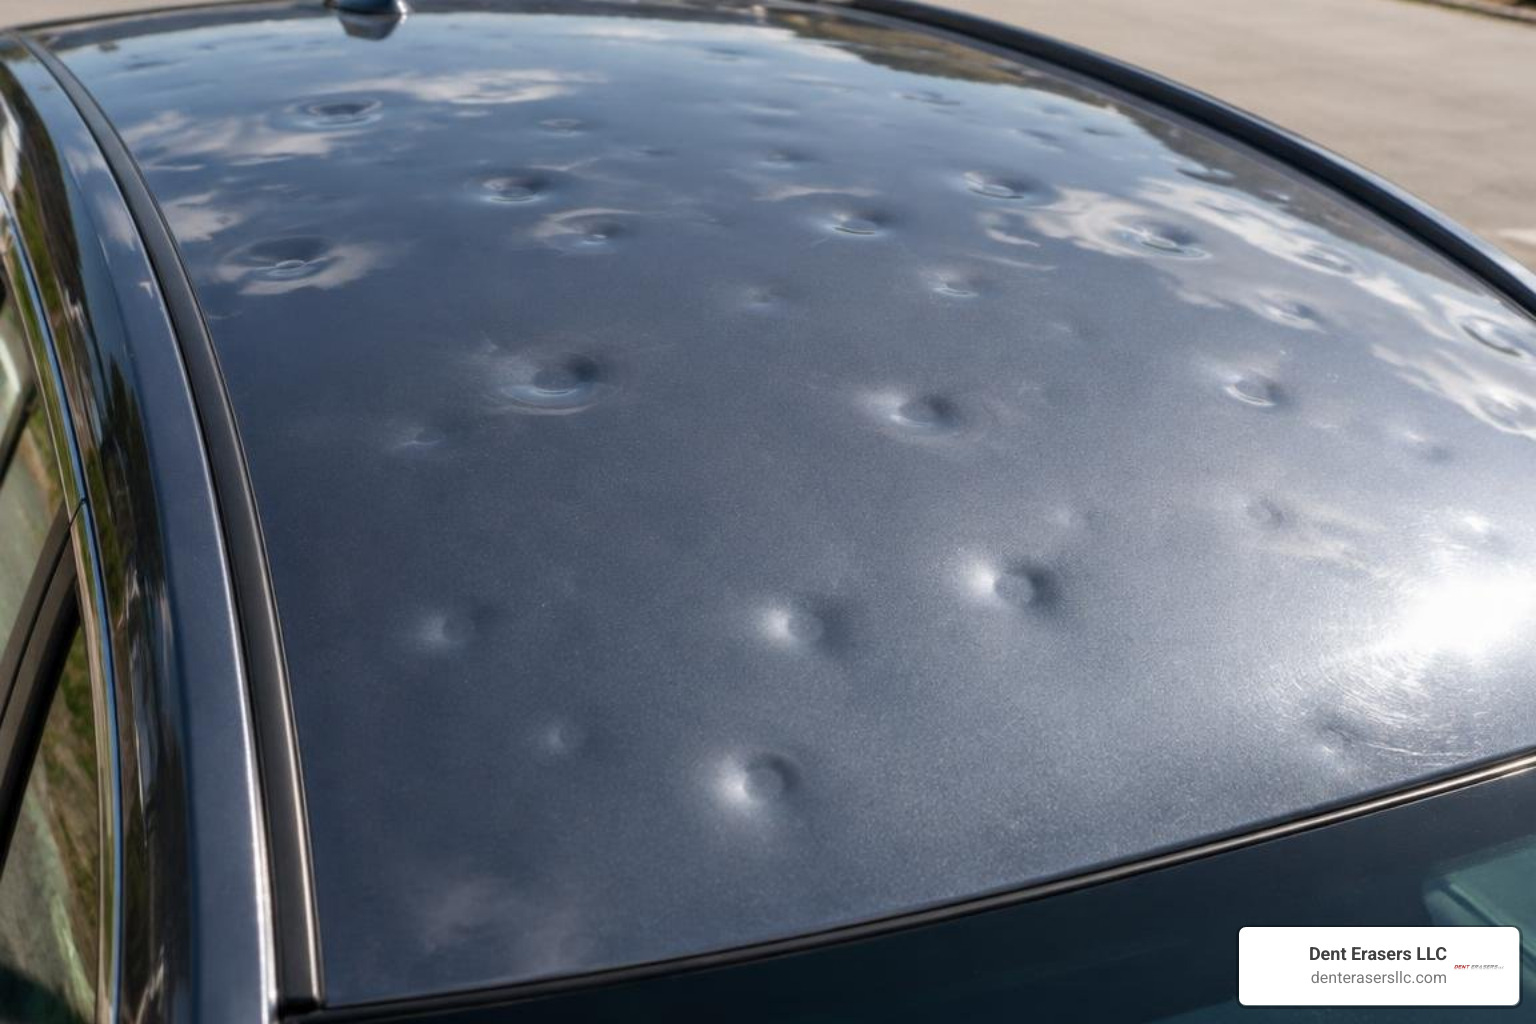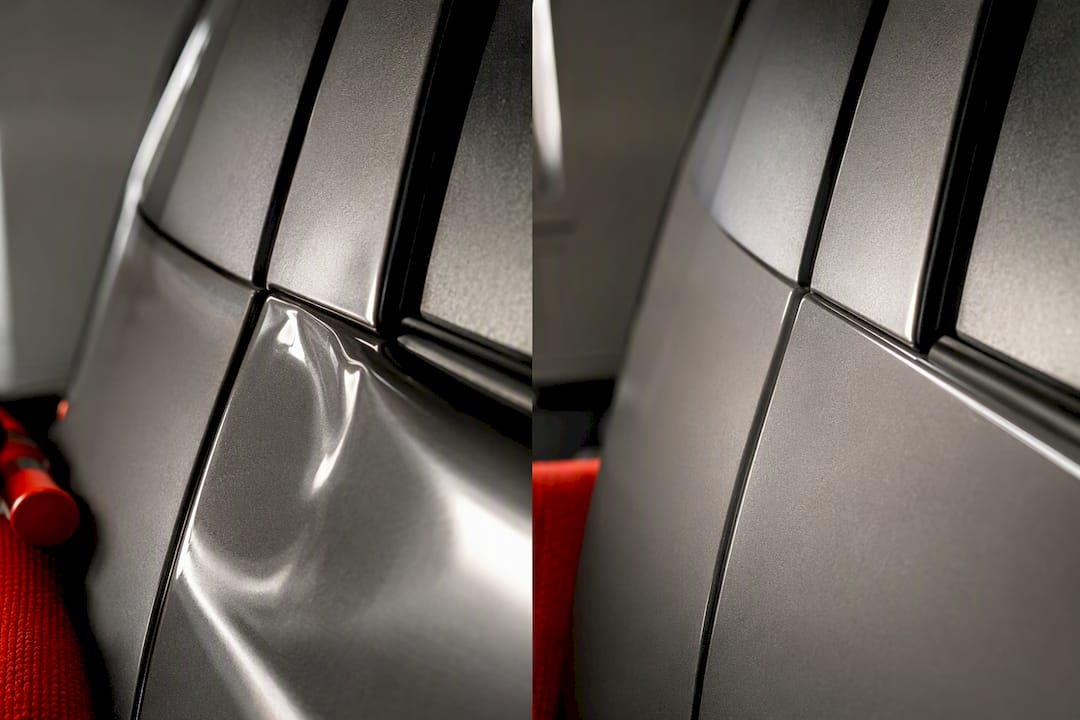
Most dents hiding under trim or molding can be fixed with paintless dent repair, provided the paint is intact, the dent is shallow, and a technician can reach the backside of the panel. That last condition is the catch. Sometimes reaching it means popping a clip loose. Sometimes it means a glue-pull setup instead of push tools. And sometimes OEM rules or a sensor tucked behind the trim change the plan entirely.
TL;DR:
- Proper inspection by a technician before repair is crucial to identify hidden sensors, wiring, or structural zones that affect the chosen access method.
- Trim removal poses risks of breaking clips, damaging electronics, or compromising safety sensors, making non-invasive techniques preferable whenever possible.
- Push tools are effective when accessible from behind, but glue-pull methods are better suited for tight spots or along body lines where access is limited.
- Reworking structural or safety-related panels may require replacement instead of straightening, especially if integrity or corrosion protection is at risk.
Table of Contents
- How a Technician Assesses a Dent Under Trim
- Access and Trim Removal Risks You Should Know About
- Repair Methods for Dents Under Trim
- Safety, Structural Limits, and Corrosion Protection
- Time, Cost, and Insurance for Dents Under Trim
- Questions to Ask Before Booking a Mobile PDR Visit
- A Technician’s View on Getting This Right
- Book a Mobile PDR Assessment With Denterasers LLC
- Sources
- FAQ
How a Technician Assesses a Dent Under Trim
Before anyone touches a push rod, a competent technician runs a short but thorough inspection. This is the step people skip when they picture PDR as “just massaging the metal back.” It’s actually closer to diagnostic work than manual labor.
The process usually looks like this:
- Visual and magnified check. A tech looks for surface stretching or paint micro-cracking, often using a 30X magnifier, following the same standard Rivian’s PDR guidelines laid out for OEM-approved repairs.
- Panel material ID. Steel and aluminum behave differently under pressure, and body lines or internal braces near the dent change how far it’s safe to push.
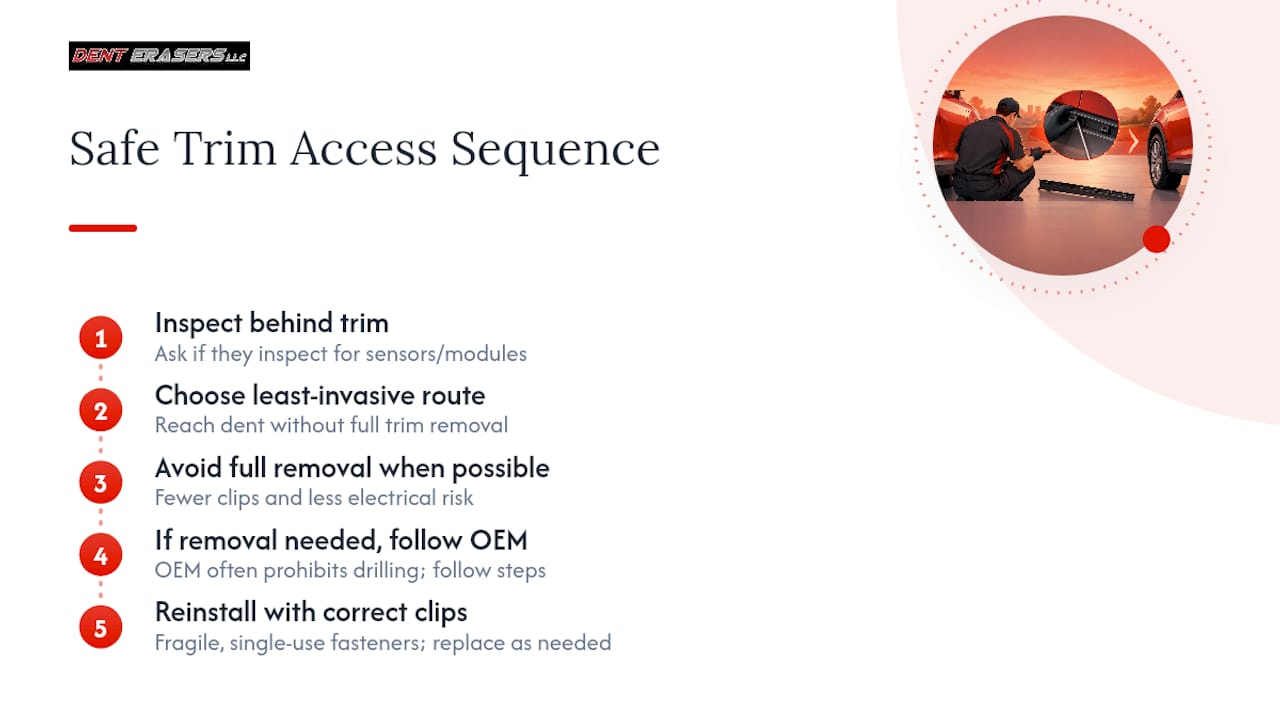
- Behind-the-trim inspection. This is where hidden clips, adhesive strips, wiring harnesses, or control modules get identified before any tool touches the panel.
- Access decision. Based on all of the above, the tech decides between three paths: push-tool access from behind, a glue-pull approach from the front, or careful removal and reinstallation (what the industry calls R&I).
That last decision point matters more than most owners realize. A dent that looks identical to the one next to it might require a completely different method, just because of what sits behind the trim. Our guide on what paintless dent repair actually involves breaks down the eligibility factors in more depth.
Access and Trim Removal Risks You Should Know About
Pulling trim to reach a dent sounds simple until you’re the one holding a broken clip that cost the shop an extra 20 minutes and a trip to the parts counter. Fasteners behind molding are often single-use. Fragile plastic clips crack the first time they’re pulled, especially on vehicles more than a few years old.
There’s a bigger risk than a broken clip, though. Many trim pieces now hide electronics, including door pressure sensors used for airbag timing. Industry reporting on BMW repairs found that drilling holes for PDR access or reinstalling trim with the wrong clips can throw off sensor timing entirely. That’s not a cosmetic problem. That’s a safety system reacting incorrectly in a crash.
Because of this, OEM service procedures often prohibit drilling access holes altogether, and they specify exact steps for removing and reinstalling trim without damaging what’s underneath.
Pro Tip: Ask your technician whether they inspect for sensors and modules behind trim before starting. If they can’t answer that clearly, that’s a sign they may not follow OEM removal procedures at all.
A good tech will avoid full removal whenever they can reach the dent another way. Less disassembly means fewer clips at risk and less chance of disturbing something electrical.
Repair Methods for Dents Under Trim
Once access is sorted out, the actual technique depends on what the technician can physically reach.
- Push tools from behind the panel. This is the classic PDR approach when there’s enough backside clearance to work rods or picks against the dent. Overusing metal tools in one spot can wear away the panel’s corrosion coating, which matters more than people assume.
- Glue-pull repair (GPR). When access is too tight for push rods, technicians heat a pull tab, bond it to the dent’s low point, and use a pulling bridge or mini-lifter to draw the metal back out. Tab selection and dent location both affect how well this works. Small dents sitting right along a body line can be genuinely difficult to pull cleanly, even for an experienced hand.
- Partial removal and traditional repair. If neither push tools nor glue-pull can reach the dent, the technician may need to remove more trim than planned or fall back on conventional bodywork.
What you won’t see a reputable shop do is drill a hole for tool access or grind away material to make a stubborn dent easier to reach. Rivian’s own PDR position statement explicitly warns against cutting or drilling panels for that exact reason. Permanent modification for a temporary access problem isn’t a trade-off worth making.
Safety, Structural Limits, and Corrosion Protection
Not every dent under trim should be pushed back into shape, even if it’s technically reachable. Panels near suspension mounts or engineered collapse zones are built to deform in a specific, predictable way during an impact. Straightening a kink in one of those zones can quietly weaken it.
That risk isn’t theoretical. Repairing a kink in a collapse zone can compromise the panel’s structural integrity, sometimes leading a technician to recommend replacement instead of repair, even when the dent itself looks minor.
A few things worth keeping in mind:
- Areas flagged in the service manual as structural or safety-related often call for replacement over straightening.
- PDR tool contact, especially repeated push tool use, can strip away factory corrosion protection on the panel’s interior surface.
- OEM guidance recommends reapplying approved corrosion coating to any area where that protection was disrupted.
- Material-specific limits (aluminum flexes and work-hardens differently than steel) should guide how far a tech pushes before switching methods.
Time, Cost, and Insurance for Dents Under Trim
A small, easily accessible dent under trim is usually a fast job. AAA notes that minor PDR repairs on a single dent often wrap up in under an hour, with pricing that can start below $100 for the simplest cases. Dents requiring trim removal or glue-pull work take longer, since there’s more setup and more care involved in getting the panel back to original condition.
Cost climbs with size, access difficulty, panel material, and whether R&I is needed. It’s worth knowing that PDR sometimes isn’t a standard line item in collision-estimating databases like MOTOR or CCC, which is why insurers may ask for an on-site evaluation before approving a claim.
- Accessible, paint-intact dents: fastest and cheapest.
- Multiple dents or damaged paint: pushes the job toward traditional body shop pricing.
- Structural or replacement work: adds both time and cost significantly.
Questions to Ask Before Booking a Mobile PDR Visit
A few good questions during booking can save you from a rushed job or a technician who isn’t equipped for behind-trim work.
- Will you inspect behind the trim before starting, and do you follow OEM removal and reinstallation procedures?
- How do you handle corrosion protection if it gets disrupted during the repair?
- Can you show examples of similar dents you’ve repaired, ideally ones involving trim or molding?
- Will the estimate separate access and reinstallation labor from the actual dent repair?
Pro Tip: Ask specifically what happens if they discover a sensor or module behind the trim once they start. A technician with a clear answer has done this kind of job before; one who hesitates probably hasn’t.
Watch for red flags too. Anyone offering to drill through a panel for easier access, refusing to check behind the trim at all, or dismissing corrosion protection as unnecessary is cutting corners you’ll pay for later. Our checklist for choosing a paintless dent repair service covers more of these screening questions in detail.
A Technician’s View on Getting This Right
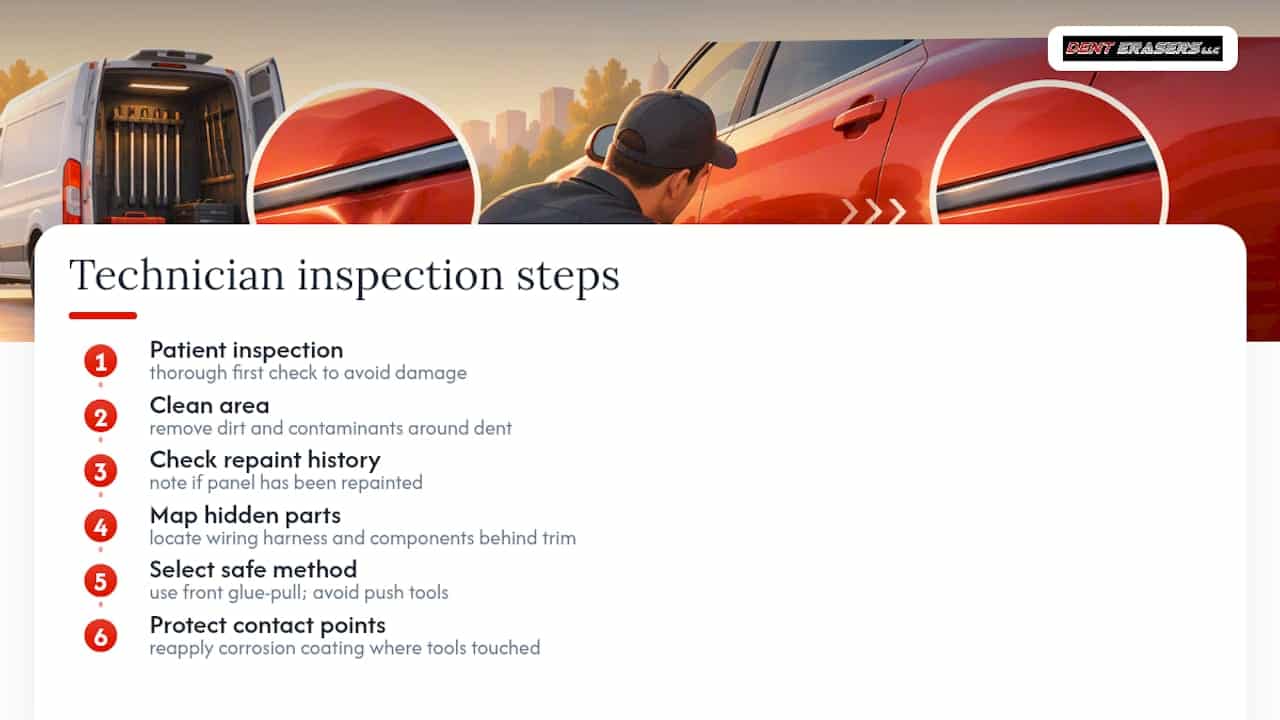
Twenty-seven years in this trade has taught me that the dent is rarely the hard part. The hard part is everything hiding behind it. I’ve worked on a precision fender repair where the dent itself was minor, maybe two inches across, but the trim covering it had a wiring harness routed directly behind the low point. Rushing that job with a push tool would have meant real risk to the vehicle’s electronics. Instead, we mapped the harness path, worked a glue-pull sequence from the front, and reapplied corrosion coating to the spot where the tool made contact.
Before any mobile visit, clean the area around the dent and note whether the panel has ever been repainted. It helps the assessment move faster. What we emphasize at every job is patience during that first inspection. Skipping it is how sensors get damaged and clips get snapped.
— Brian Blanc
Book a Mobile PDR Assessment With Denterasers LLC
Dents under trim should be handled by inspecting first, choosing the method that fits the access, and restoring corrosion protection whenever a tool has disrupted it. Mobile services come to the vehicle’s location, whether that’s a driveway, an office lot, or elsewhere, aiming to preserve the factory paint rather than leading to a repaint.

If you’re staring at a dent tucked behind a rocker panel or door molding and you’re not sure whether it’s a quick fix or something more involved, an on-site look answers that faster than guessing. Request an inspection through our mobile dent repair page, or browse our paintless dent repair and specialty services if the damage involves a luxury, vintage, or fleet vehicle. Either way, the next step is simple: get it looked at before deciding what it needs.
Sources
FAQ
Can a Dent Under Trim Always Be Fixed With PDR?
Not always. PDR works well when the paint is intact and the panel is reachable, but hidden sensors, tight access, or damage in a structural zone can rule it out. A technician’s on-site inspection determines which path applies to your specific dent.
Does the Technician Need to Remove My Trim?
Sometimes, but not always. Many dents can be reached through the existing gap around the trim or repaired using glue-pull tabs from the front, avoiding removal altogether. When removal is necessary, following OEM reinstallation steps protects clips, sensors, and wiring.
Will PDR Damage the Paint or Coating Under the Trim?
Done correctly, PDR keeps the factory paint intact since it doesn’t involve sanding or refinishing. Push tool contact can occasionally disturb the panel’s interior corrosion coating, which is why a careful technician reapplies OEM-approved protection afterward.
How Much Does Repairing a Dent Under Trim Cost?
Small, accessible dents can start under $100, based on AAA’s reporting on typical PDR pricing, though access difficulty and panel material raise that figure. Denterasers LLC lists Minor Dent Repair from $100 to $500 and Large Dent Repair from $150 to $1500, both quoted on the service pages.
Will My Insurance Cover This Type of Repair?
Often, yes, but PDR isn’t always a standard entry in estimating databases, so insurers may request an on-site evaluation before approving the claim. Getting a written estimate that separates access work from the repair itself helps speed that process along.