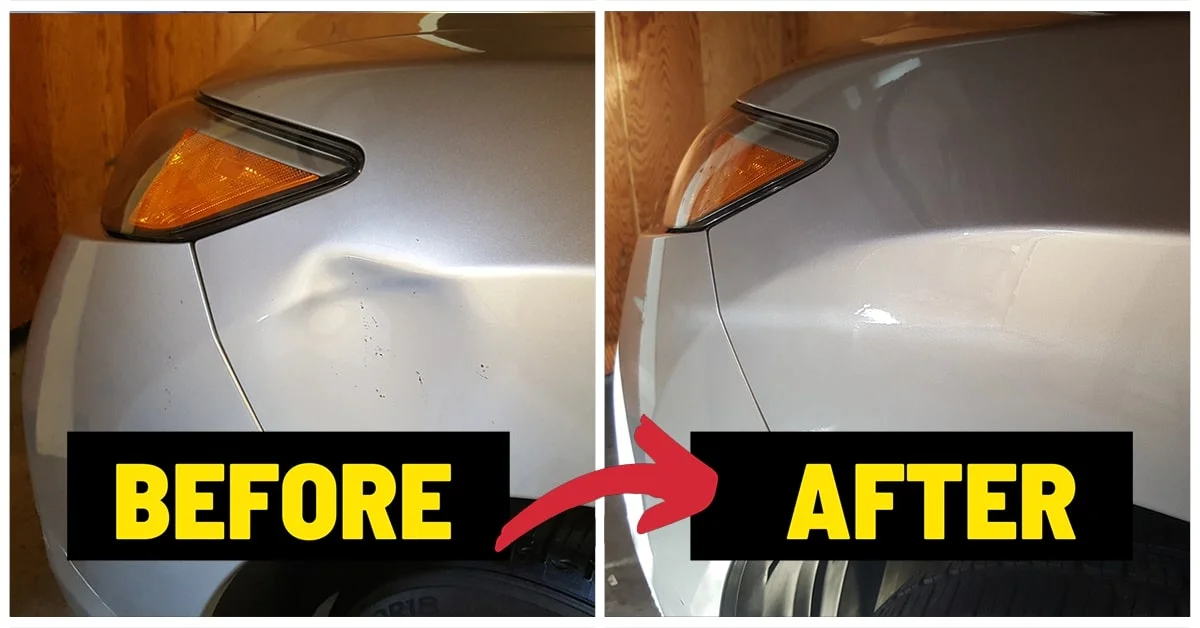
How to Fix a Small Dent in a Plastic Bumper
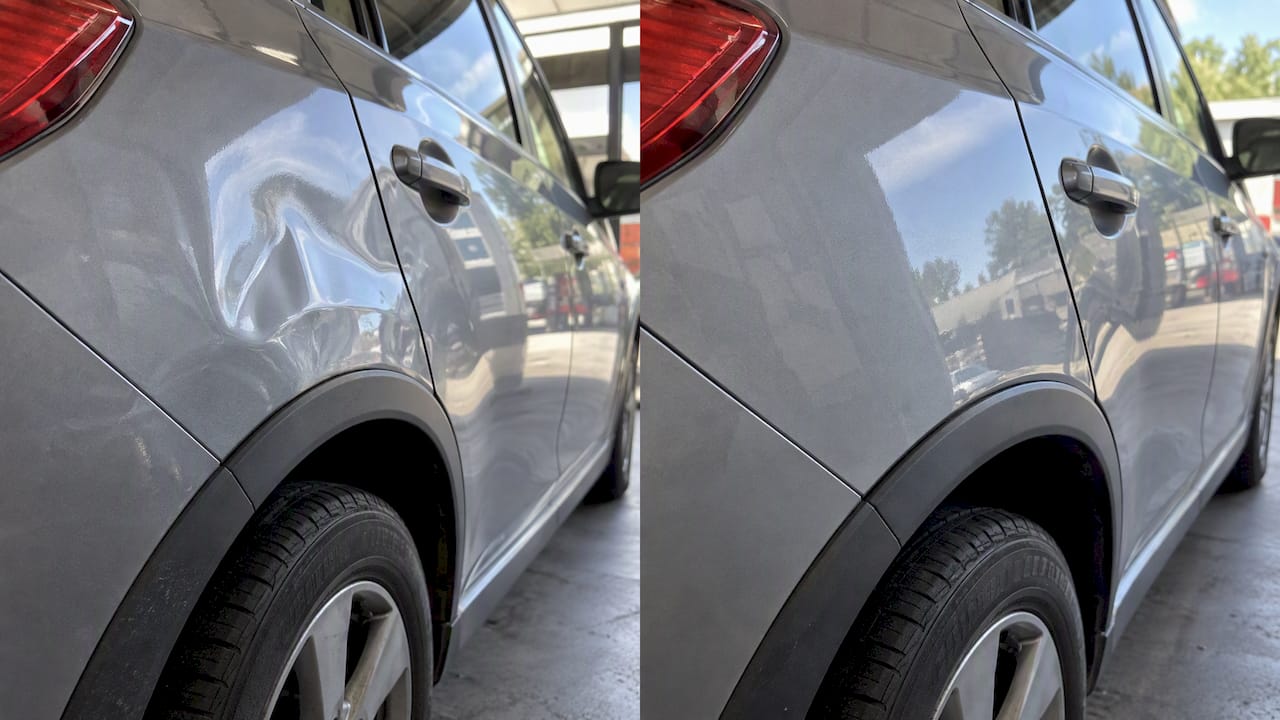
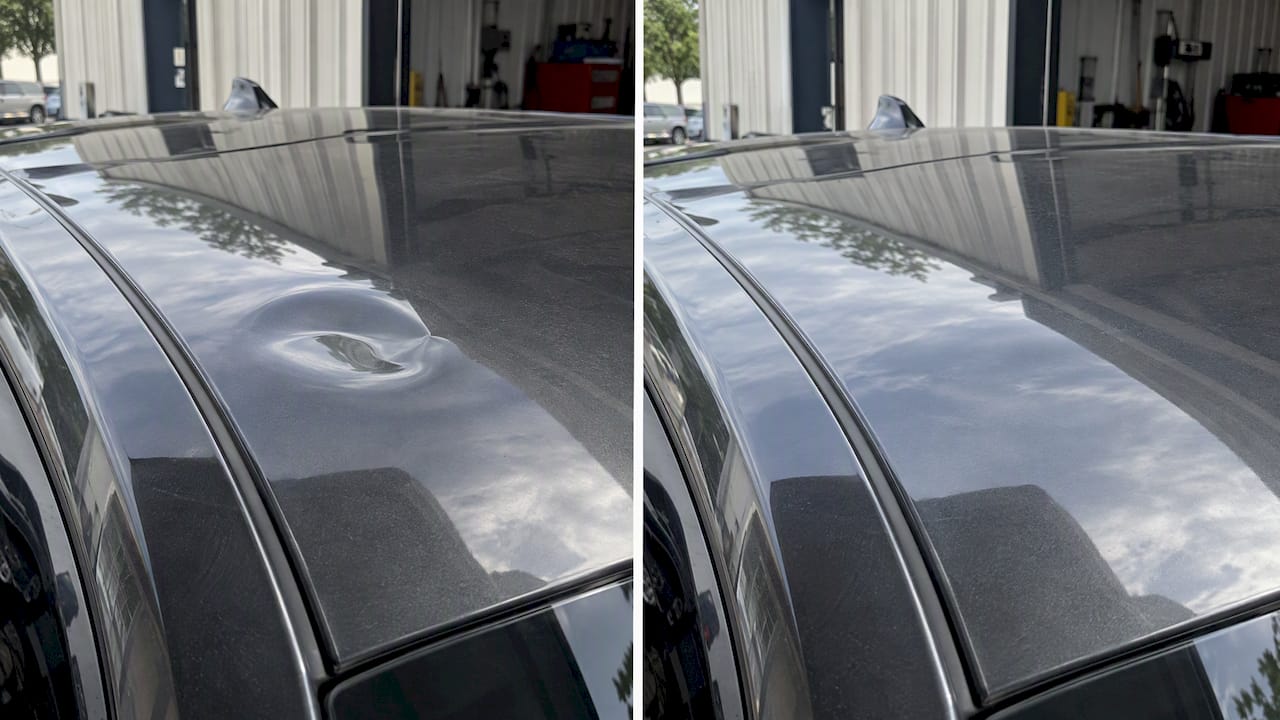
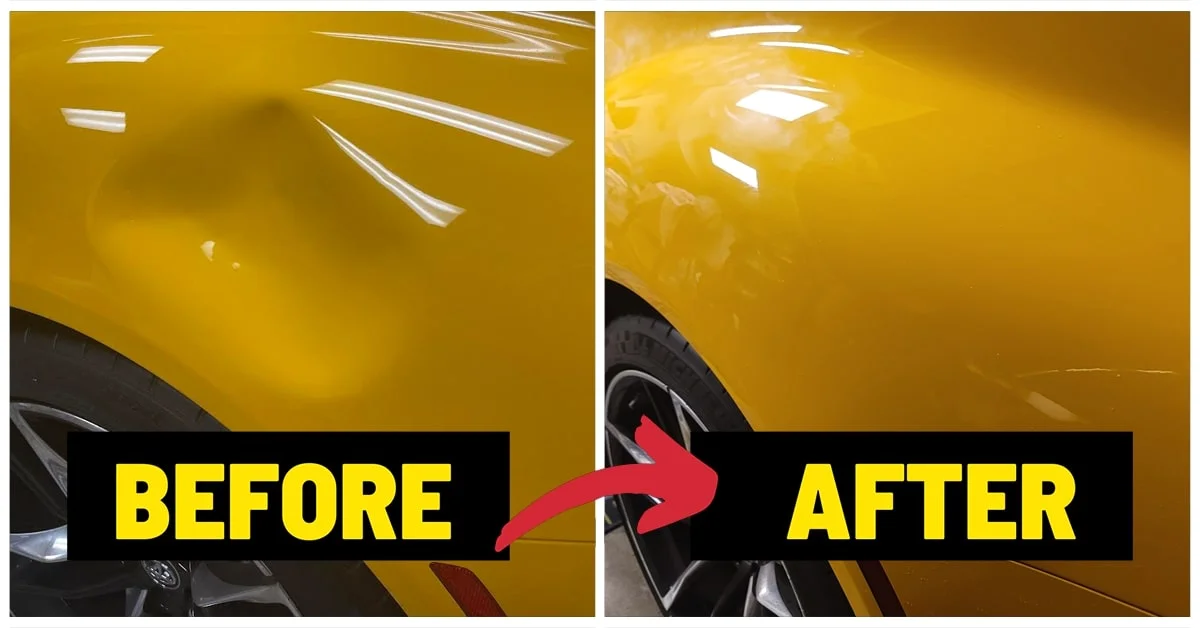
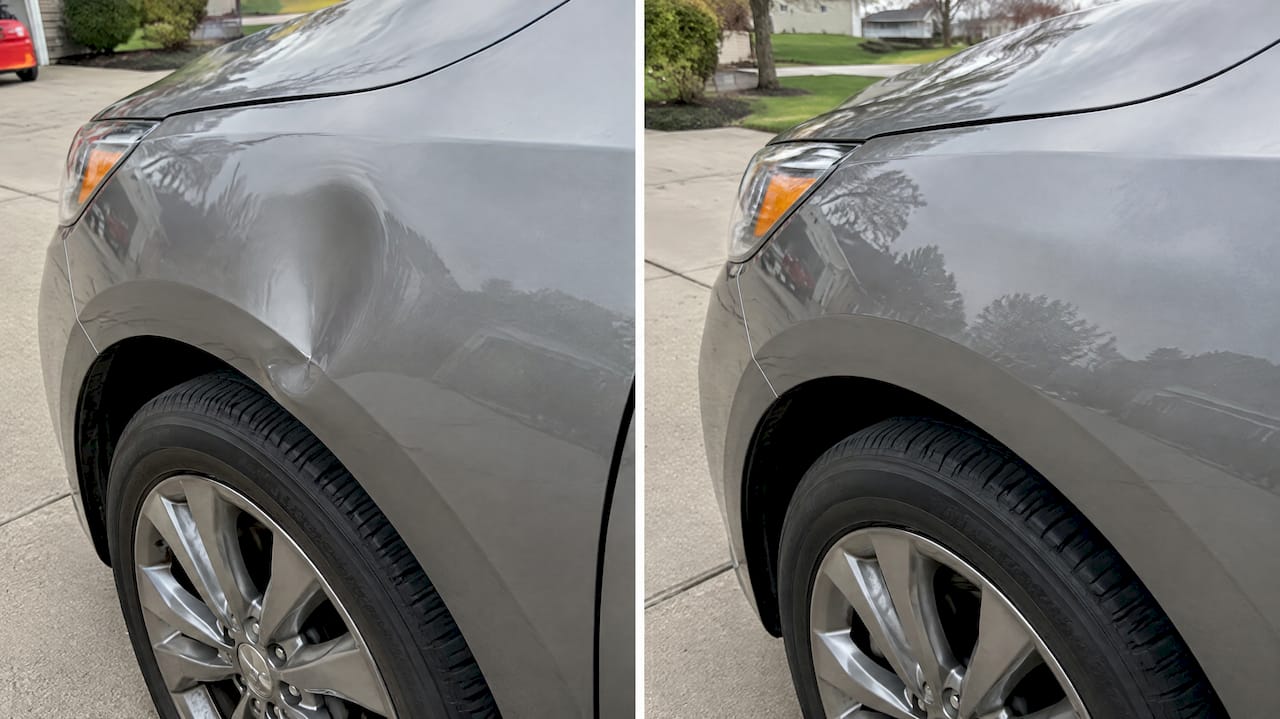
Clean the dent, warm it evenly with hot water or a hair dryer, then gently push it outward from behind while the plastic is pliable. Hold its shape as it cools. If you cannot reach the back, a suction cup may work on a shallow, smooth dent. Stop if the plastic is cracked or the paint starts to lift.
Many bumper covers can regain their shape when warmed. That makes a careful DIY fix worth trying before paying body shop rates, though sharp creases and damaged paint may need professional work.
I’m Brian Blanc, and I’ve spent nearly 30 years in paintless dent repair helping drivers protect factory finishes. If you searched “repair small dent in plastic bumper,” I’ll help you see when a DIY fix makes sense and when to call a pro.
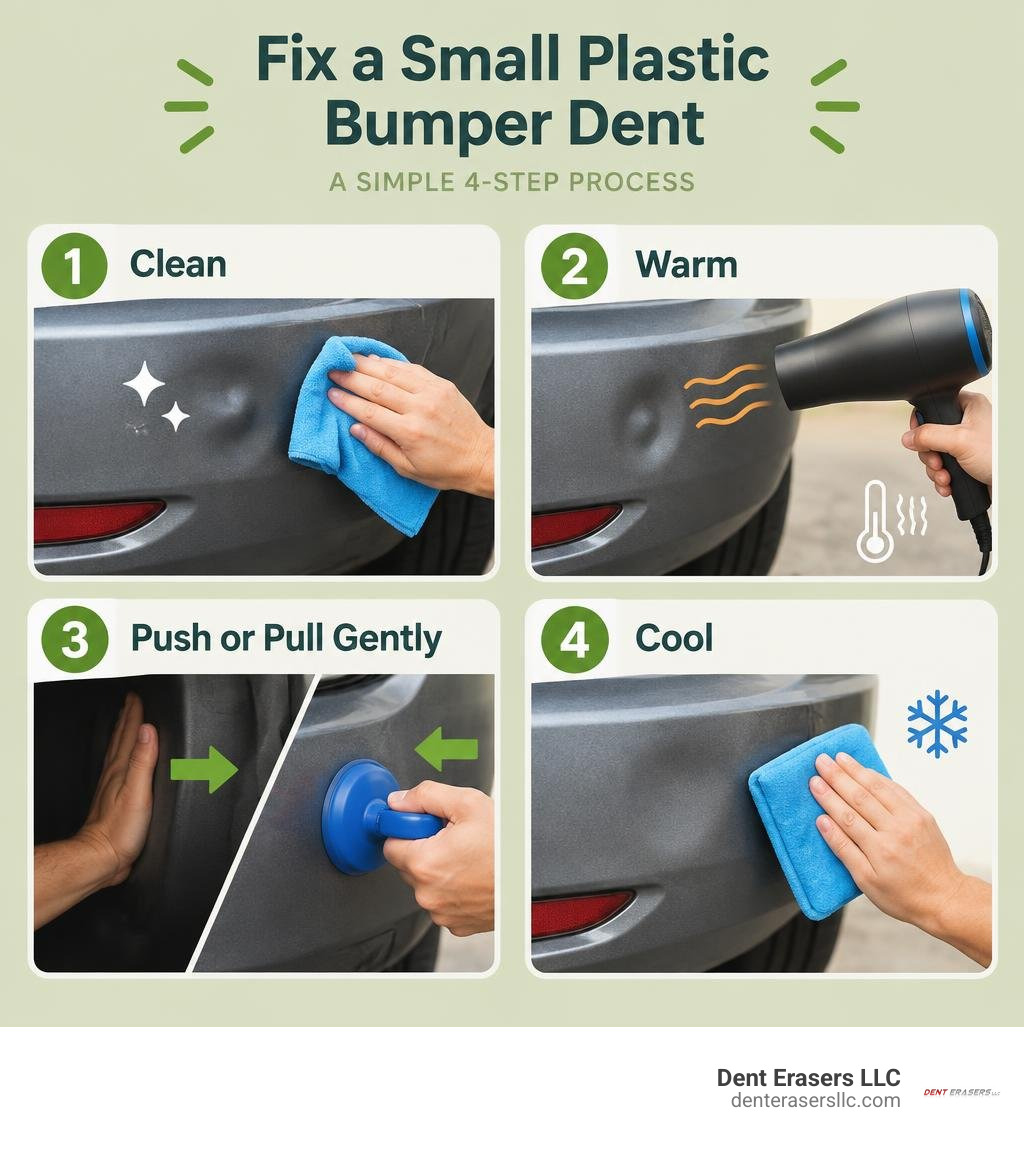
Repair small dent in plastic bumper terms to learn:
Understanding Plastic Memory and Bumper Materials
Most modern passenger cars do not have heavy chrome steel bumpers mounted directly to the frame. Instead, they feature an aerodynamic, lightweight plastic bumper cover fitted over shock-absorbing foam and an underlying reinforcement bar. These exterior covers are primarily molded from advanced thermoplastics, such as Thermoplastic Olefin (TPO) or Polypropylene (PP).
The secret weapon behind do-it-yourself bumper restoration is a property called molecular memory (often referred to simply as plastic memory). When a bumper cover is injection-molded at the factory, its long polymer chains are set into a permanent, relaxed shape. When an impact causes a minor dent, those chains are compressed and held under physical tension.
When you heat the material past its glass transition temperature, the polymer chains loosen up, allowing the material to remember its original molded configuration and snap back into place with minimal assistance. However, if an impact exceeds the material’s elastic limit, the plastic stretches permanently or develops a sharp crease. In those situations, heat alone cannot fully restore the factory contour.
| Feature | Plastic Bumper Cover (TPO / PP) | Metal Bumper / Panel (Steel / Aluminum) |
|---|---|---|
| Primary Material | Thermoplastic Olefin, Polypropylene | High-strength stamped steel or aluminum |
| Shape Recovery | Has molecular memory; responds to thermal heat | Plastic deformation; requires mechanical manipulation |
| DIY Feasibility | High for shallow, rounded depressions | Moderate to low; requires specialized metal rods/tabs |
| Rust Susceptibility | Never rusts | Prone to corrosion if bare steel is exposed |
| Repair Risk | Overheating, melting, clear coat blistering | Metal stretching, paint cracking, panel oil-canning |
Understanding these material traits helps you choose reliable DIY car bumper repair methods that actually hold up rather than risking unnecessary cosmetic damage.
Step-by-Step Guide to Repair Small Dent in Plastic Bumper
Before reaching for your heat source, prepare the repair area thoroughly. Dirt, road grit, and grease can scratch the clear coat while you work or prevent suction tools from securing a tight vacuum seal.
- Wash the Surface: Clean the dented panel and surrounding areas with automotive soap and warm water. Dry it with a clean microfiber towel.
- Gain Access: Check behind the bumper to see if you can reach the backside of the dent with your hand, a pry tool, or a smooth wooden dowel. You may need to turn your front wheels or remove a couple of plastic push-clips from the inner splash shield.
- Equip Safety Gear: Always wear insulated, heat-resistant work gloves. Molten water, hot plastic, and high-temperature air streams can easily scald unprotected hands.
- Prepare the Cold Shock: Fill a small bucket with ice water and keep a clean sponge or cold, wet microfiber cloth right beside you. Rapid cooling locks the plastic molecules back into their relaxed shape once the dent is popped out.

Method 1: Use Boiling Water to Repair Small Dent in Plastic Bumper
The boiling water technique is one of the most reliable and paint-safe DIY methods available for rounded, shallow bumper impressions.
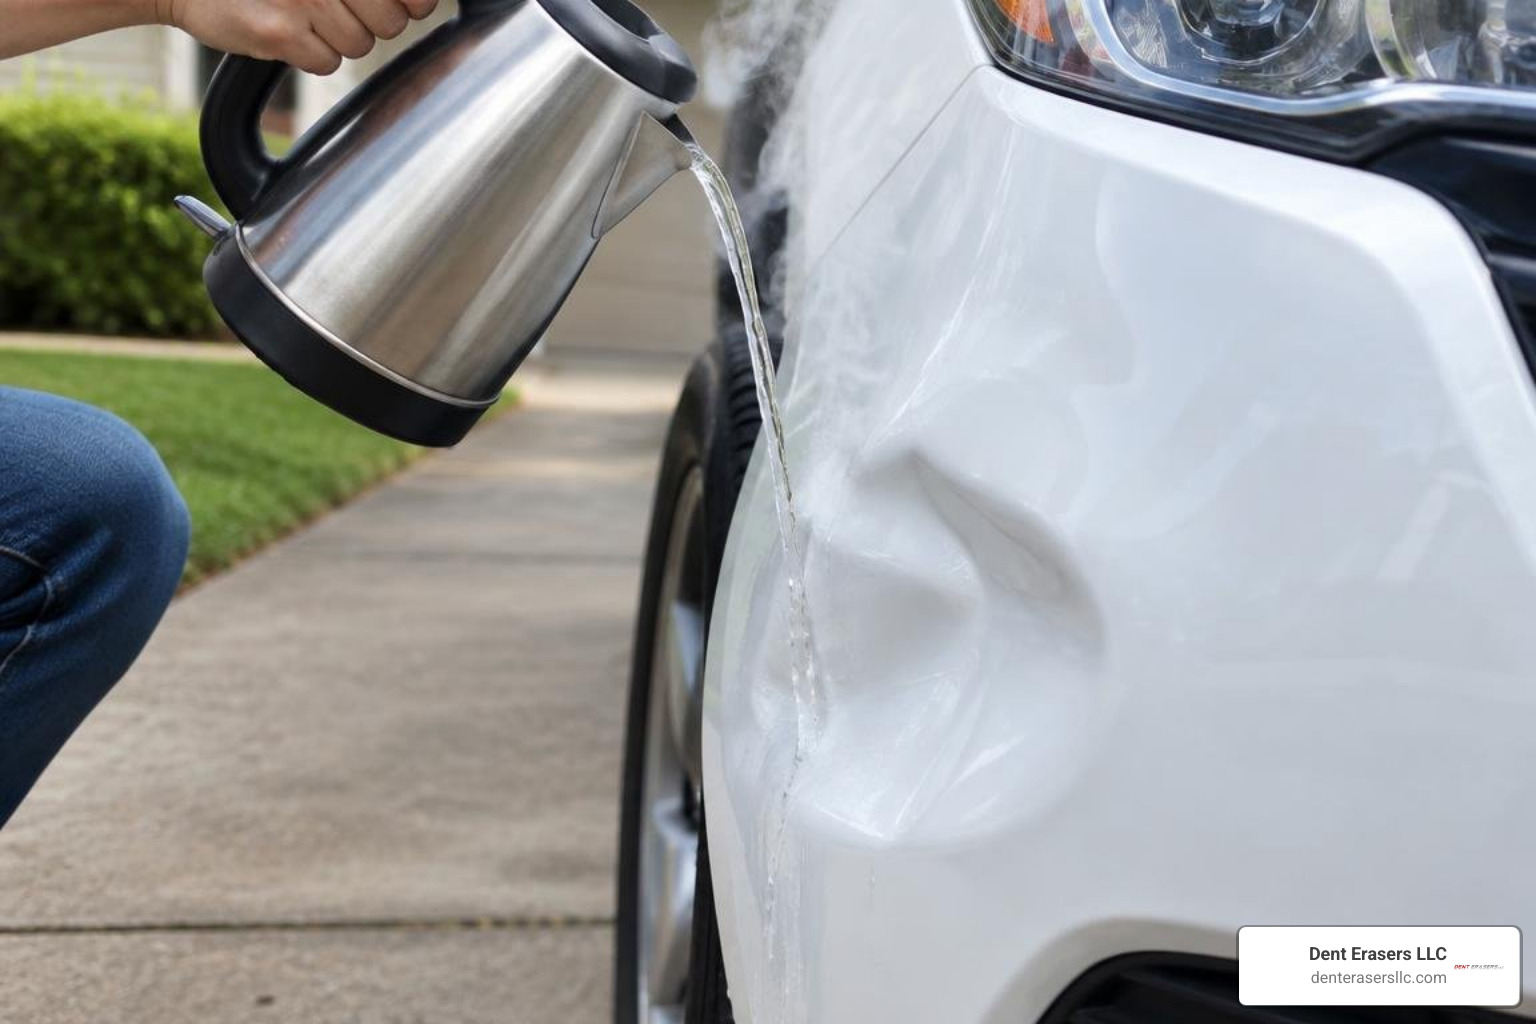
Boiling water naturally caps its temperature at 212°F (100°C). Modern factory-cured automotive clear coats are formulated to easily withstand these temperatures without blistering or discoloring. This eliminates the risk of accidentally burning through your clear coat—a common mistake with open-element heating tools. For a comprehensive walkthrough of hot-water techniques, consult this guide to thermal hot water bumper repair.
How to Perform the Boiling Water Fix:
- Boil the Water: Heat 1 to 2 gallons of water in a kettle or large pot until it reaches a rolling boil.
- Pour Gradually: Slowly pour the boiling water directly over the dented area, working in a spiral pattern from the outside rim toward the center for 60 to 90 seconds. This gradually softens the entire plastic matrix.
- Push from Behind: While the plastic is warm and flexible, reach behind the bumper cover wearing your insulated glove. Apply steady, firm outward pressure at the center of the depression. In many cases, you will hear a satisfying pop as the material springs outward.
- Apply the Cold Shock: Immediately douse the restored area with ice water or press a cold, wet sponge against the surface for roughly 30 seconds. This rapidly lowers the temperature past the glass transition phase, locking the restored molecular structure firmly in place.
Method 2: Use a Heat Gun to Safely Repair Small Dent in Plastic Bumper
When you need focused thermal energy on thicker bumper corners, a heat gun provides greater control than hot water. However, because heat guns can produce air temperatures exceeding 1000°F, you must exercise caution to avoid bubbling the paint or warping the underlying substrate. If you do not own a dedicated heat gun, check out our guide on the plastic bumper dent removal hairdryer technique for a gentler alternative.
- Set to Medium: Turn your heat gun to a medium setting (around 250°F to 300°F).
- Maintain Distance and Motion: Hold the nozzle at least 6 inches away from the bumper cover. Never hold the heat gun in one fixed spot. Keep the nozzle sweeping in continuous circles across the dent and its outer perimeter.
- Monitor Surface Temperature: Use an infrared thermometer to monitor the surface temperature, keeping it between 140°F and 180°F. If the paint feels tacky or shows tiny micro-bubbles, pull the heat gun away immediately.
- Push and Set: Once the plastic yields slightly under light finger pressure, reach behind the bumper and push the center of the dent outward. Hold the panel in its correct shape, then apply a cold, damp cloth to set the contour.
To discover practical tips on heating tools and home dent extraction, review this how-to fix small dent in plastic bumper guide.
No Back Access? Using Suction Cups, Plungers, and Glue Pullers
Modern vehicles often have tightly packaged front ends filled with washer fluid reservoirs, impact absorbers, wiring harnesses, and inner fender liners that make reaching behind the bumper difficult. If you cannot reach the reverse side of the panel, front-pulling tools offer a practical workaround.
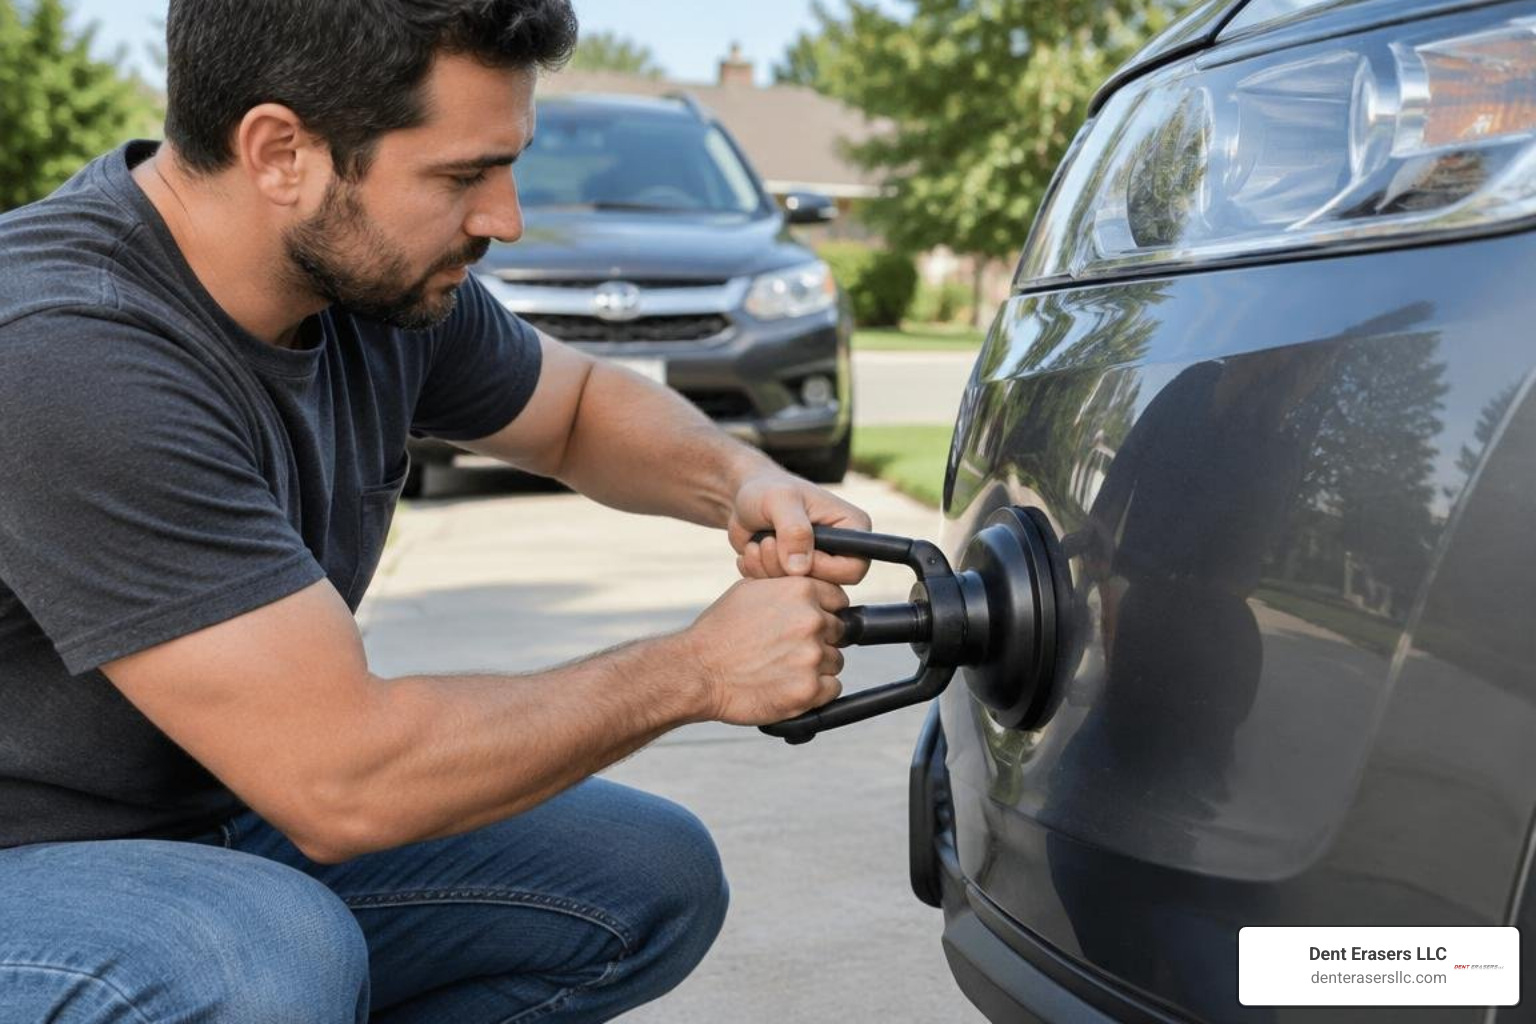
- Automotive Suction Pullers: After heating the dent with hot water or a heat gun, press a heavy-duty automotive suction cup firmly against the center of the warm dent. Lock the suction handle and pull straight outward with a quick, controlled motion.
- The Household Plunger Method: A standard, clean cup plunger (with the flange folded inward) works well on broad, shallow dents. Wet the rubber rim with water to ensure an airtight seal, heat the bumper, press the plunger flat, and pull firmly outward.
- PDR Glue Pulling Kits: For tighter depressions, glue pulling kits utilize specialized plastic tabs secured directly to the dent with hot melt adhesive. A mini-lifter or slide hammer pulls the tab outward. Once the dent releases, isopropyl alcohol dissolves the glue cleanly without harming factory clear coats.
If you are dealing with tight clearances around wheel wells, read this step-by-step front bumper dent repair overview for tips on unclipping splash shields safely.
Fixing Surface Scuffs, Scratches, and Paint Transfer
Bumper impacts rarely leave behind a clean dent; they often deposit paint from parking bollards, shopping carts, or adjacent vehicles.
Once the dent has been popped out, address the surface finish:
- Remove Paint Transfer: Apply a small amount of rubbing compound or Meguiar’s Ultimate Compound to a clean microfiber towel. Rub the transferred paint gently in circular motions until the foreign pigment lifts away.
- Assess Scratch Depth: Run your fingernail lightly over any remaining marks. If your fingernail glides over the scratch without catching, it is confined to the clear coat and can be polished out completely. If your nail catches in a groove, the scratch has penetrated through the basecoat to bare plastic.
- Buffing and Touch-Up: Learn how to polish superficial scuffs by reading our guide to buffing out plastic bumper scratches. If bare black plastic is exposed, apply an OEM-matched paint touch-up pen, allow it to cure, and seal it with a dab of automotive clear coat.
- Cost Considerations: For minor cosmetic blemishes, fixing them yourself costs between $15 and $40 in basic supplies. For deeper scrapes that require professional attention, see our breakdown on evaluating bumper scuff repair costs. You can also learn how to fix unsightly plastic bumper scratches before peeling spreads across adjoining panels.
When to Call a Pro: DIY Limits vs. Professional Bumper Repair
While DIY methods work well on smooth, shallow impressions, not all bumper damage can be corrected in a home driveway. Plastic covers have structural and physical limitations.
| Damage Characteristic | DIY Heat & Pop Approach | Professional Paintless Dent Repair (PDR) |
|---|---|---|
| Dent Profile | Broad, shallow, rounded bowls | Complex contours, body lines, minor creases |
| Material Condition | Elastic limit intact, no stretching | Stretched plastic massaged with precision tools |
| Electronics & ADAS | Safe away from sensors | Sensors calibrated and scanned for safety |
| Estimated Cost | $0 – $30 in basic supplies | $150 – $500 typical professional mobile service |
| Structural Integrity | Bumper tabs, clips, and mounting solid | Plastic welding or bumper replacement if torn |
Key Signs You Should Consult a Professional:
- Sharp Creases or Body-Line Dents: When a plastic bumper is creased along an engineered body line, the polymer structure at the fold is stretched beyond its elastic threshold. DIY heat will not force a sharp crease back into alignment without specialized PDR reshaping tools.
- Cracked Substrates or Torn Mounting Tabs: If the impact cracked the plastic cover or sheared the side mounting tabs away from the fender, the bumper loses its tension. Cracked covers require commercial plastic nitrogen welding or full replacement.
- Radar & ADAS Sensors: Modern bumpers house Advanced Driver Assistance Systems (ADAS), including blind-spot radar, parking sonar sensors, and adaptive cruise control modules. Applying high heat directly over these delicate sensor housings can damage internal circuitry or misalign calibration angles, posing a safety hazard.
- Severe Paint Spider-Webbing: If the impact shattered the clear coat into a spider-web pattern, heating and popping the panel will cause the fractured paint to flake off entirely.
For local vehicle owners weighing their options, review our insights on understanding bumper dent repair pricing alongside our guide to affordable Concord plastic bumper repair solutions.
Frequently Asked Questions About Bumper Dent Repair
Will boiling water damage my car’s paint finish?
No. Factory-applied automotive basecoats and clear coats are baked and cured in high-temperature industrial ovens during vehicle assembly. As a result, genuine OEM finishes withstand 212°F (100°C) water without softening or peeling. However, if your bumper was previously repainted at a low-cost body shop with low-grade, air-cured lacquer, test a small, hidden spot on the lower lip first to ensure the clear coat remains stable.
Can I use a hair dryer instead of a heat gun?
Yes, a hair dryer is a safe, accessible tool for minor dents, but it requires patience. While a heat gun produces intense thermal output quickly, a household hair dryer typically maxes out between 130°F and 140°F. Because of this lower output, you will need to hold the hair dryer 3 to 4 inches from the plastic for 5 to 10 continuous minutes to raise the bumper panel to its glass transition temperature.
How do I know if my bumper is plastic or metal?
Modern passenger cars, SUVs, and minivans use molded thermoplastic bumper covers over both the front and rear crash structures. To confirm your bumper material, perform these two simple tests:
- The Magnet Test: Place a household refrigerator magnet against the bumper panel. If the magnet does not stick, your bumper cover is either plastic (or, in rare cases, aluminum). If it snaps on firmly, the panel is stamped steel.
- The Acoustic Tap Test: Gently tap the panel with your knuckle. A plastic bumper produces a dull, hollow thud, whereas a metal panel produces a distinct, high-pitched metallic ping.
Conclusion
Restoring a dented bumper does not always require high body shop estimates or leaving your vehicle at a collision center for days. By understanding how thermoplastic memory reacts to controlled heat, you can safely remove minor parking dents at home using boiling water, a heat gun, or light suction.
However, if your bumper features stretched plastic, damaged paint, broken clips, or integrated radar sensors, working with a specialist ensures your vehicle retains its factory look and safety ratings. At Dent Erasers LLC, we provide master-level, on-site repairs across Concord, Walnut Creek, Antioch, San Ramon, and throughout Contra Costa County. When home methods reach their limit, schedule our professional mobile paintless dent repair services or explore our specialized plastic bumper repair to restore your vehicle quickly and affordably at your home or office.