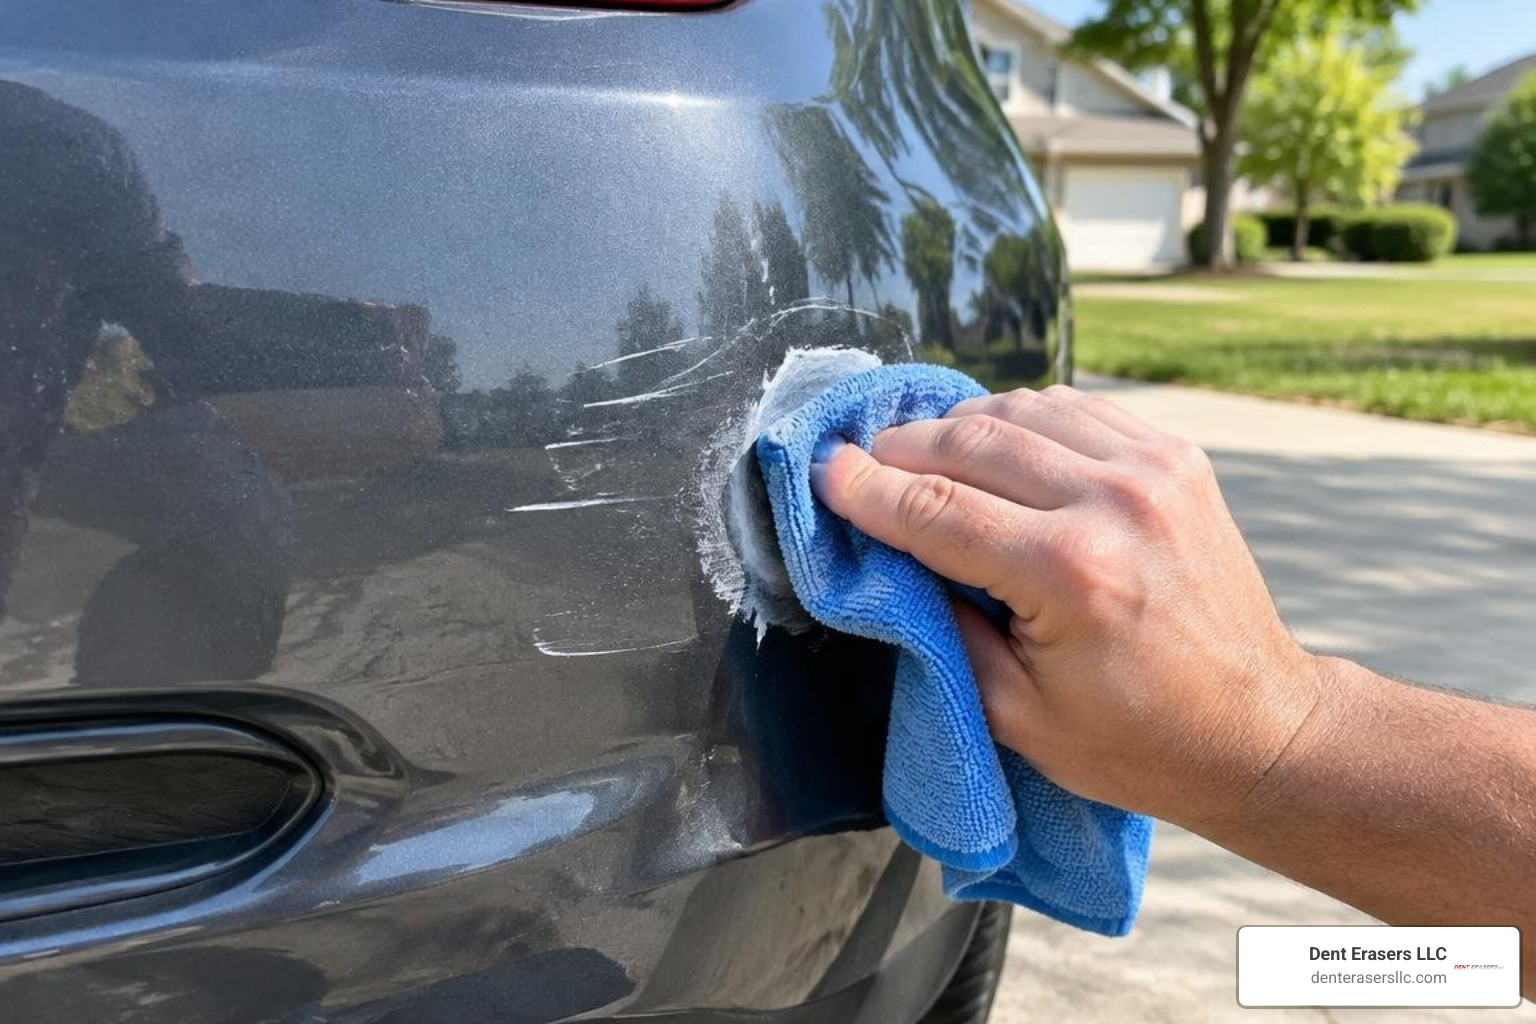
Plastic Bumper Scratch Repair Starts With the Right Fix
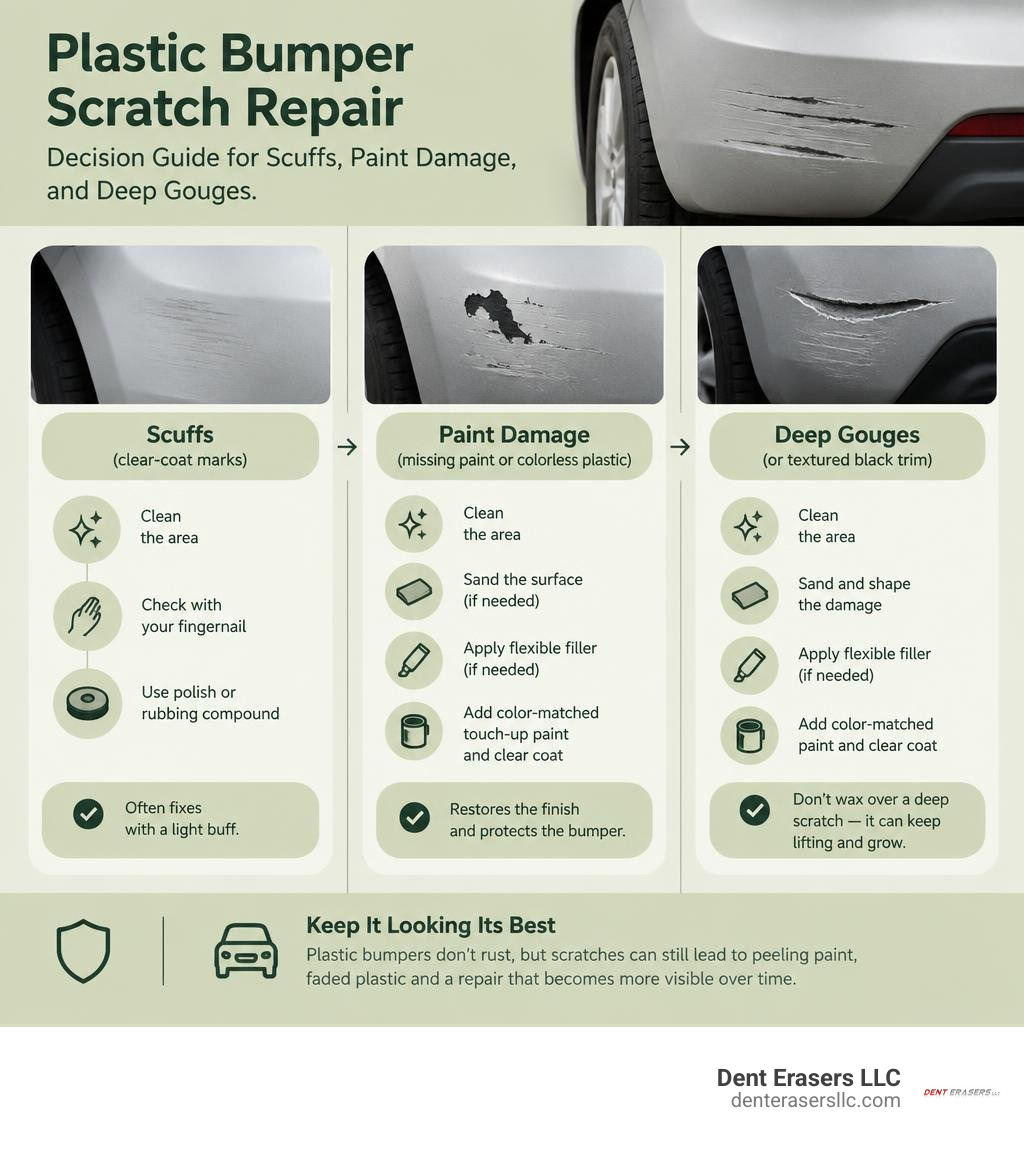
For plastic bumper scratch repair, first clean the area, then check the damage with a fingernail. If your nail does not catch, a polish or rubbing compound may reduce a clear-coat scuff. If it catches or exposes colorless plastic, the repair usually needs sanding, flexible filler or color-matched touch-up paint, and clear coat. Do not simply wax over a deep scratch: loose paint can keep lifting and make the damaged spot larger.
Plastic bumpers do not rust like steel, but a scratch can still lead to peeling paint, faded exposed plastic, and a repair that becomes more visible over time. The best method depends on whether you have paint transfer, a light clear-coat mark, missing paint, a deep gouge, or a scrape in textured black trim.
I am Brian Blanc, and I have spent nearly three decades restoring vehicle appearance through careful, paint-preserving repair work in the East Bay. My experience with plastic bumper scratch repair helps drivers choose the fastest sensible fix while protecting the factory finish whenever possible.
Learn more about plastic bumper scratch repair:
Identifying Scratch Severity and Bumper Materials
Before grabbing sandpaper or compounds, we must understand what modern bumper covers are made of and how paint adheres to them. Most contemporary vehicle bumpers are manufactured from thermoplastic polymers, primarily polypropylene (PP) or thermoplastic olefin (TPO). These materials are lightweight, impact-absorbing, and corrosion-resistant. However, because plastic flexes and expands significantly with temperature changes, the paint layering system must remain equally elastic.
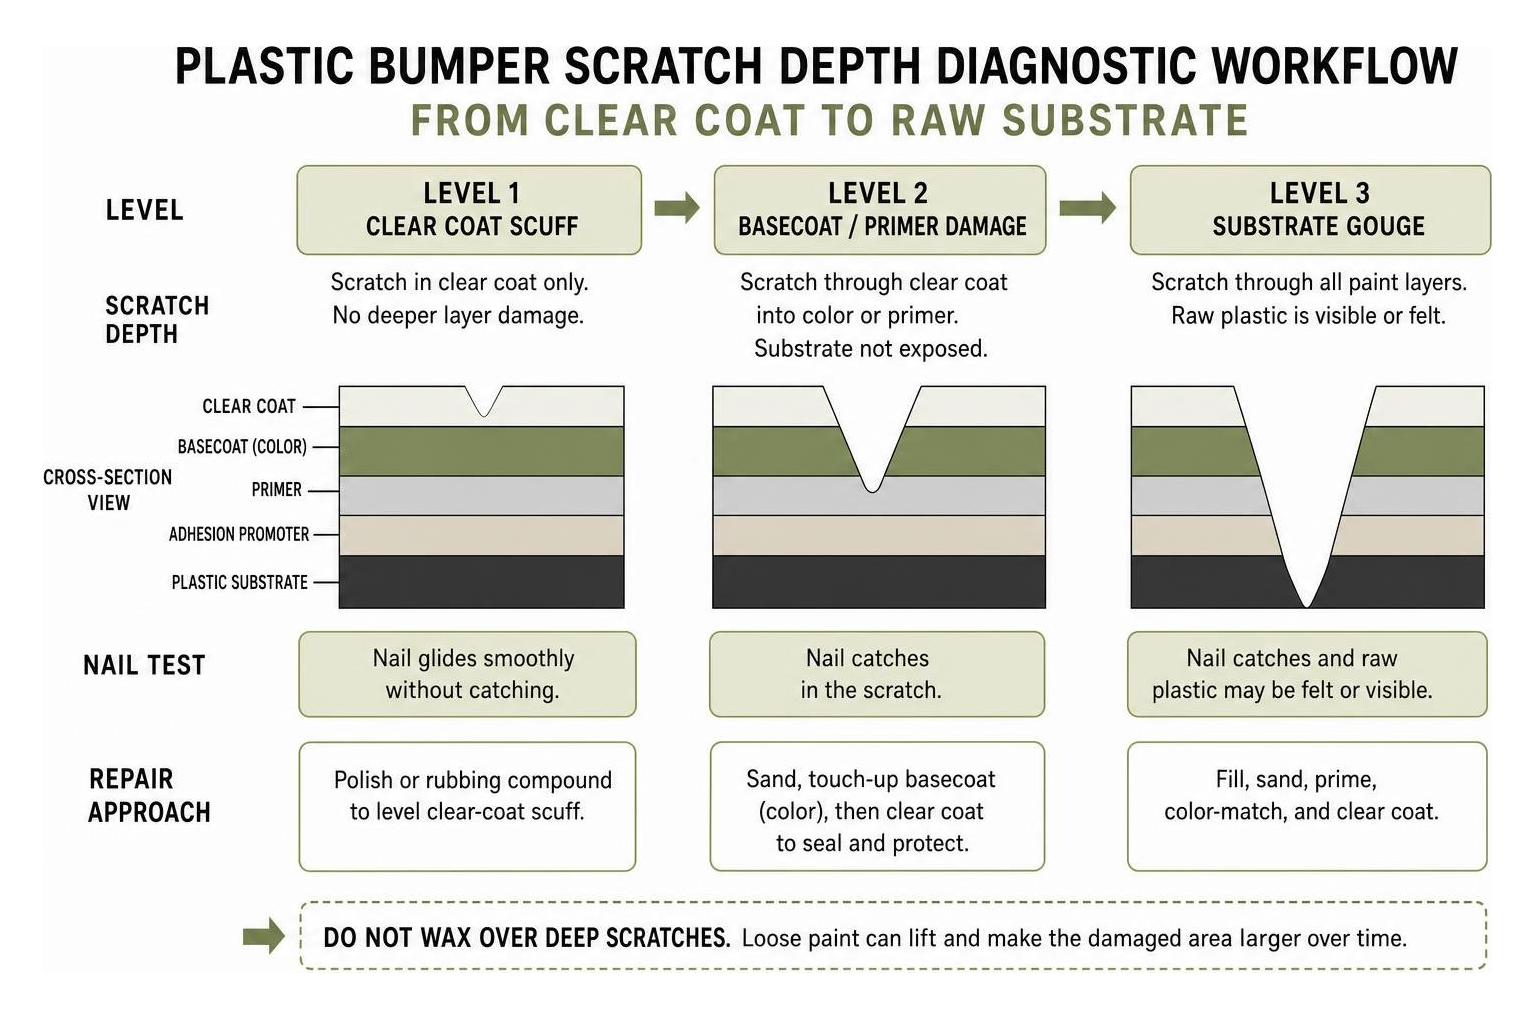
Automotive paint finishes consist of multiple bonded layers: the raw plastic substrate, a specialized adhesion promoter, primer, the color basecoat, and the protective clear coat. When damage occurs, assessing which specific layer is compromised determines the required repair workflow. You can learn more by reviewing effective DIY methods to remove scratches from plastic bumpers and checking our breakdown on bumper scuff repair costs.
Assessing Damage Depth for Plastic Bumper Scratch Repair
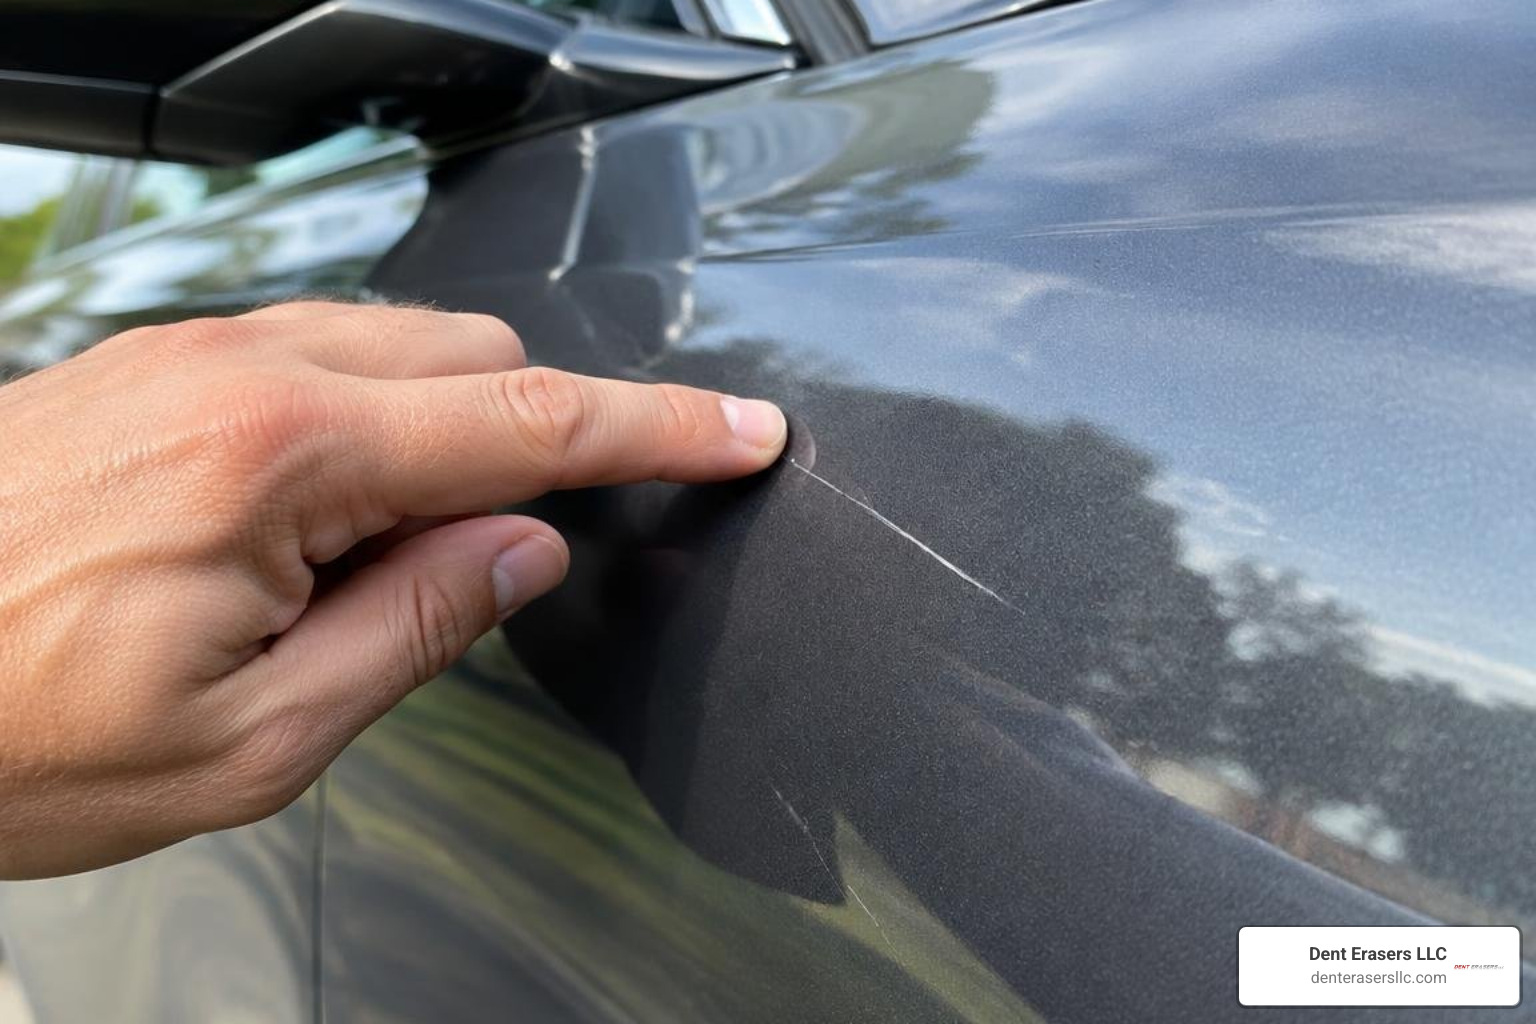
Evaluating damage depth requires a tactile diagnostic. The industry standard is the fingernail test:
- Clear Coat Scuffs (Level 1): If your fingernail glides smoothly over the mark without catching in a distinct groove, the scratch resides exclusively in the uppermost clear coat layer. These blemishes often look cloudy or white and can be mechanically leveled without paint application.
- Basecoat and Primer Damage (Level 2): If your nail distinctly catches in the crevice, but the underlying plastic substrate remains concealed, the scratch has penetrated through the clear coat into the pigment or primer layer. This requires touch-up basecoat and clear coat sealing.
- Deep Substrate Gouges (Level 3): If you observe bare black, gray, or milky plastic at the bottom of the trench, or feel rough plastic burrs along the edge, the substrate is gouged. These require flexible filling, sanding, priming, and full color blending.
Thermoplastics exhibit thermal memory principles, meaning moderate structural deformation can sometimes be relaxed with gentle heat, but cut or torn plastic fibers require mechanical resurfacing and chemical bonding. Left unsealed, road vibration, high-pressure car washes, and thermal cycles cause exposed edges to delaminate, accelerating paint peeling across the panel.
Painted vs. Textured Black Plastic Bumpers
Repair approaches diverge dramatically depending on whether your bumper is painted with a smooth gloss finish or finished in raw, textured black plastic.
Painted bumpers feature a multi-stage gloss coat over treated plastic. In contrast, unpainted black trim bumpers (common on SUVs, trucks, and lower bumper valances) feature an engineered OEM pebble-grain texture molded directly into the raw resin. You cannot simply polish textured plastic with rubbing compounds—doing so will flatten the grain pattern and leave a permanently smooth, glossy blotch that stands out against the matte surrounding area.
When addressing textured components, learning how to repair a scratched non metal bumper using specialized texturizing aerosols and adhesion promoters is vital to maintaining an authentic factory appearance.
Essential Preparation, Tools, and Safety Precautions
Proper preparation dictates 90% of your repair’s longevity. Paint and fillers cannot adhere to contaminated surfaces, and automotive bumpers accumulate heavy concentrations of road grime, silicone detailing products, and petroleum exhaust residues.
- Wash Thoroughly: Clean the entire bumper panel with dedicated automotive wash soap to strip loose road salt and grit.
- Decontaminate and Degrease: Wipe down the repair zone extending at least 6 to 8 inches beyond the damage with 70%+ isopropyl alcohol (IPA) or a dedicated wax and grease remover. Silicone tire-shine overspray is the leading cause of “fish-eyes” (circular cratering) during paint application.
- Safety Protection: When handling solvents, sanding plastic, or atomizing paint, always work in a well-ventilated space. Wear nitrile gloves to protect your skin from harsh chemicals and keep natural skin oils off the prep zone. Utilize safety glasses and an organic vapor respirator rated for automotive coatings.
To see how these prep steps integrate into comprehensive vehicle maintenance, review these reliable DIY bumper repair techniques.
Top Kits and Compounds for Plastic Bumper Scratch Repair
Consumer demand for at-home cosmetic auto repair is substantial, with searches for bumper repair kits yielding hundreds of specialized products. When choosing a product, match the abrasive strength or repair medium to your scratch severity:
| Product Name | Category | Primary Function | Best For |
|---|---|---|---|
| Carfidant Scratch & Swirl Remover | Liquid Compound & Microfiber Pad | Micro-abrasive clear coat leveling | Light surface swirls, paint transfer, and minor scuffs |
| Meguiar’s Ultimate Compound | Liquid Cutting Compound | Precision abrasive paint correction | Moderate clear coat defects and oxidized edges |
| Meguiar’s Quik Scratch Eraser Kit | Drill-Mounted Pad & Compound Kit | Mechanical drill-assisted buffing | Accelerated leveling of isolated clear coat scuffs |
| 3M Flexible Bumper Patch & Filler | 2-Part Flexible Epoxy Compound | Structural substrate rebuilding | Deep plastic gouges, burrs, and missing substrate |
For light surface blemishes, compounds like Meguiar’s Ultimate Compound or Carfidant safely smooth clear coat margins. For deeper cuts that reach raw plastic, mechanical compounds must be paired with flexible filler compounds and color-matched paint pens.
Complete Step-by-Step Plastic Bumper Scratch Repair Guide
Follow this detailed walkthrough to systematically address scratches based on their severity. For minor clear coat marks, you can start by buffing out light plastic bumper scratches.
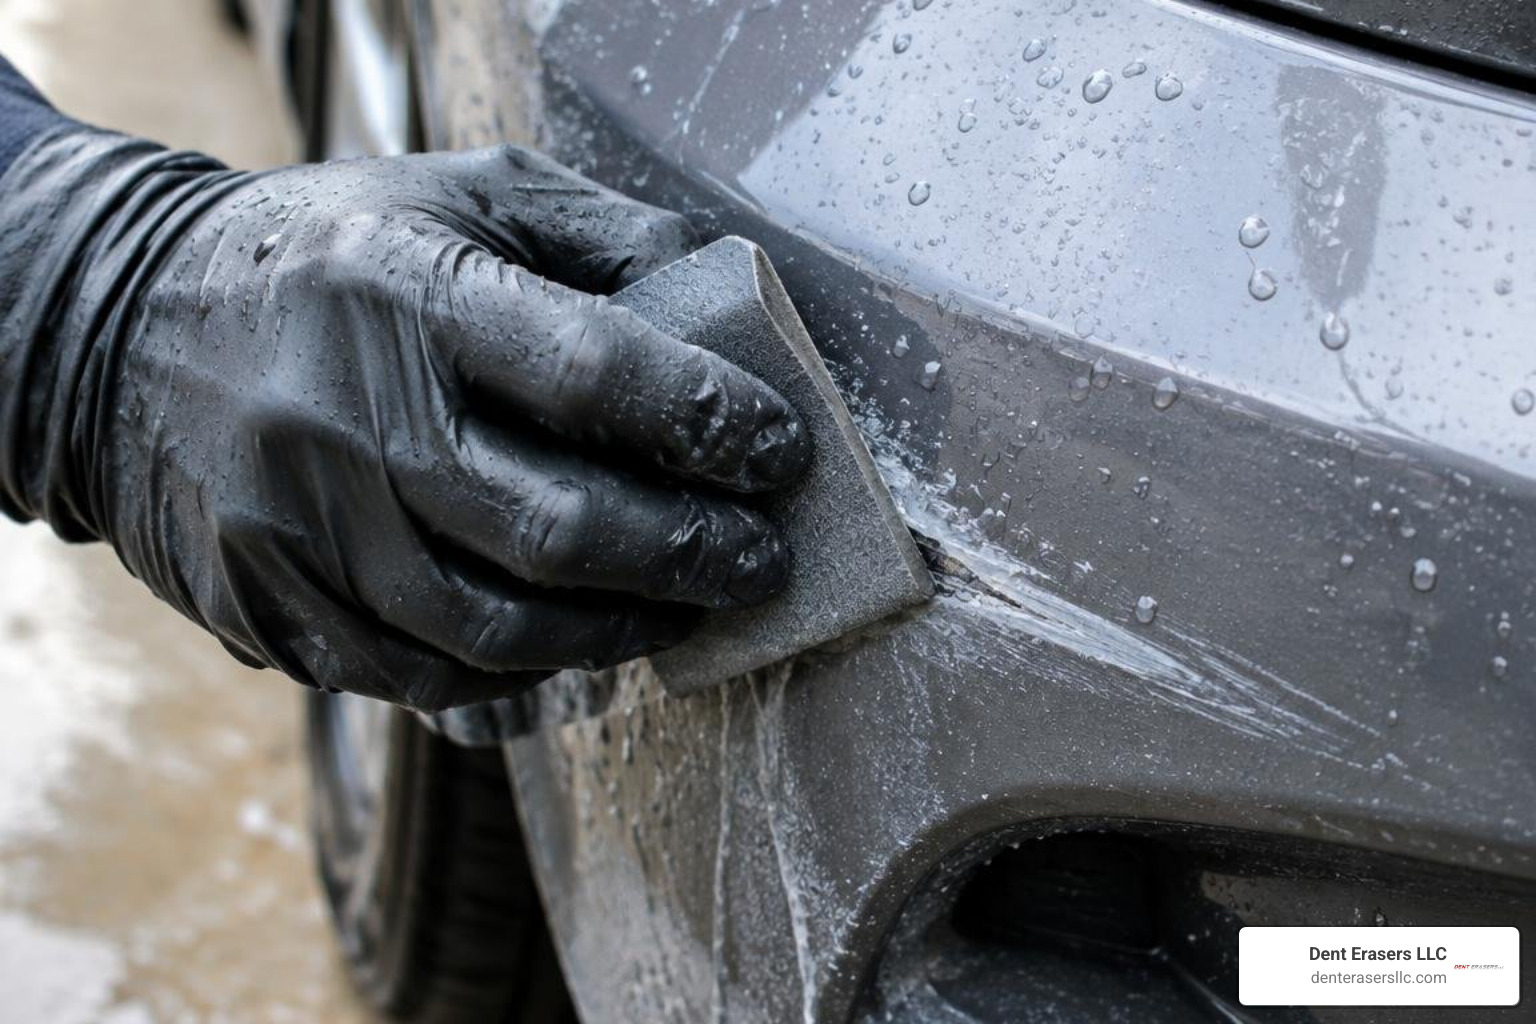
Leveling Gouges and Applying Flexible Filler
When deep gouges expose the underlying plastic, standard polishing will not level the surface. Follow this structural filling protocol:
- Trim Plastic Burrs: Use a fresh, single-edge razor blade held at a 45-degree angle to carefully shave down any raised, curled plastic burrs extending above the original bumper contour.
- Feather-Edge Sanding: Sand the interior and immediate perimeter of the gouge using 320-grit wet/dry sandpaper wrapped around a firm, flexible sanding block. Create a shallow, sloping V-shaped transition (feather-edge) rather than an abrupt vertical drop.
- Wipe and Prep: Clean the sanded dust thoroughly using an isopropyl alcohol wipe.
- Mix and Apply Flexible Filler: Dispense equal parts of a two-component flexible plastic epoxy repair paste onto a non-porous mixing board. Avoid standard rigid body fillers. Using a flexible plastic spreader, press the mixed epoxy firmly into the scratch valley to eliminate air pockets, leaving the filler slightly proud (1 millimeter higher) than the surrounding paint.
- Progressive Sanding: Allow the filler to cure completely according to the manufacturer’s directions (typically 20 to 30 minutes). Begin sanding the repair flat using 600-grit wet sandpaper lubricated with water. Once level with the surrounding paint, transition to 1000-grit wet sandpaper to eliminate coarse sanding scratches.
OEM Paint Color Matching and Clear Coat Blending
Restoring the color finish over repaired plastic requires patience and thin, layered applications:
- Locate Your Paint Code: Open the driver’s side door jamb and locate the manufacturer VIN certification label. Find the alphanumeric paint code (often listed under “PNT” or “C/TR”). Order genuine OEM touch-up basecoat paint matched specifically to this code.
- Apply Plastic Adhesion Promoter: Raw plastic and exposed epoxy require an adhesion promoter. Mask off surrounding trim and apply two ultra-light mist coats, waiting 5 minutes between passes.
- Layer the Basecoat: Never use a broad brush. Instead, use a fine micro-applicator brush, a precision touch-up pen, or even the wooden tip of a toothpick. Place small drops of color basecoat inside the scratch trench, allowing capillary action to spread the paint. Apply 2 to 3 thin coats, allowing 15 minutes of flash time between layers until opacity matches the vehicle’s paint.
- Apply 2K Clear Coat: Once the basecoat has flashed for 30 minutes, apply clear coat over the touch-up zone. For spot repairs using aerosol cans, utilize a “back-masking” technique (folding masking tape back upon itself) to create soft transition lines rather than harsh tape edges.
- Final Polish: Allow the clear coat to cure for 48 hours. Wet sand the boundary gently with 3000-grit paper, then buff the area to a mirror finish using a fine finishing compound and a microfiber polishing wheel.
Restoring OEM Textured Finish on Black Plastic Bumpers
Repairing unpainted, textured black plastic trim involves a different set of steps. For a deep dive into this technique, check out how to repair black plastic bumper scrapes.
- Deburr and Sand: Shave away jagged plastic strands with a razor blade, then lightly sand the damaged area with 400-grit sandpaper to remove sharp edges.
- Degrease: Thoroughly wipe the area with isopropyl alcohol.
- Spray Adhesion Promoter: Apply two light coats of plastic adhesion promoter, allowing 10 minutes between coats to ensure bonding on low-surface-energy plastics like polypropylene.
- Apply Texture Aerosol: High-solid automotive bumper texture sprays recreate the factory pebble-grain finish. Hold the aerosol can 12 to 16 inches away and apply light “dusting” passes across the repair area. The distance allows paint droplets to partially atomize in mid-air and land as fine, distinct stipples rather than flowing into a smooth wet film.
- Topcoat with Matte Trim Black: Allow the texture spray to flash for 15 minutes, then apply two light coats of UV-resistant OEM matte black bumper trim coating to blend color variations seamlessly across the trim panel.
Common Mistakes, Longevity, and Aftercare Maintenance
DIY plastic bumper scratch repairs can last the lifetime of the vehicle when executed properly. However, several common missteps undermine durability:
- Using Standard Body Filler: Standard polyester body fillers (like traditional Bondo) cure into rigid, brittle blocks. Plastic bumpers constantly vibrate and flex under aerodynamic loads and thermal shifts. Rigid filler will crack and pop out within months.
- Skipping Adhesion Promoters: Thermoplastic bumpers have low surface energy. Spraying paint directly onto raw, unprimed plastic leads to catastrophic paint flaking.
- Rushing Clear Coat Curing: Automated car washes and heavy carnauba waxes applied before the paint fully outgasses will trap solvents, causing hazy clear coat and premature paint failure.
Aftercare Protocol
To protect your repair long-term:
- Allow new paint or texture coatings to cure undisturbed for at least 24 to 48 hours before washing.
- Avoid pressure washers directed closer than 18 inches to the repair zone for 30 days.
- Apply a quality ceramic trim coating or paint sealant after 30 days to provide UV resistance against sun fading.
- Maintain surfaces using two-bucket hand washes with pH-neutral automotive shampoo.
For more straightforward maintenance concepts, explore our guide on easy methods to repair plastic bumper damage.
Frequently Asked Questions About Bumper Scratch Repair
Can standard body filler like Bondo be used on plastic bumper scratches?
No. Standard polyester body fillers are formulated for rigid sheet steel and do not contain flex agents. Automotive plastic bumper covers expand, contract, and flex during normal driving. Applying standard filler causes the repair to crack and delaminate. Always use an epoxy-based flexible plastic bumper repair filler specifically labeled for urethane, TPO, and polypropylene plastics.
How do you match factory paint codes for DIY bumper touch-ups?
Locate the factory paint code printed on the vehicle identification label found inside the driver-side door frame, under the hood near the strut tower, or in the glove box compartment. Avoid generic “universal” color-match pens from big-box stores. Order touch-up paint formulated directly to your vehicle’s alphanumeric paint code. When working with metallic or pearl paints, test the paint on a hidden test card first, as metallic flakes settle rapidly and can appear darker if applied too heavily.
When should deep bumper damage be repaired professionally?
DIY scratch repair is great for cosmetic blemishes, but professional intervention is recommended when:
- The scratch is accompanied by large structural cracks, punctures, or torn bumper mounting tabs.
- The impact has displaced or misaligned underlying Advanced Driver Assistance Systems (ADAS) radar or blind-spot sensors.
- Deep plastic deformation requires controlled heating techniques; see our detailed breakdown on using heat methods for plastic bumper dent removal.
If your bumper has combined dent and scratch damage, our mobile dent repair services can help restore the panel without body shop delays.
Conclusion
Minor scratches and scuffs do not have to diminish your vehicle’s value or escalate into widespread paint delamination. With the correct diagnostic approach, flexible repair materials, and systematic paint-matching techniques, high-quality plastic bumper scratch repairs are well within reach for dedicated DIYers.
However, when damage involves bumper deformation, deep substrate tears, or complex multi-stage pearl finishes, preserving original factory coatings requires specialized expertise. At Dent Erasers LLC, we provide on-site mobile paintless dent repair throughout Contra Costa County—including Concord, Walnut Creek, Brentwood, Danville, San Ramon, and Richmond. We restore vehicle contours and protect your factory clear coat quickly and affordably, typically ranging between $150 and $500.
When you want your bumper restored properly without body shop delays, explore our professional mobile services through our expert plastic bumper repair services and get your vehicle looking showroom-ready today.