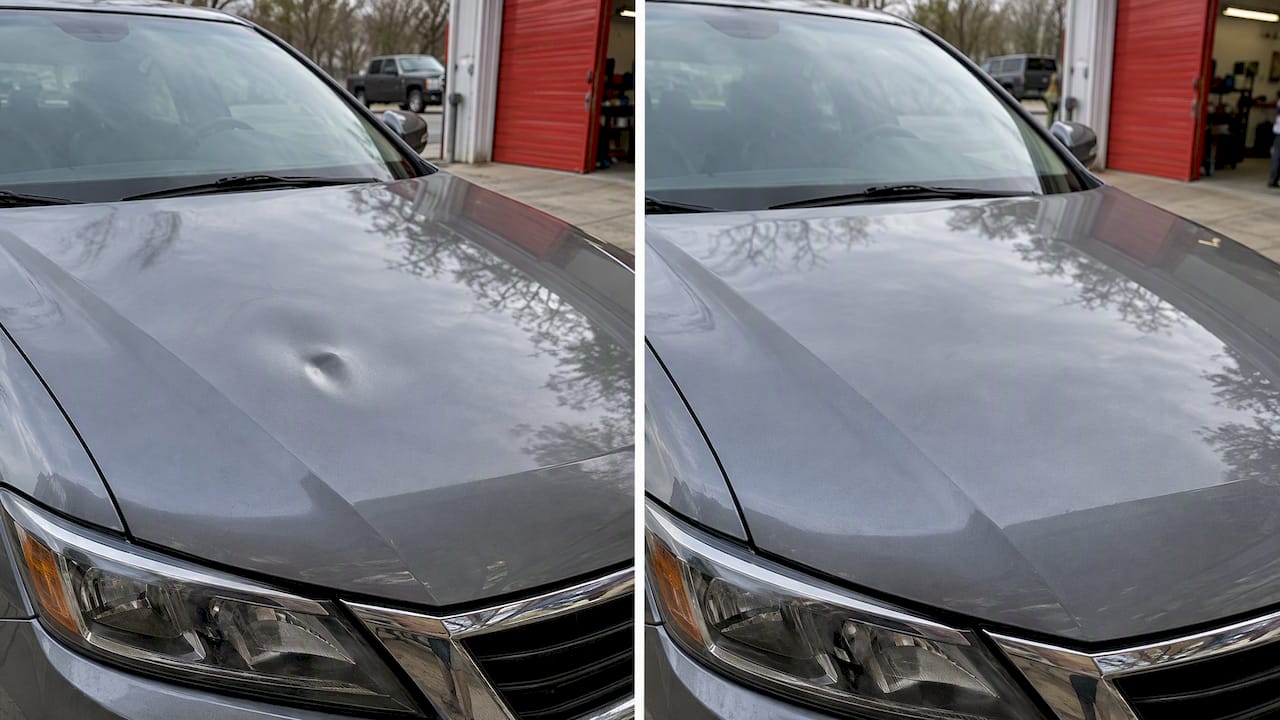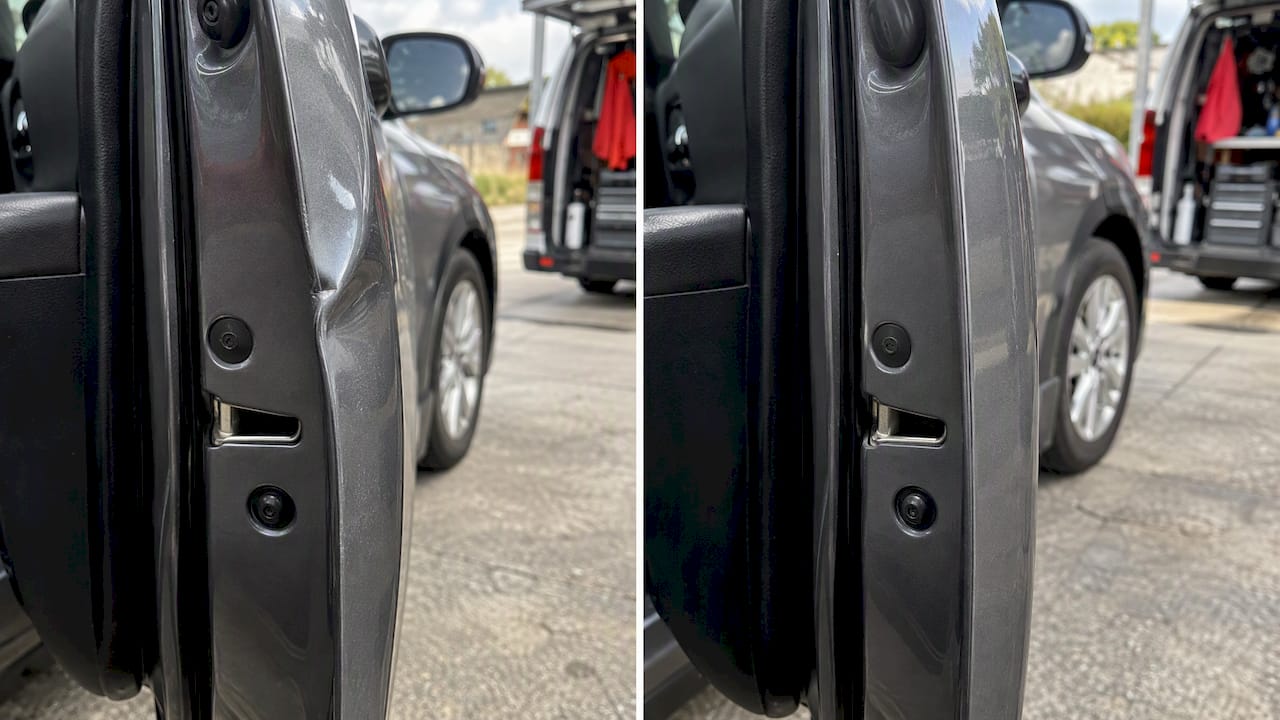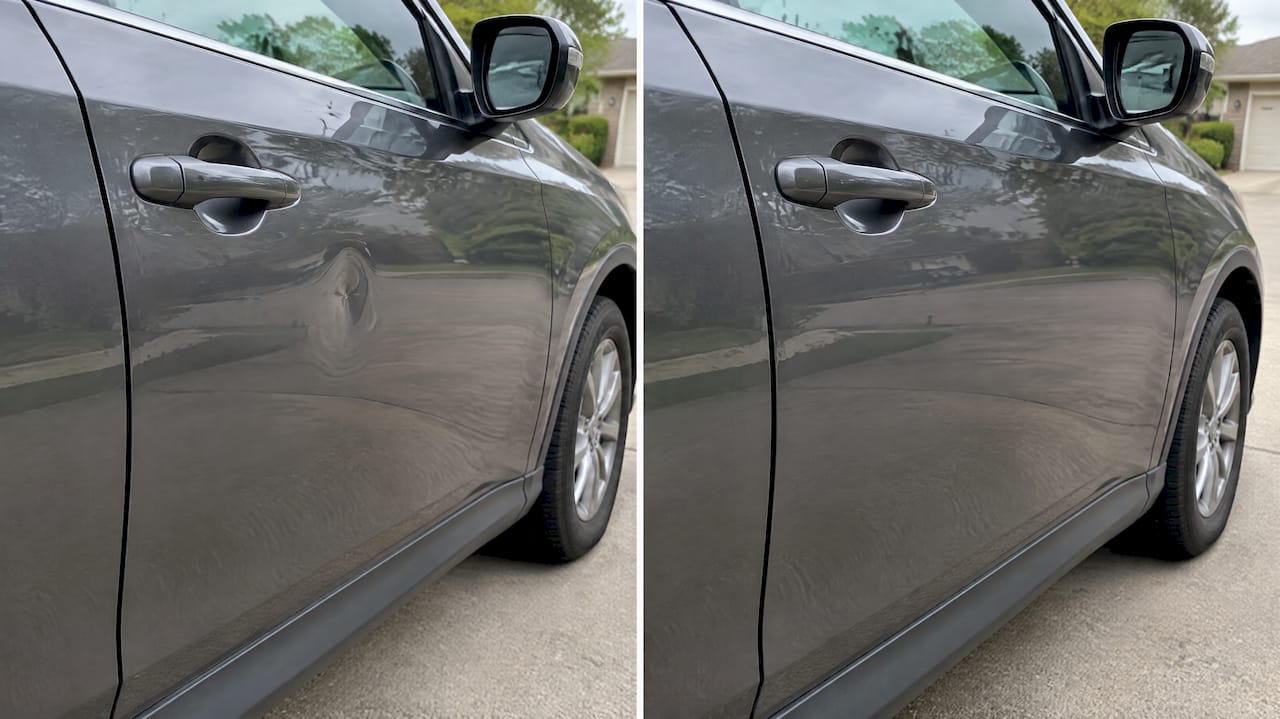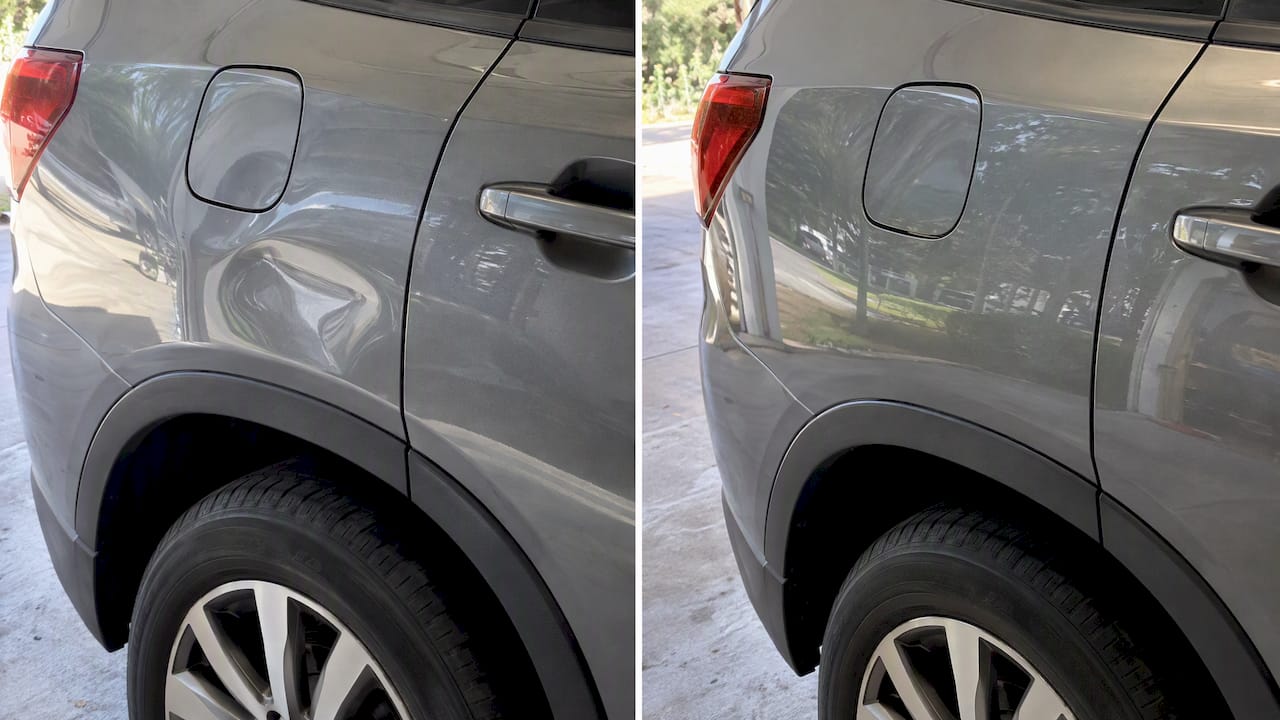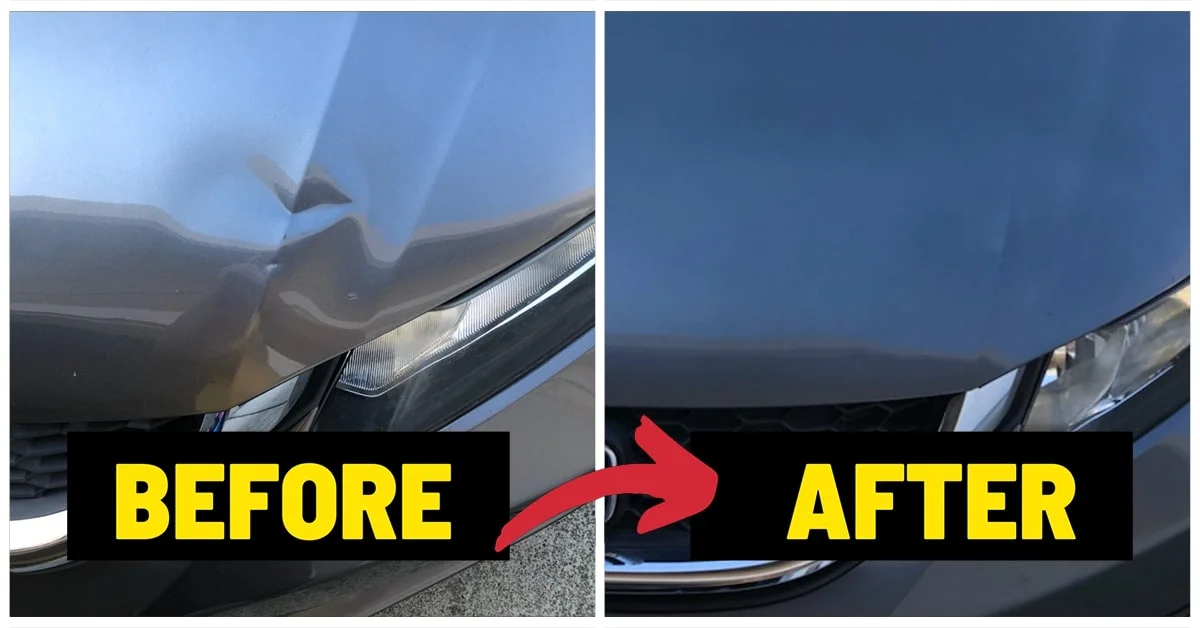
How to Assess Your Hood Damage Before You Begin
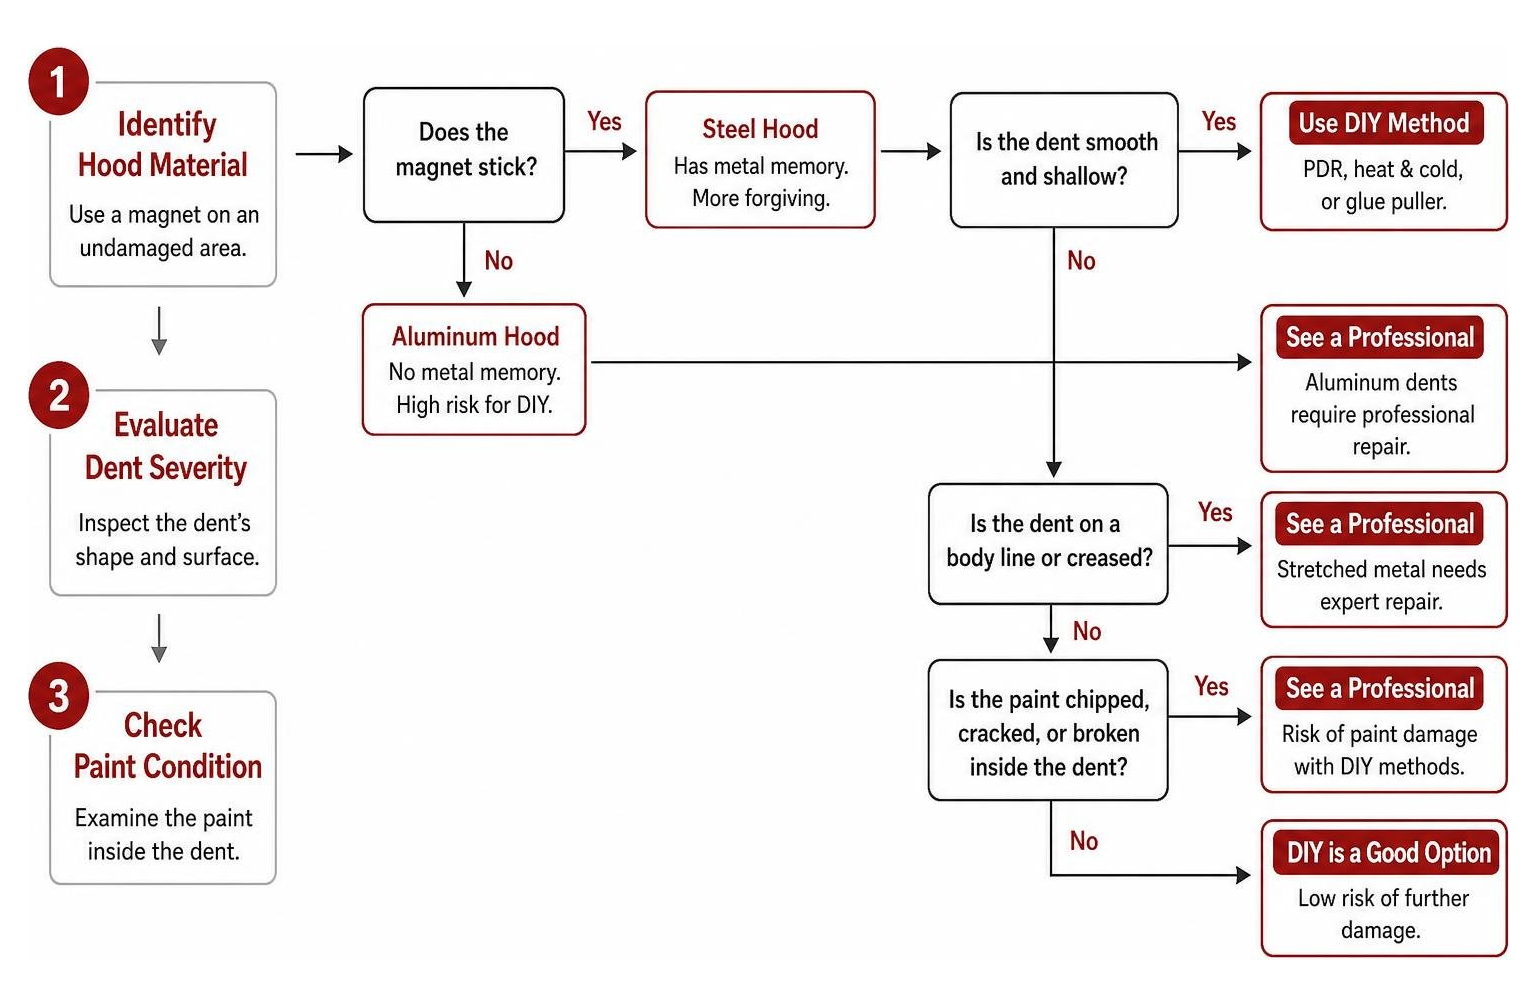
Before you grab any tools or start heating up your hood, you need to perform a thorough three-step assessment. Rushing into a repair without understanding what your hood is made of, or how the metal has reacted to the impact, is the fastest way to turn a minor cosmetic ding into an eyesore that requires a full panel replacement.
When you evaluate a dent, you aren’t just looking at its width. You need to look at its depth, its location on the panel, and whether the underlying paint has remained intact. If you want to dive deeper into the financial side of panel damage, check out our guide on the price of a panel and what fixing your hood really costs.
Identifying Steel vs. Aluminum Hoods
The very first thing you must do is determine what kind of metal your hood is made of. Modern car manufacturers use different materials to balance weight and structural strength, and steel and aluminum behave completely differently under tension.
To find out what you are working with, grab a simple refrigerator magnet and place it on an undamaged section of your hood:
- The Magnet Sticks: Your hood is made of steel. Steel has excellent “metal memory.” It behaves like a spring, meaning it wants to return to its original factory shape if coaxed correctly. This makes it much more forgiving for DIY repairs.
- The Magnet Falls Off: Your hood is made of aluminum. Aluminum has virtually no metal memory and behaves more like clay. Once it is bent, it wants to stay in that new shape. Aluminum is also less flexible and highly prone to cracking or stretching. Because of this, trying to fix a dent in the hood of a car made of aluminum using DIY methods is incredibly risky and almost always requires professional intervention.
Evaluating Stretched Metal and Creases
Once you know your hood’s material, look closely at the shape of the dent. Is it a smooth, shallow bowl, or does it have a sharp line running through it?
If a dent is located directly on a body line or crease, the metal has likely stretched. When sheet metal stretches, its surface area actually expands. You cannot simply “pop” stretched metal back into place because there is now too much material to fit into the original space. Attempting to force a creased dent out without specialized professional skills will usually result in unsightly high spots, warped metal, or cracked paint.
Additionally, look closely at the paint inside the dent. If the clear coat or paint is already chipped, cracked, or showing spiderweb fractures, any pulling or pushing forces will cause the paint to peel off entirely. For a detailed breakdown of how metal behaves during a dent, read our article on small dent removal from car a step-by-step guide to metal morphing.
The Best Methods to Fix Dent in Hood of Car
When it comes to removing dings at home, there are several popular techniques floating around the internet. Some are highly effective for specific situations, while others are outright myths that can ruin your car’s finish. For a broad look at these approaches, you can read How to Get Dents Out of a Car Hood Simple Expert Methods – CarXplorer. Let’s break down the two most common home remedies.
Can You Use Heat and Cold to Fix Dent in Hood of Car?
The “thermal shock” method is one of the most famous DIY hacks on the internet. The theory relies on basic physics: heating the metal causes it to expand, and rapidly cooling it causes it to contract. Under the right circumstances, this rapid expansion and contraction can cause a shallow dent to pop back into its original shape with a satisfying pop.
To try this at home:
- Clean the dented area thoroughly to remove any dirt or wax.
- Hold a hair dryer or a heat gun on a medium setting about 5 to 7 inches away from the dent, moving it in a continuous circular motion for 60 to 90 seconds.
- Immediately grab a can of compressed air, turn it completely upside down, and spray the super-cooled liquid propellant directly onto the center of the heated dent for 15 to 20 seconds.
- Wait a minute for the thermal shock to work. If successful, the metal will spring back.
The Risks: While this can work on shallow, round dents on flat steel panels, it is not without danger. If you get the metal too hot, you will blister, discolor, or permanently ruin your clear coat. Furthermore, using dry ice as a cooling agent can actually shrink the metal too severely, locking the center of the dent so tightly that even a professional Paintless Dent Repair (PDR) technician won’t be able to massage it out later.
Suction Cup and Plunger Techniques
Another common recommendation is using suction to pull the dent out from the front. However, we need to address a major myth: the household toilet plunger does not work on car hoods. Toilet plungers are designed for plumbing, not thin automotive sheet metal. They have stiff, dirty rubber edges that can easily scratch your clear coat, and they cannot create a strong, controlled vacuum on a curved car hood.
Instead, if you want to use suction, you must use a dedicated automotive suction cup dent puller. These tools feature soft, flexible rubber cups and locking levers that create a powerful seal.
Simply press the cup into the center of a clean, shallow dent, engage the locking lever, and pull straight outward with smooth, steady pressure. That suction cups are only effective on large, shallow, non-sharp dents on completely flat areas. Even in the best-case scenario, a suction cup typically only resolves 75% to 80% of a dent, leaving a shallow outer ring that still requires detailed finishing.
Step-by-Step DIY Guide: Glue Pulling and Slide Hammers

If thermal shock or suction cups don’t do the trick, your next DIY option is a glue-pulling system. This is a simplified version of the technique professional PDR technicians use when they cannot access the backside of a panel. It is a fantastic option for flat panels where the paint is completely intact. If you are looking for budget-friendly ways to tackle dings, you might find our article on the cheapest ways to fix a car dent incredibly useful.
How to Prep and Pull a Hood Dent Without Paint Damage
Glue pulling uses plastic tabs adhered to the dent with specialized hot glue, which is then pulled outward using a hand lifter or a slide hammer.
Here is how to do it safely without lifting your paint:
- Clean the Surface: Wash the hood and prep the dented area by wiping it down with isopropyl alcohol or a high-quality dewaxer. Any wax, grease, or road grime will prevent the glue from bonding properly.
- Select the Right Tab: Choose a plastic glue tab that matches the shape and size of the dent. The tab should be slightly smaller than the dent itself.
- Apply the Glue: Apply a generous amount of specialized PDR hot glue to the face of the tab. Press the tab firmly into the exact center of the dent. Do not push so hard that you squeeze all the glue out; you want a thin, even cushion of glue between the tab and the metal.
- Let it Cure: Wait 3 to 5 minutes for the glue to set. It should feel firm but still slightly rubbery to the touch.
- Attach the Pulling Tool: Slide your hand tension puller or slide hammer onto the tab. If using a hand lifter, squeeze the handles gently to apply upward tension. If using a slide hammer, pull the weight back with a smooth, controlled motion. Do not yank violently, as this can rip the paint off the panel.
- Release the Tab: Once the metal has moved, spray isopropyl alcohol directly around the base of the glue tab. The alcohol breaks the chemical bond of the glue, allowing the tab to peel off cleanly without leaving any residue or damaging your clear coat.
Accessing the Backside of a Hood Dent
If glue pulling doesn’t work, you might want to try pushing the dent out from the inside. However, this is where you will run into the physical limitations of a car hood’s double-walled construction.
Your hood is built with an outer cosmetic skin and a welded inner structural support skeleton. This inner panel blocks direct access to the back of almost 60% of the hood’s surface area. To get a tool behind the dent, you must first remove the hood insulation liner by carefully popping out the plastic retaining clips. You may also need to temporarily detach your windshield washer fluid nozzles to gain a strategic access point.
Once the liner is removed, you can look for existing factory access holes in the inner skeleton. Professional PDR technicians use specialized, thin metal tools called “whale tails” or curved PDR rods to slide into these tight gaps and gently massage the dent out from the backside. If you want to learn more about the unique geometry of bonnet bracing, read our detailed guide, under the hood a guide to fixing bonnet dents.
When to Choose Professional Paintless Dent Repair (PDR)
While DIY methods can be a fun weekend project for minor dings, there is a very fine line between a successful home repair and a DIY disaster. If you want to explore all proven professional and advanced methods, you can read How To Repair Dent In Car Hood All Proven Methods Guide – CarXplorer.
When to Hire a Professional to Fix Dent in Hood of Car
Paintless Dent Repair is a highly specialized craft that requires an intuitive “feel” for how metal behaves. It is often compared to playing a musical instrument — anyone can press the keys, but it takes years of daily practice to create harmony.
You should always hand the keys to a professional if:
- The dent is located on a sharp body line, crease, or along the reinforced outer edges of the hood.
- Your vehicle has an aluminum hood, which requires specialized heat-monitoring and precise, delicate manipulation to avoid cracking the metal.
- The paint is chipped, scratched, or compromised.
- The dent is deep or has sharp, defined edges.
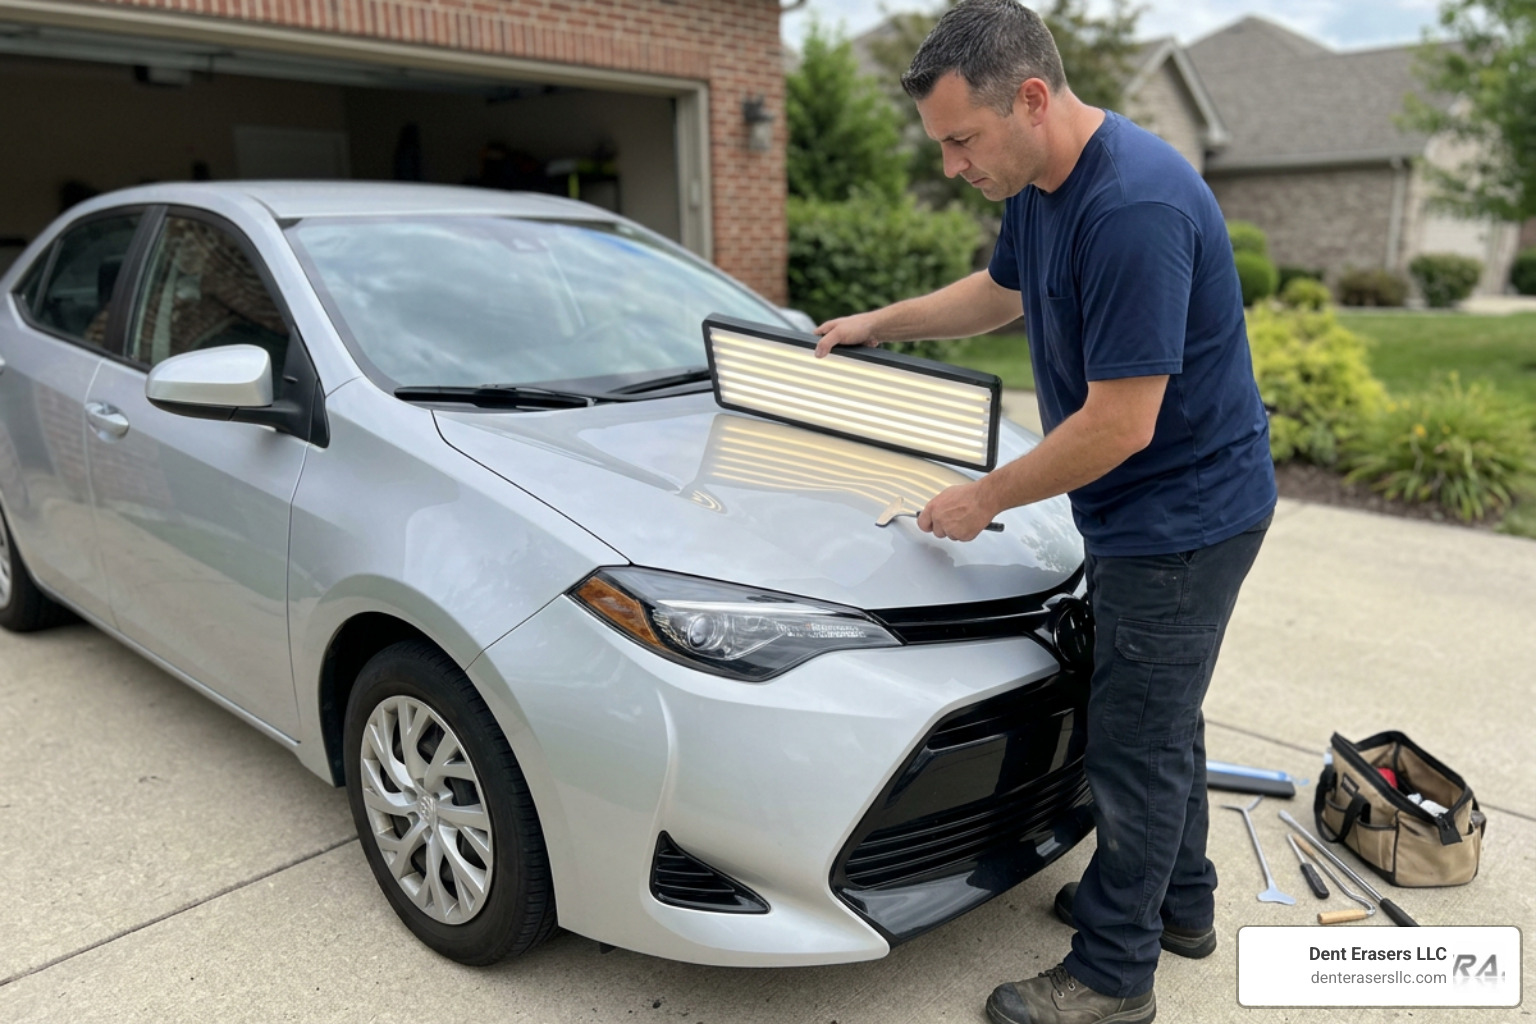
Professional PDR technicians don’t just “pop” dents out. They use high-intensity LED line boards to cast parallel lines across the dent, revealing micro-contours that are completely invisible to the naked eye. They then use specialized knock-down punches and calibrated rods to perform hundreds of precise micro-pushes from behind, gradually massaging the metal back into perfect factory alignment while preserving your original paint.
Cost Comparison: DIY vs. Professional PDR
When deciding whether to tackle a hood dent yourself, it helps to look at the real-world numbers:
| Repair Option | Estimated Cost | Time Commitment | Paint Preservation |
|---|---|---|---|
| DIY Dent Kit | $20 – $150 | 2 – 6 hours | High risk of paint damage |
| Traditional Body Shop | $1,000 – $1,200 | 3 – 5 days | No (requires sanding, filler, and repainting) |
| New Hood Replacement | $500 (plus paint costs) | 1 – 3 days | No (requires aftermarket painting) |
| Professional Mobile PDR | $150 – $500 | 1 – 3 hours | Yes (100% preserves original factory paint) |
As you can see, traditional auto body shops charge high rates because of the intensive labor involved in stripping, filling, painting, and blending adjacent panels to match. Attempting a DIY fix with a cheap retail kit can easily lead to over-stretched metal or chipped paint, which instantly pushes you into that expensive body shop bracket.
In contrast, professional PDR is incredibly cost-effective, saving you 10% to 30% compared to traditional body shops while fully maintaining your vehicle’s original factory finish and resale value. For more details on what to expect financially, check out our dent removal service cost a guide to professional estimates and our comprehensive breakdown of the complete guide to auto body repair costs.
Frequently Asked Questions about Hood Dent Repair
How do I access the back of a hood dent when there is an inner support panel in the way?
To access the backside of a hood dent, you must first remove the black fabric hood insulation liner by gently removing the plastic push clips. Once the liner is out, look for factory manufacturing holes or structural gaps in the inner skeleton. Professional PDR technicians use ultra-thin tools like whale tails to slide through these narrow openings and reach the backside of the outer skin.
Can I fix a dent on a hood body line or crease myself?
We strongly advise against attempting to fix a crease or body line dent yourself. Dents on body lines stretch the metal permanently, meaning the metal cannot simply spring back into place. Repairing these areas requires specialized professional techniques, including precise crown-releasing and metal-shrinking, to avoid making the damage look worse.
When is a hood dent too severe for DIY repair?
A hood dent is too severe for a DIY repair if the paint is cracked or chipped, if the dent is larger than three inches in diameter, if it is located on an aluminum hood, or if it sits directly on a sharp body crease. In these cases, DIY attempts will almost certainly cause further metal stretching or paint failure.
Conclusion
At the end of the day, your car’s hood is the very first thing people see — it is the centerpiece of your vehicle’s aesthetic and a major factor in its resale value. While minor, shallow dings on flat steel panels can occasionally be resolved with careful DIY methods, complex dents require a master’s touch.
If you want to save time, avoid the headache of DIY mistakes, and get your car looking flawless again, let us do the heavy lifting. At Dent Erasers LLC, we specialize in high-quality, mobile paintless dent repair. We bring our mobile workshop directly to your home or office anywhere in Concord, CA, and the surrounding Contra Costa County areas — including Walnut Creek, San Ramon, Antioch, and Brentwood.
We can completely erase your hood dents in just a few hours, preserving your original factory paint and saving you hundreds of dollars compared to a traditional body shop. Ready to get that smooth, factory-fresh look back? Schedule professional paintless dent repair with Dent Erasers LLC today for a fast, affordable, and flawless finish!