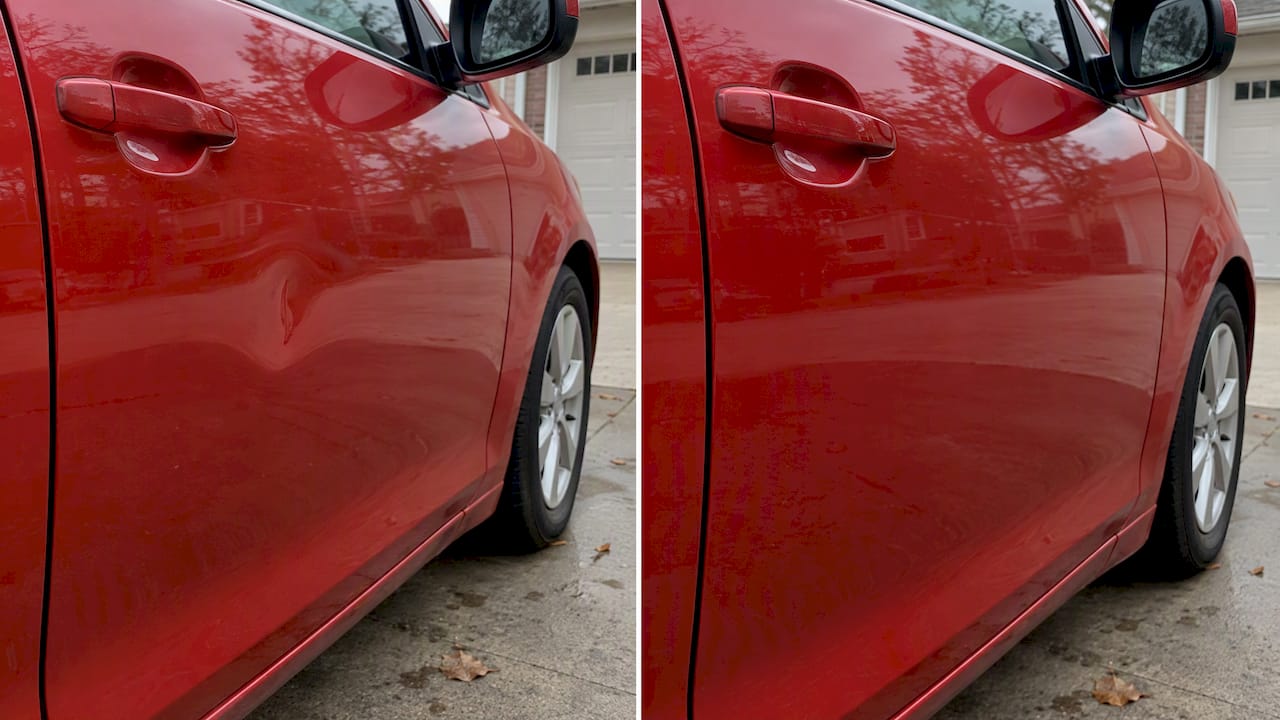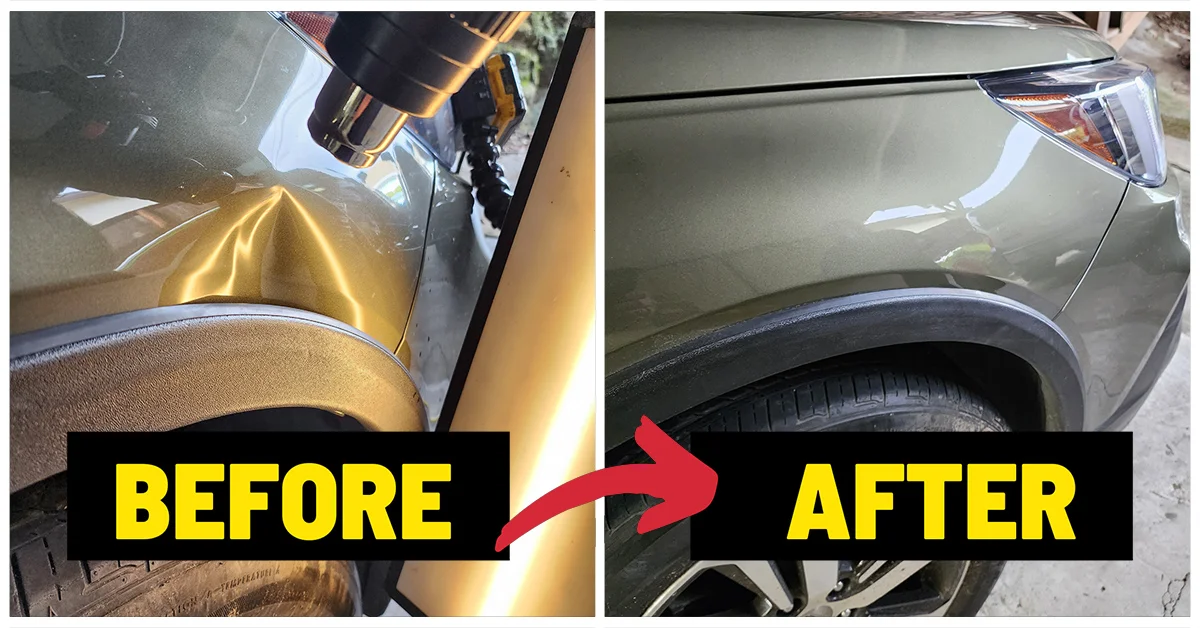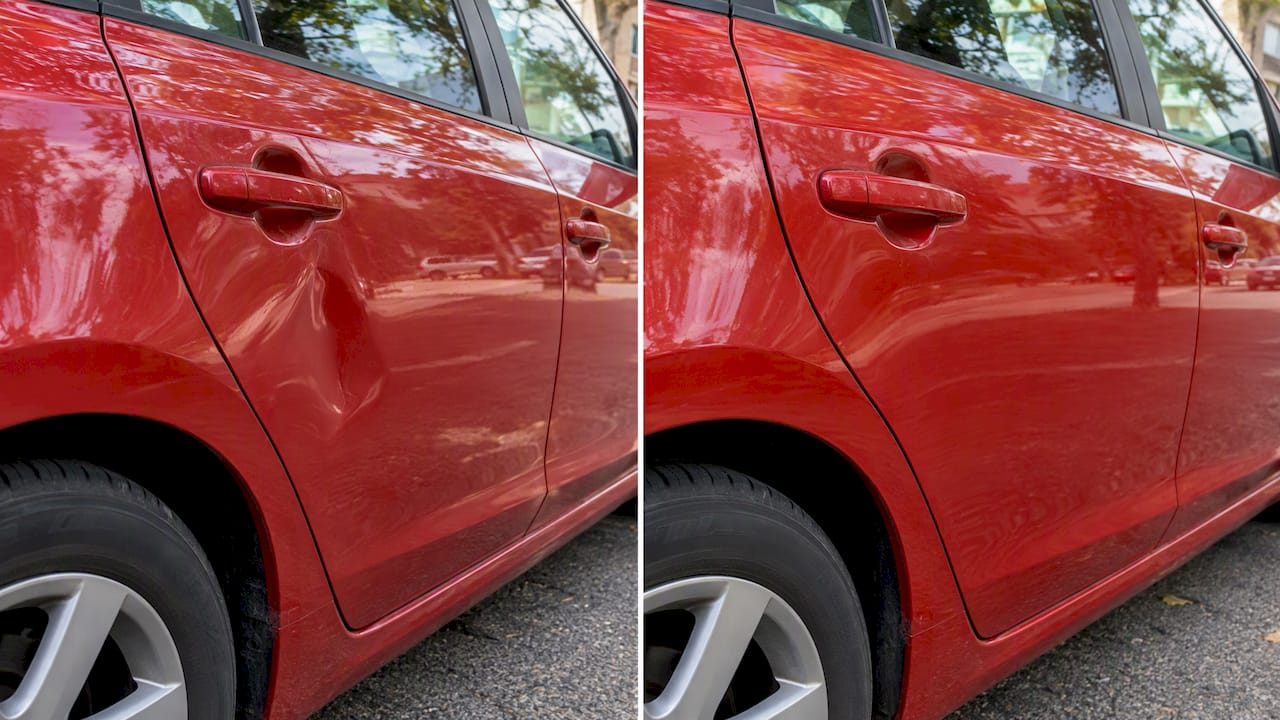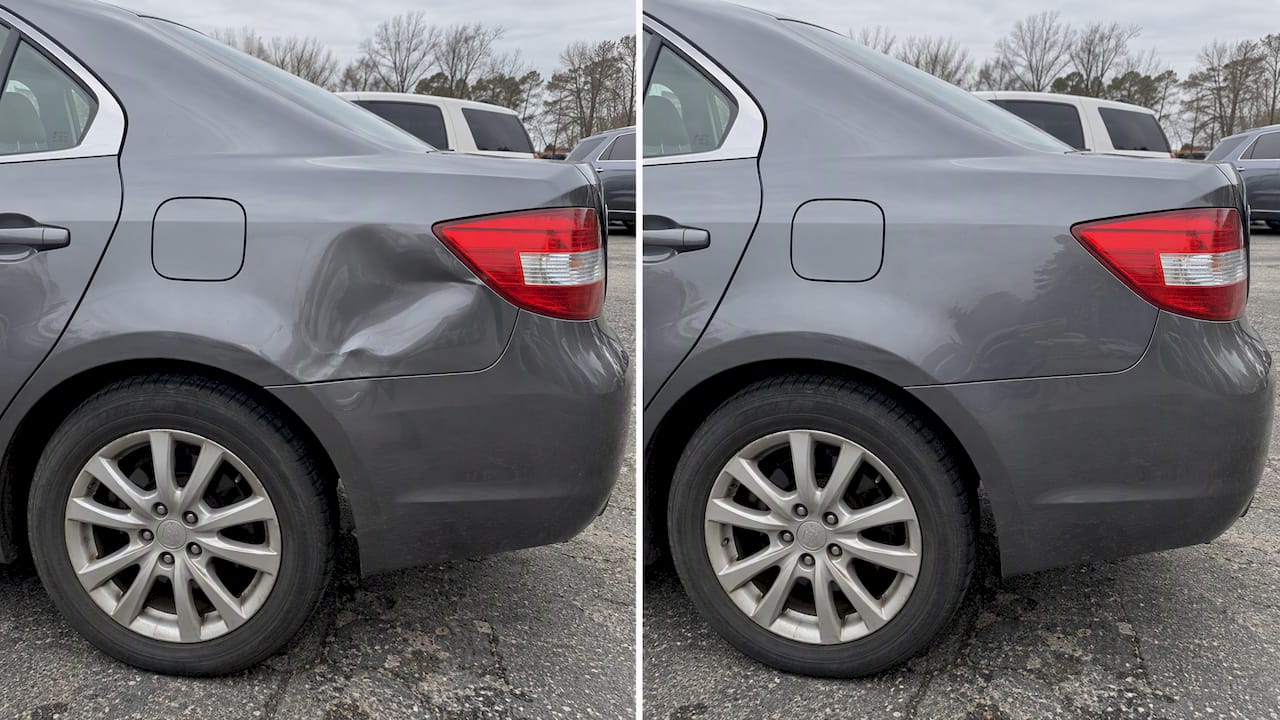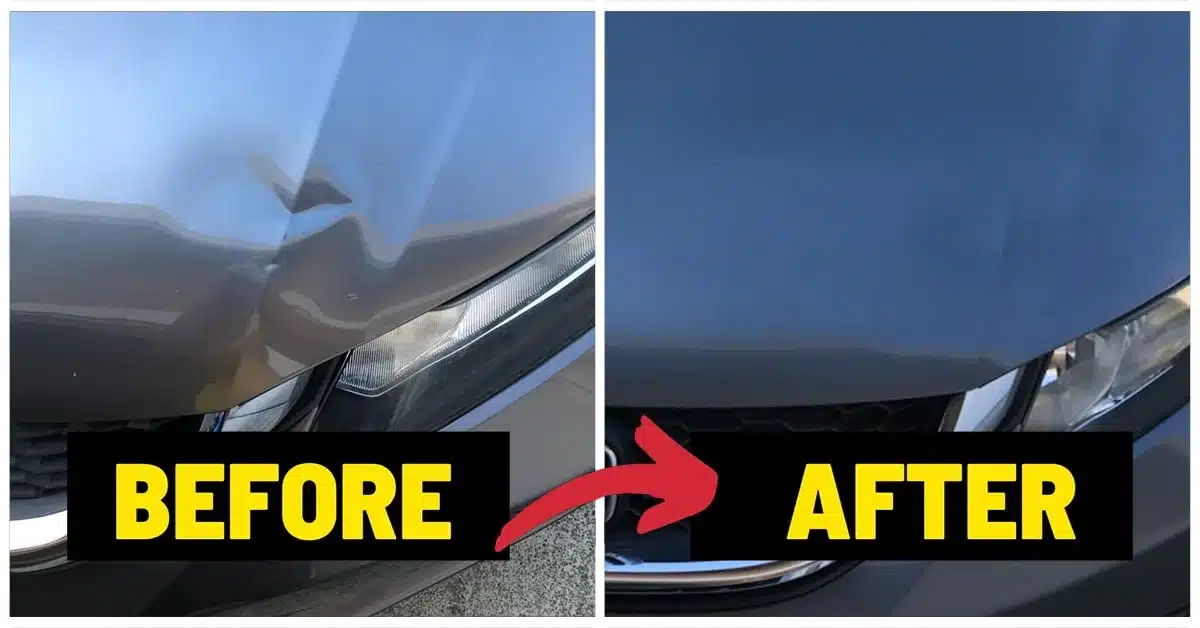
That Hood Dent Is More Fixable Than You Think
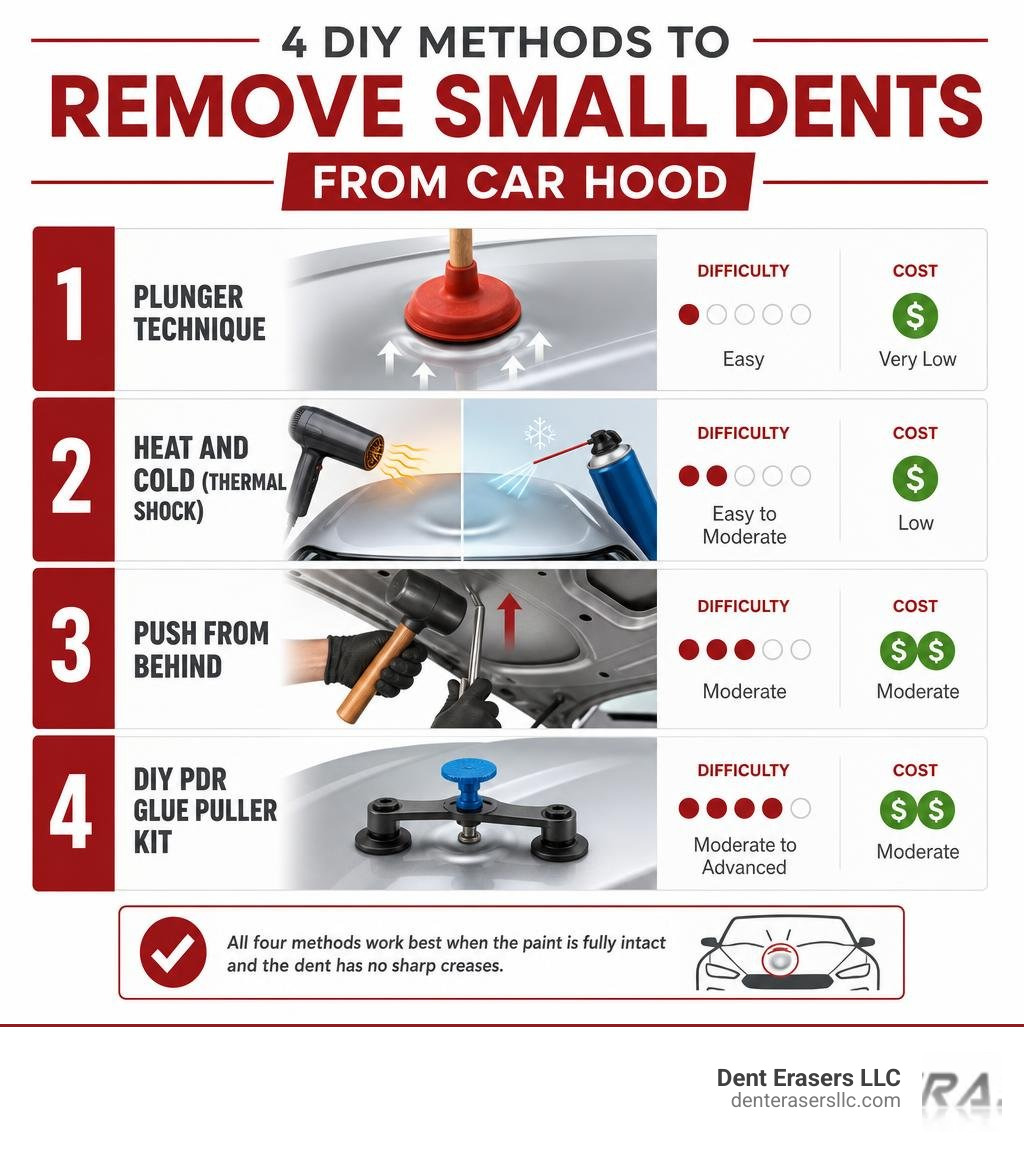
If you’re trying to remove small dents from a car hood, here are the most effective methods — ranked from easiest to most involved:
- Plunger technique — best for shallow, round dents on flat sections
- Heat and cold (thermal shock) — hair dryer + compressed air; works on small dents under 3–4 inches
- Push from behind — rubber mallet and dolly via the hood’s underside
- DIY PDR glue puller kit — best all-around option when the other methods fall short
All four methods work best when the paint is fully intact and the dent has no sharp creases.
You walk out to your car and spot it — a fresh dent on the hood. Maybe it was hail overnight, a stray shopping cart, or a parking lot mystery. Whatever the cause, that dent is now the first thing you see every time you approach your car.
The good news: many small hood dents can be fixed at home, without a body shop bill. The key is knowing which method fits your specific dent — and when to stop before you make things worse.
Professional body shop repairs for hood dents can run $1,000–$1,200, and even a used replacement hood can cost around $500 including paint. DIY repair kits, by contrast, typically cost under $50. That gap is worth understanding before you decide what to do next.
I’m Brian Blanc, founder of Dent Erasers LLC, and I’ve spent nearly three decades using paintless dent repair to remove small dents from car hoods and panels across the East Bay — from everyday commuters to high-end vehicles. In this guide, I’ll walk you through what actually works, what the risks are, and when it makes sense to call in a pro.
Related content about remove small dents from car hood:
Assessing the Damage: Can You Fix It at Home?
Before you grab a single tool from your garage, you need to play detective. Not every dent is a candidate for a DIY fix. In fact, rushing into a repair without a proper assessment can turn a minor $150 cosmetic blemish into a $1,200 body shop nightmare.
To determine if you should attempt to remove small dents from car hood surfaces yourself, we suggest using a quick assessment checklist:
- Paint Condition: Run your fingernail gently over the dent. Is the paint fully intact? If you see chips, deep scratches, or spiderweb-like cracks in the clear coat, stop. Any DIY pulling or pushing will likely flake the paint away, exposing bare metal to moisture and starting the rust clock.
- Dent Size and Depth: DIY methods are highly successful on shallow, round “bowl-shaped” dings that are under 3 to 4 inches in diameter. These are the classic dings left behind by acorns, light hail, or a soft basketball. Deep, sharp dings where the metal is stretched tight are much harder to pop back into place.
- Location, Location, Location: Where is the dent sitting? If it is on a flat, flexible section of the hood, you have a great chance of success. However, if the dent is directly on a body line, style crease, or near the very edge of the hood panel, the metal is structurally reinforced. These areas have high tension and do not “pop” back easily.
- Hood Material: Is your hood steel or aluminum? Steel has excellent “metal memory” and wants to return to its original shape. Aluminum, which is common on newer and luxury vehicles, is highly rigid, lacks metal memory, and is prone to cracking if worked incorrectly.
Understanding these variables is the first step to avoiding a DIY disaster. For a deeper dive into how minor dings can escalate, check out our guide on Small Dents, Big Problems and How to Fix Them.
How to Remove Small Dents from Car Hood: 4 DIY Methods
If your dent is shallow, the paint is perfect, and you are ready to give it a shot, preparation is key. You cannot work on a dirty hood. Dust, pollen, and road grime act like sandpaper under suction cups or glue tabs, scratching your clear coat and ruining your tool’s grip.
Start by washing the hood thoroughly with automotive soap and water. Once dry, wipe the dented area down with isopropyl alcohol (rubbing alcohol). This removes any leftover car wax or grease, ensuring your tools can grab the metal properly.
For more context on general paintless techniques, you can read How to remove dents from your car: a detailed DIY guide. Let’s break down the four most popular at-home methods step-by-step.
Method 1: The Plunger Technique
The plunger method is the absolute easiest, least invasive way to tackle a hood dent. However, leave your standard flanged toilet plunger in the bathroom. For this, you need a clean, flat cup plunger (often called a sink plunger).
- How it works: This method relies entirely on suction. It works best on broad, shallow dents (about 4 to 6 inches wide) located on the flat, flexible center sections of a steel hood.
- Step 1: Wet both the rubber rim of the plunger and the hood around the dent. The water acts as a temporary sealant to help create a stronger vacuum.
- Step 2: Place the plunger directly over the center of the dent. Press down firmly to push the air out and establish a strong seal.
- Step 3: Pull straight upward with a quick, firm, and controlled tug. Do not yank it at an angle, as this can slip and scratch the paint.
- Step 4: Repeat this motion two or three times. If the metal has good memory, you will hear a satisfying “pop” as the panel snaps back into its original shape.
Method 2: Using Temperature Shock to Remove Small Dents from Car Hood
Metal expands when heated and contracts rapidly when cooled. By exploiting this physical property, you can sometimes trick the metal into popping back into place without physically pulling on it.
- How it works: This method is ideal for small, shallow, round dents under 3 inches on flat panels. For a detailed breakdown of how this physical reaction works, see How To Remove Small Dents From Car Hood? Easy DIY Fix – CarsBibles.
- Step 1: Plug in a household hair dryer and set it to high heat. Hold it about 6 to 8 inches away from the dent, keeping it constantly moving in a small circle to avoid overheating and blistering the paint. Heat the area for 30 to 60 seconds until the metal is hot to the touch (but not burning).
- Step 2: Grab a can of compressed air (the kind used to clean computer keyboards). Shake it, turn it completely upside down, and immediately spray the center of the hot dent. Turning the can upside down releases liquid carbon dioxide, which is freezing cold.
- Step 3: Spray for about 10 seconds until a layer of white frost covers the dented area.
- Step 4: Stand back and watch. As the freezing liquid causes the hot, expanded metal to rapidly contract, the thermal shock will often force the dent to pop outward. Wipe away the frost with a soft microfiber towel.
Method 3: Pushing from Behind with a Mallet and Dolly
If you cannot pull the dent out from the top, you may have to push it out from underneath. This method requires patience and a gentle touch.
- How it works: You will be massaging the metal back into place using a rubber mallet and a specialized body block called a dolly. Learn more about this delicate process in Small Dent Removal from Car: A Step-by-Step Guide to Metal Morphing.
- Step 1: Open your hood and secure it safely. To get direct access to the metal, you must carefully remove the fabric hood insulation liner. Use plastic trim clip tools to pry out the retaining clips without breaking them.
- Step 2: Locate the dent from the underside. Hoods are built with inner structural braces (double-walled panels). If your dent is trapped directly behind a welded support brace, you will not be able to reach it with this method.
- Step 3: If you have clear access, hold a curved auto-body dolly wrapped in a microfiber cloth against the top (painted side) of the dent to support the metal.
- Step 4: From the underside, use a rubber mallet or a soft, rounded wooden dowel to gently tap the metal. Never hit the center of the dent first. Always start at the outer edges (the shallowest parts) of the dent and work your way inward in a spiral pattern. Light, repetitive taps are far safer and more effective than heavy, aggressive swings.
Method 4: Using a DIY PDR Glue Puller Kit
If the plunger and temperature shock fail, your best bet is a consumer-grade Paintless Dent Repair (PDR) glue pulling kit. These kits are affordable (typically $30 to $80) and mimic the tools used by professionals.
- How it works: You glue a plastic pulling tab to the center of the dent, then use a mechanical bridge tool or slide hammer to pull the tab—and the metal—upward. You can read more about this approach in DIY Car Dent Removal At Home Without Repainting.
- Step 1: Select a plastic glue tab from the kit that closely matches the size of the dent. The tab should be slightly smaller than the dent itself.
- Step 2: Apply a generous amount of hot glue from the kit’s glue gun to the face of the tab. Quickly press the tab onto the exact center of the clean, prepped dent. Press gently, but do not push so hard that you squeeze all the glue out.
- Step 3: Let the glue cool and cure for 5 to 8 minutes. It should feel firm and rubbery, not warm or soft. Note: Glue does not bond well in freezing winter temperatures; work in a warm garage if possible.
- Step 4: Slip the kit’s bridge puller or slide hammer over the tab. Slowly turn the knob on the bridge tool or give the slide hammer light, measured upward taps. Do not rip it upward with massive force. Work incrementally.
- Step 5: The tab will eventually pop off the car, hopefully bringing the dent with it. Spray any remaining glue residue with isopropyl alcohol, let it sit for a minute, and peel it away cleanly with a plastic scraper. You may need to repeat this process 3 to 5 times to completely flatten the area.
The Hidden Risks of DIY Hood Dent Repair
While saving money is tempting, DIY dent repair is not without risk. Sheet metal is incredibly temperamental. Once it is bent out of shape, it stretches. If you do not know how to manage that metal tension, you can easily cause permanent damage.

Here are the most common mistakes we see DIYers make:
- Over-Pulling and High Spots: If you pull too hard with a glue kit, you can pull the metal past its flat point, creating an ugly “high spot” or nipple. Correcting a high spot requires a delicate hand and knock-down punches, which beginners often use too aggressively, leaving dimples in the metal.
- Cracked and Peeling Paint: If your car has had cheap aftermarket paint repairs in the past, the hot glue from a PDR kit can easily pull the paint right off the metal, leaving you with a bald spot that requires a professional repaint.
- Stretched Metal: If you hammer too hard from behind, you will stretch the steel. Stretched metal loses its structural integrity and becomes “floppy.” Once metal is stretched, it cannot simply be popped back; it requires professional shrinking or body filler to fix.
Before taking a hammer to your hood, consider reading about The Cheapest Ways to Fix a Car Dent to understand how to keep costs low without ruining your car’s finish.
When to Avoid DIY and Let Professionals Remove Small Dents from Car Hood
Some dents simply cannot be resolved in a driveway. You should step away from the tools and call a professional if:
- The dent sits directly on a sharp body line or style crease.
- The hood is made of aluminum (standard on many modern Ford, aluminum-bodied, and luxury imports).
- The paint is cracked, scratched, or chipped.
- The dent is located on the edge of the hood panel where the metal is folded over and double-thick.
- The dent is larger than a dinner plate or has sharp, creased folds.
Cost Comparison: DIY vs. Professional Paintless Dent Repair
How do the economics of dent repair actually stack up? Let’s look at the real-world numbers. While a DIY kit is cheap, a single mistake can double your costs if you end up needing a professional to undo your work.
| Repair Option | Typical Cost | Time Required | Risk Level | Best For |
|---|---|---|---|---|
| DIY Household Methods (Plunger, Heat) | $0 – $15 | 30 – 45 Mins | Low | Soft, shallow dents on flat steel panels |
| DIY PDR Glue Puller Kit | $30 – $80 | 1 – 3 Hours | Medium | Patient DIYers with minor, non-creased dings |
| Professional Mobile PDR | $150 – $500 | 1 – 2 Hours | Zero | Creases, aluminum hoods, high-value cars, perfect finishes |
| Traditional Auto Body Shop | $1,000 – $1,200 | 3 – 5 Days | Zero | Severe collision damage, cracked paint, massive creases |
| Used Replacement Hood | $500+ (with paint) | Days to Source | Medium | Heavily damaged hoods where repair exceeds replacement cost |
Opting for professional PDR is often the most cost-effective path because it preserves your car’s original factory paint. This is crucial for maintaining your vehicle’s resale value. Repainted panels rarely match the rest of the car perfectly under sunlight, which immediately alerts buyers to past damage.
If you are trying to budget for this repair, we highly recommend reading The Price of a Panel and What Fixing Your Hood Really Costs as well as our guide on How to Find Affordable Dent Removal for Your Car.
For local drivers in the East Bay, you can also check out local reviews and options for mobile dent repair near you:
- THE BEST 10 MOBILE DENT REPAIR IN CONCORD, CA – Yelp
- THE BEST 10 MOBILE DENT REPAIR IN ANTIOCH, CA – Yelp
- THE BEST 10 MOBILE DENT REPAIR IN RICHMOND, CA – Yelp
- THE BEST 10 MOBILE DENT REPAIR IN WALNUT CREEK, CA – Yelp
- THE BEST 10 MOBILE DENT REPAIR NEAR BRENTWOOD, CA – Yelp
Frequently Asked Questions About Hood Dent Repair
Does the hair dryer and dry ice method really work?
Yes, but only under very specific conditions. It relies on thermal contraction to pop out shallow, round dents (usually 1 to 3 inches in size) on flat, flexible steel panels. If the dent has a sharp crease, is located on a body line, or is on an aluminum hood, thermal shock will not work because the metal is under too much structural tension.
Can you fix a dent on a sharp body line or crease?
Attempting to fix a crease dent at home is highly discouraged. When a panel creases, the metal folds tightly along a line, stretching the steel and locking tension into place. DIY tools like plungers or basic glue pullers lack the directional control needed to release this tension. A professional PDR technician uses specialized steel rods to carefully “massage” the crease out from the underside, millimeter by millimeter.
What is the difference between steel and aluminum hoods for dent repair?
Steel has excellent “metal memory”—it naturally wants to return to its stamped factory shape when massaged. Aluminum is much lighter but far more rigid. It has zero metal memory and is highly prone to cracking or tearing if worked cold. Repairing aluminum hoods requires specialized high-heat tools and immense technical skill, making it a poor candidate for DIY attempts.
Conclusion
At the end of the day, trying to remove small dents from car hood panels on your own can be a fun weekend project if the dent is small, shallow, and on a steel panel. But if you are dealing with a complex crease, an aluminum hood, or you simply want a flawless, factory-perfect finish without the risk of cracking your paint, we are here to help.
At Dent Erasers LLC, we provide professional, mobile paintless dent repair services directly to your home or office. We handle everything from daily drivers to luxury imports, classic cars, and motorcycles. We proudly serve communities throughout Contra Costa County, including Concord, Antioch, Richmond, San Ramon, Pittsburg, Walnut Creek, Brentwood, Martinez, and the surrounding East Bay areas.
Skip the guesswork, avoid the risk of paint damage, and let our experienced team restore your vehicle’s value in just a couple of hours.
Ready to get that dent out of your sight? Learn more about our specialized Paintless Dent Repair services and get a free quote today!